
Hi folks !
Some news from Star Wars - Redemption, I know I know, it's been 3 months...and I apologize for that. I had to do some art tests and was a bit stressed about it. So there's some news, not that much, but I hope you'll keep loving this project, cause yeah, I received a lot of great feedback and encouragement from many of you, which warmed our hearts to us three. I want to join with Fantin and Thomas to say : thank you all for your awesome your support, it allows us to keep moving forward ! ♥
SO...what's up ?
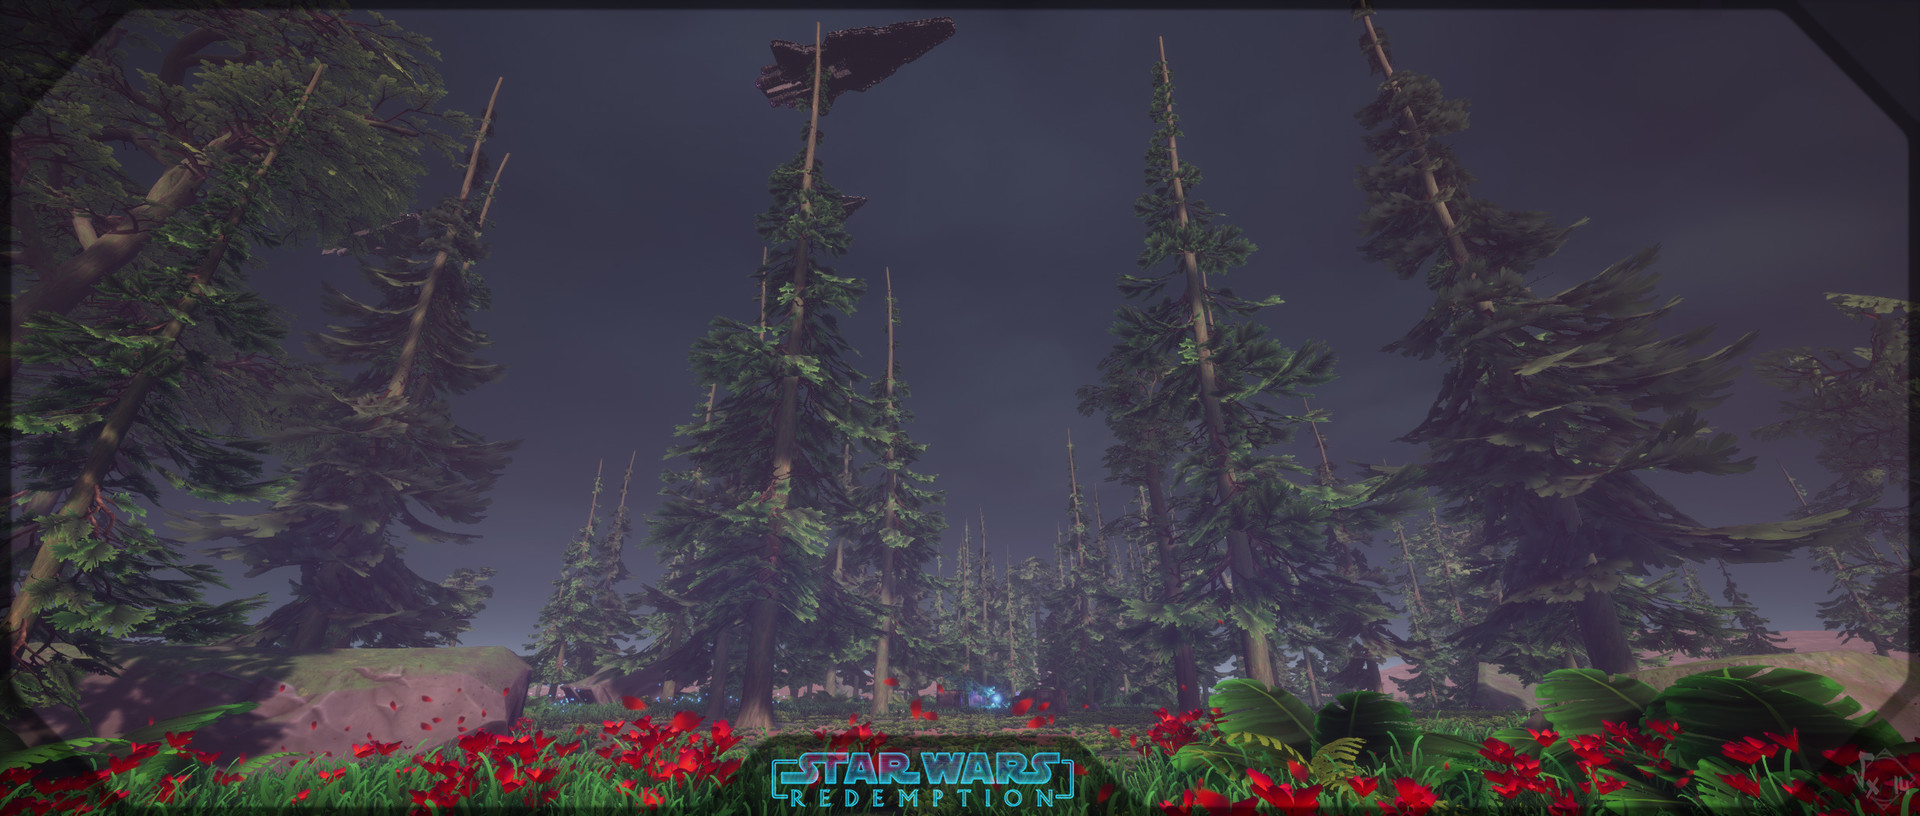
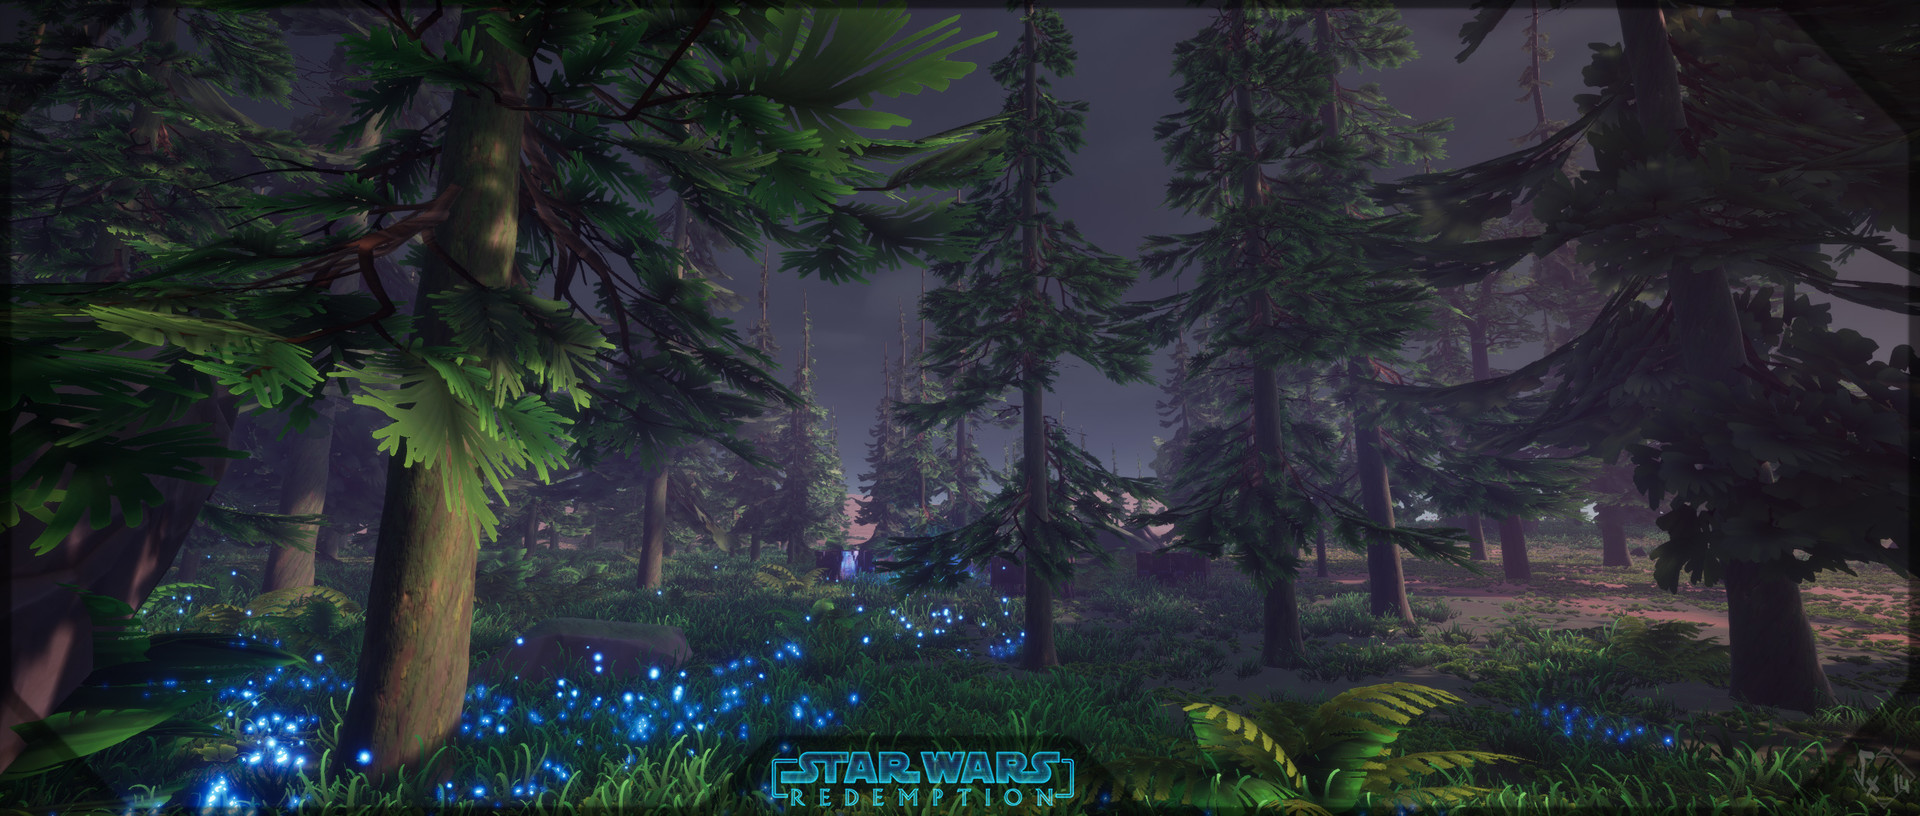
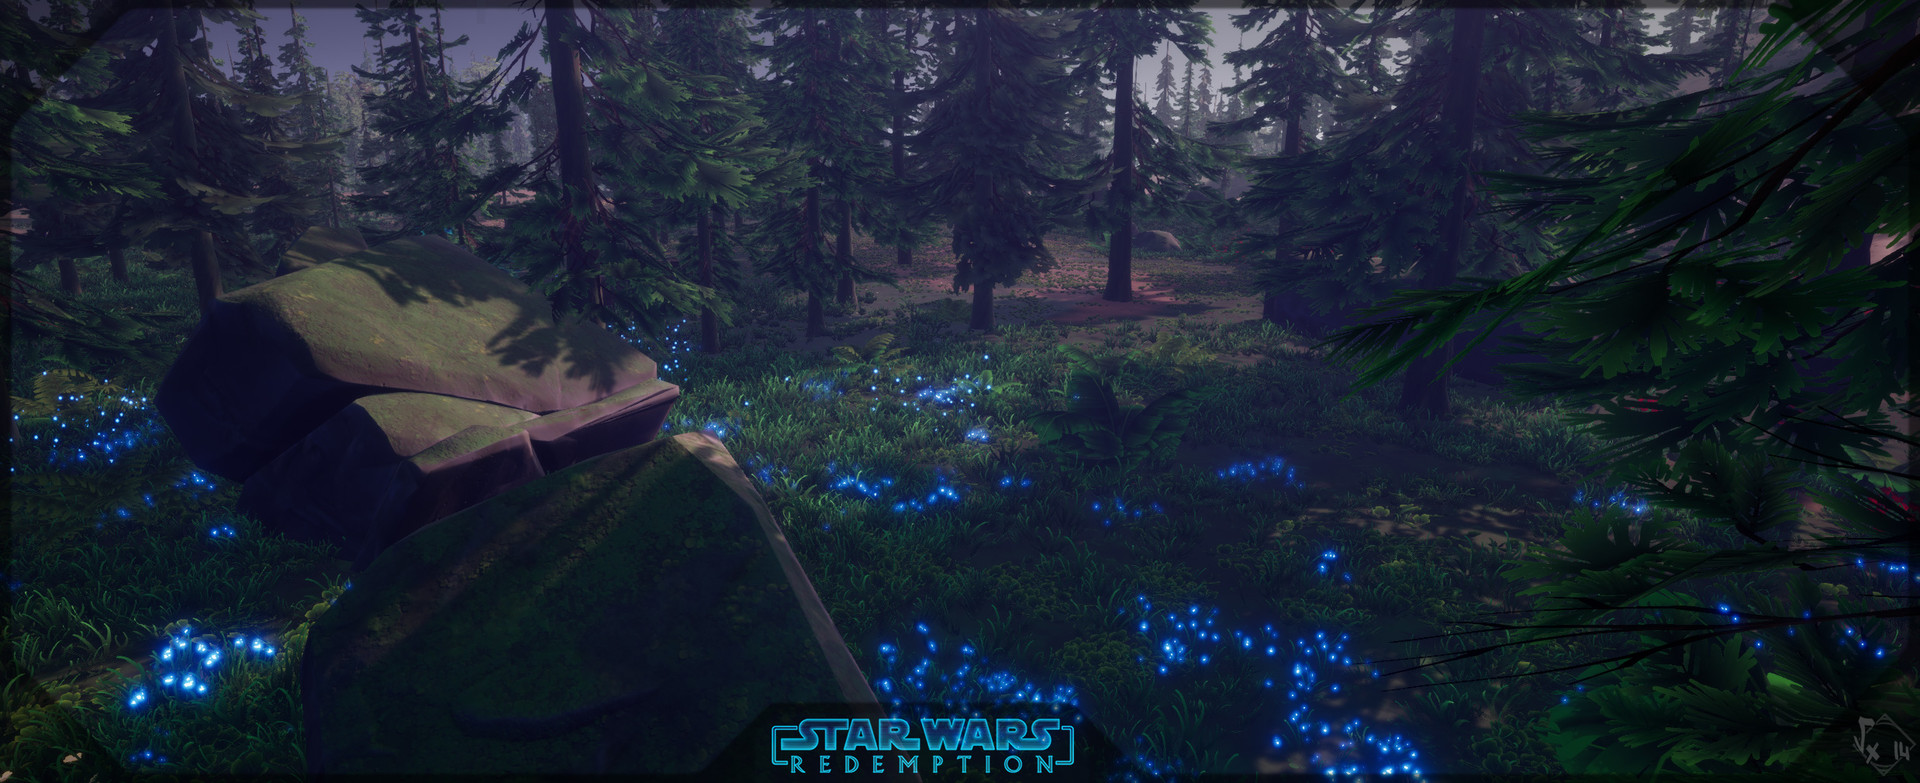
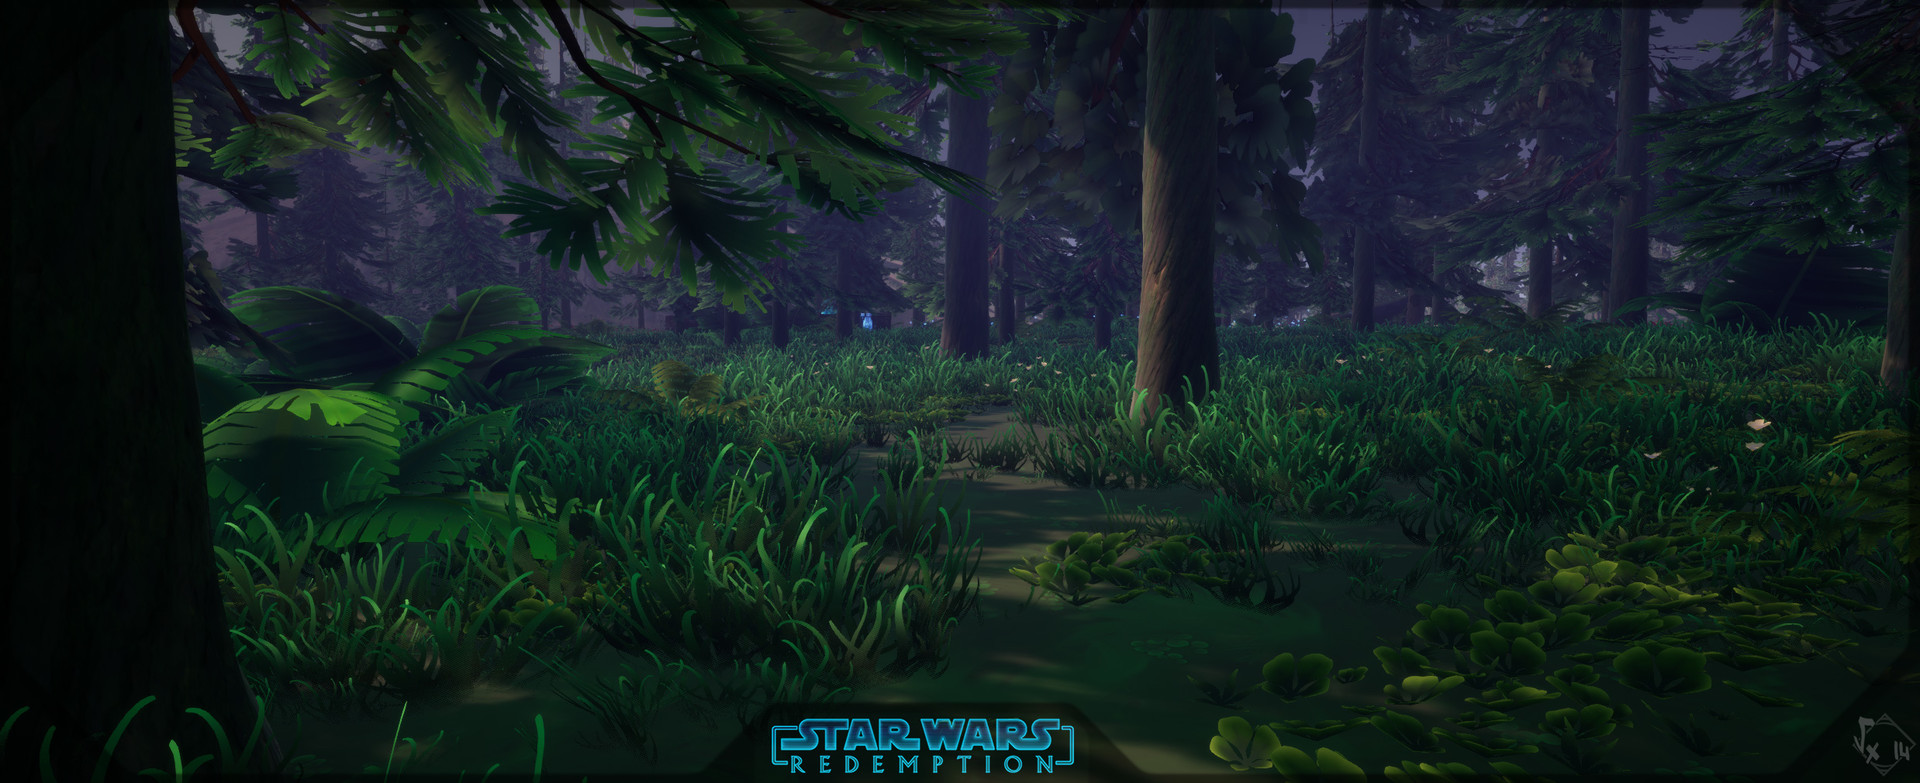
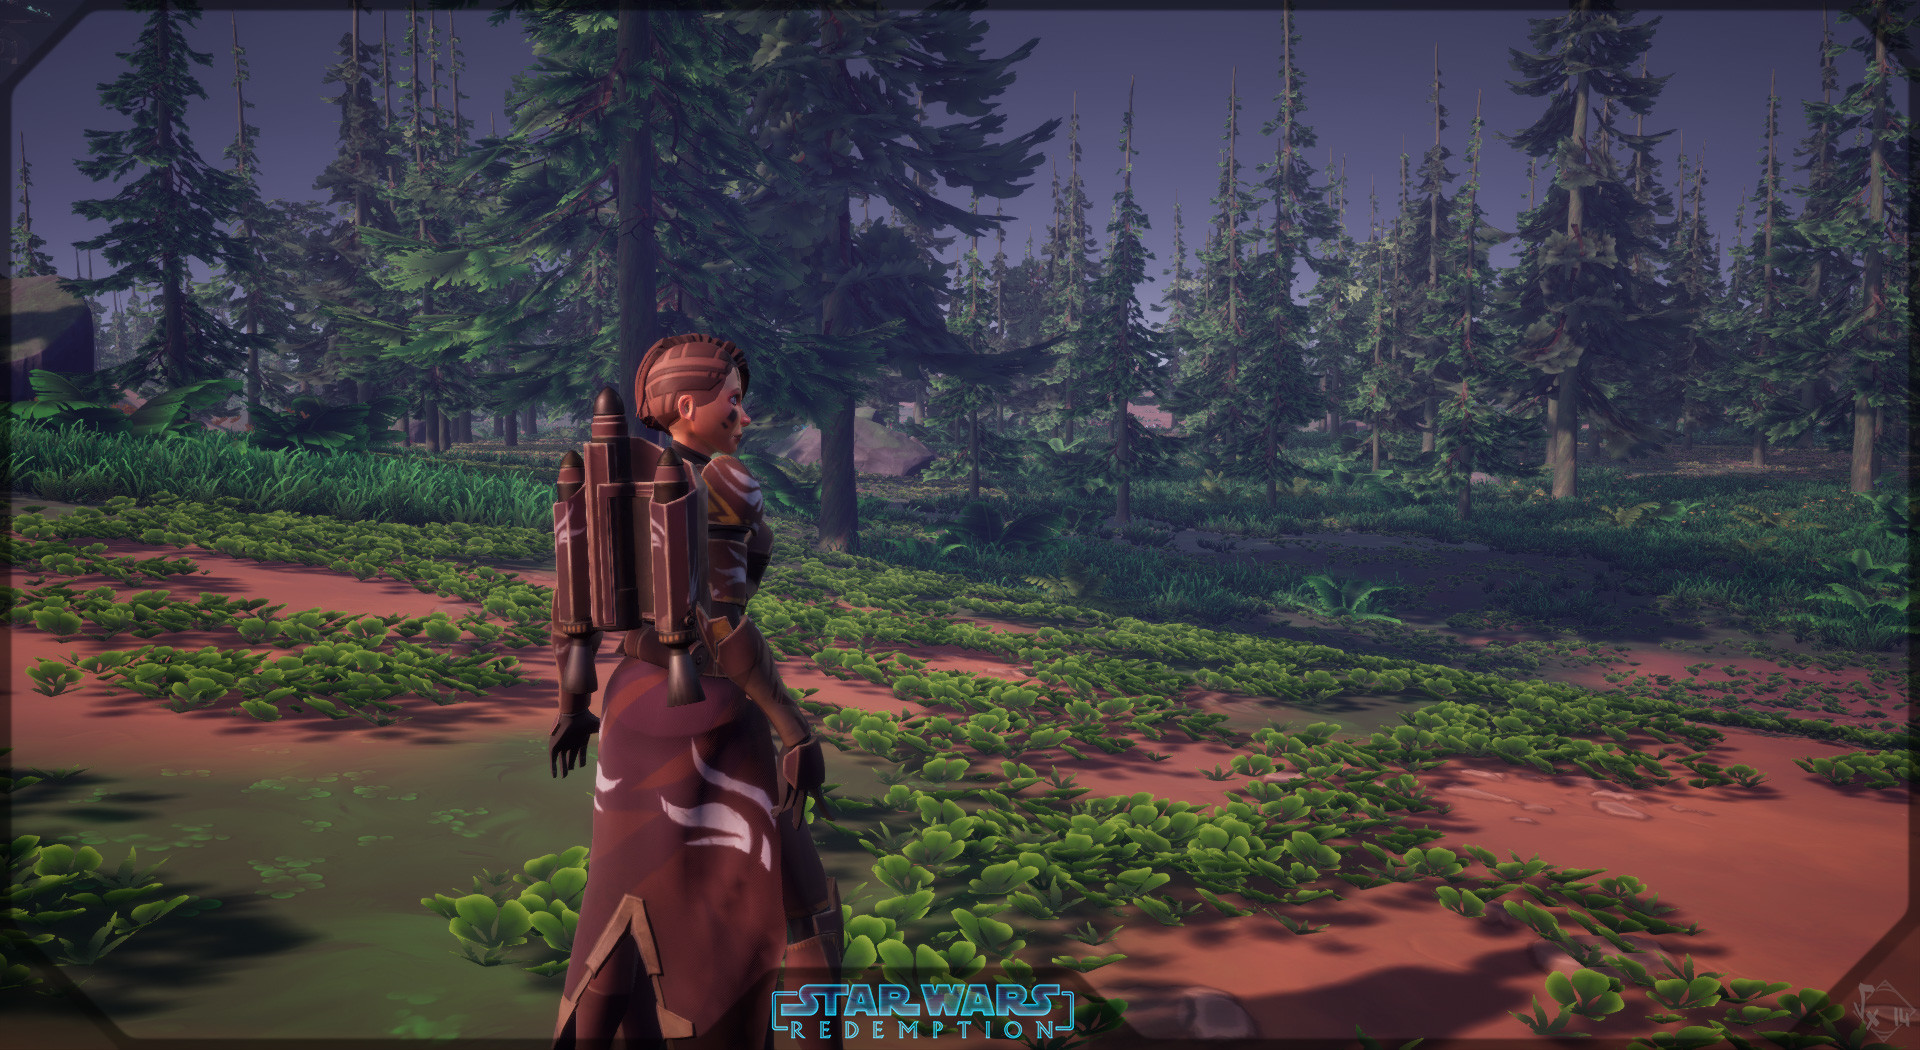
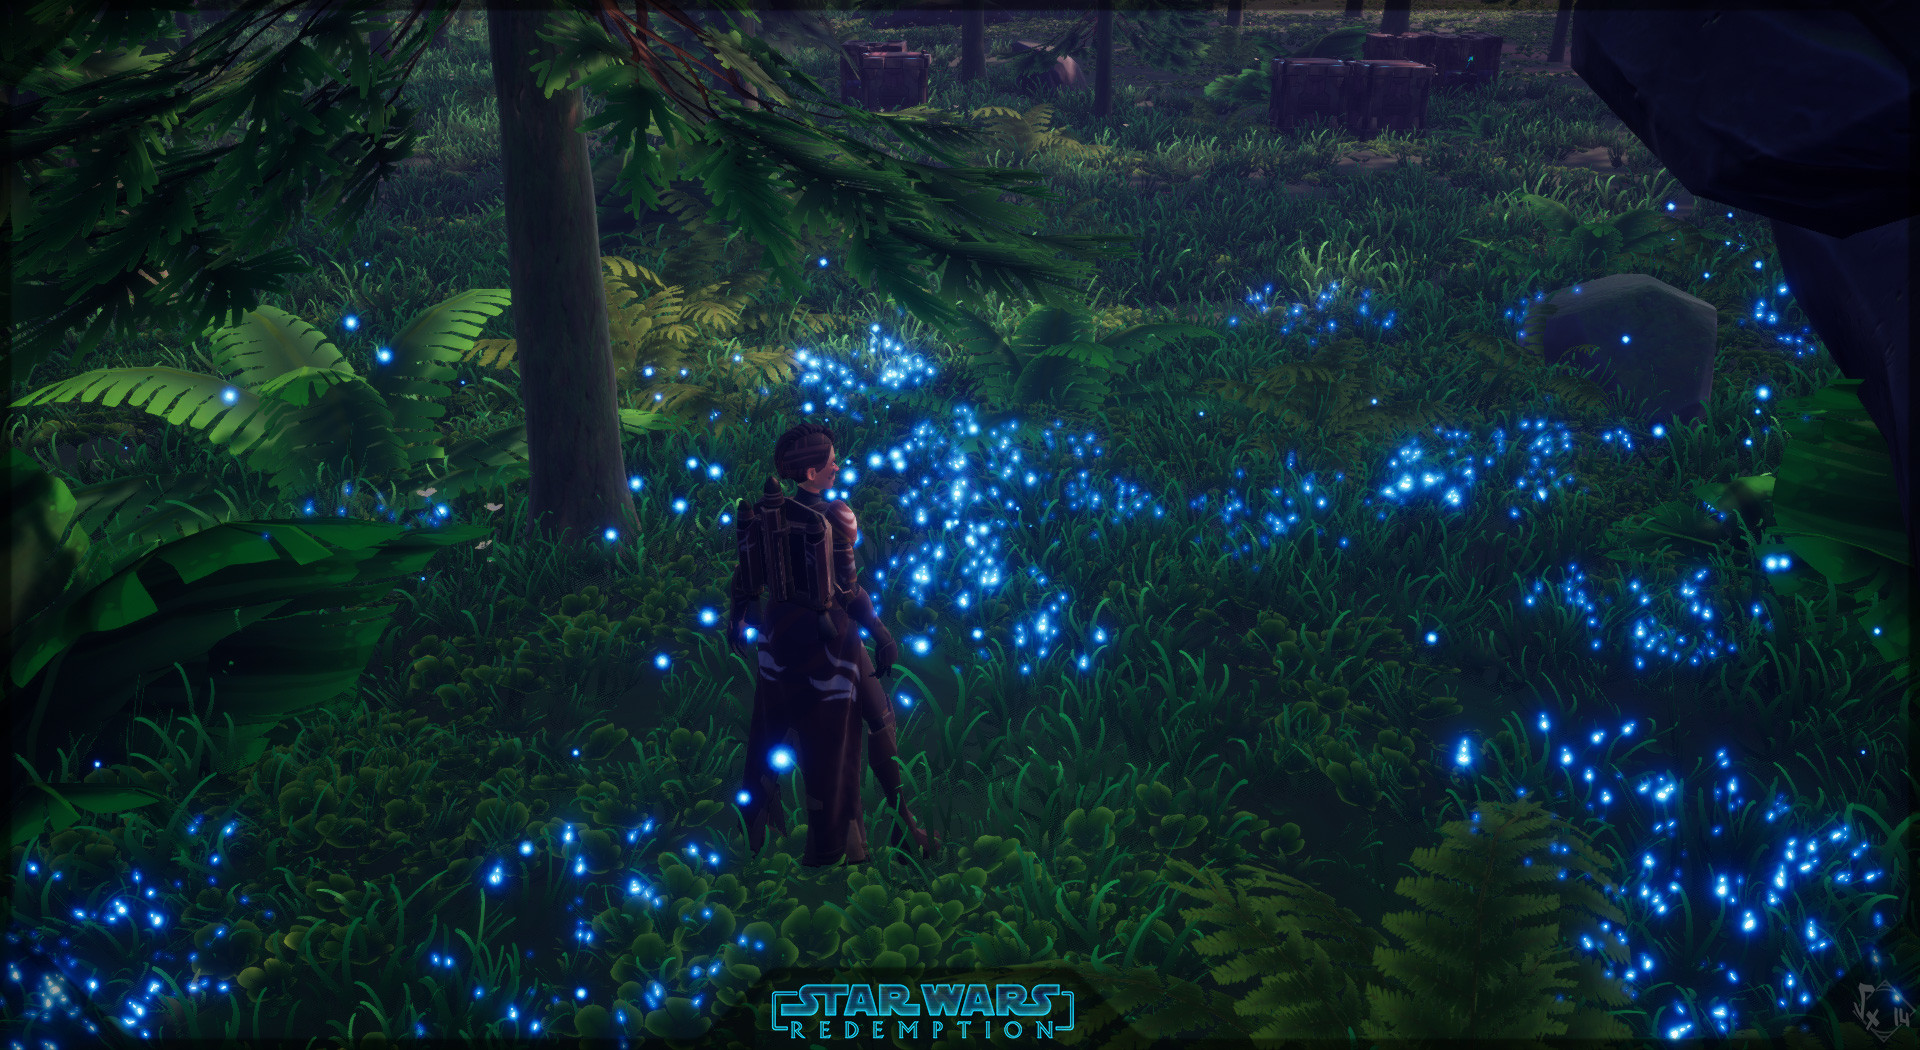
I Improved Lumberia with a reworked grass tilemap ( the grass under the grass ), vegetation's shader ( blend with ground surfaces using pixel depth offset instead of using translucent shader - Big thanks to Anthony Daneluzzi for showing me this cool tricks ! ), foliage is now fine tuned to allow painting a huge forest in no time, added VFX emitter that spawn somme flower's petal, little "force glows" in order to get a better mood, tweaked lighting a bit and finally I started to work on sith's temple assets using a method I guess is close to overwatch's one for faking sculpted edges with decals.
So here is a little screenshot of this trick, look at the wall's separation, in its middle :
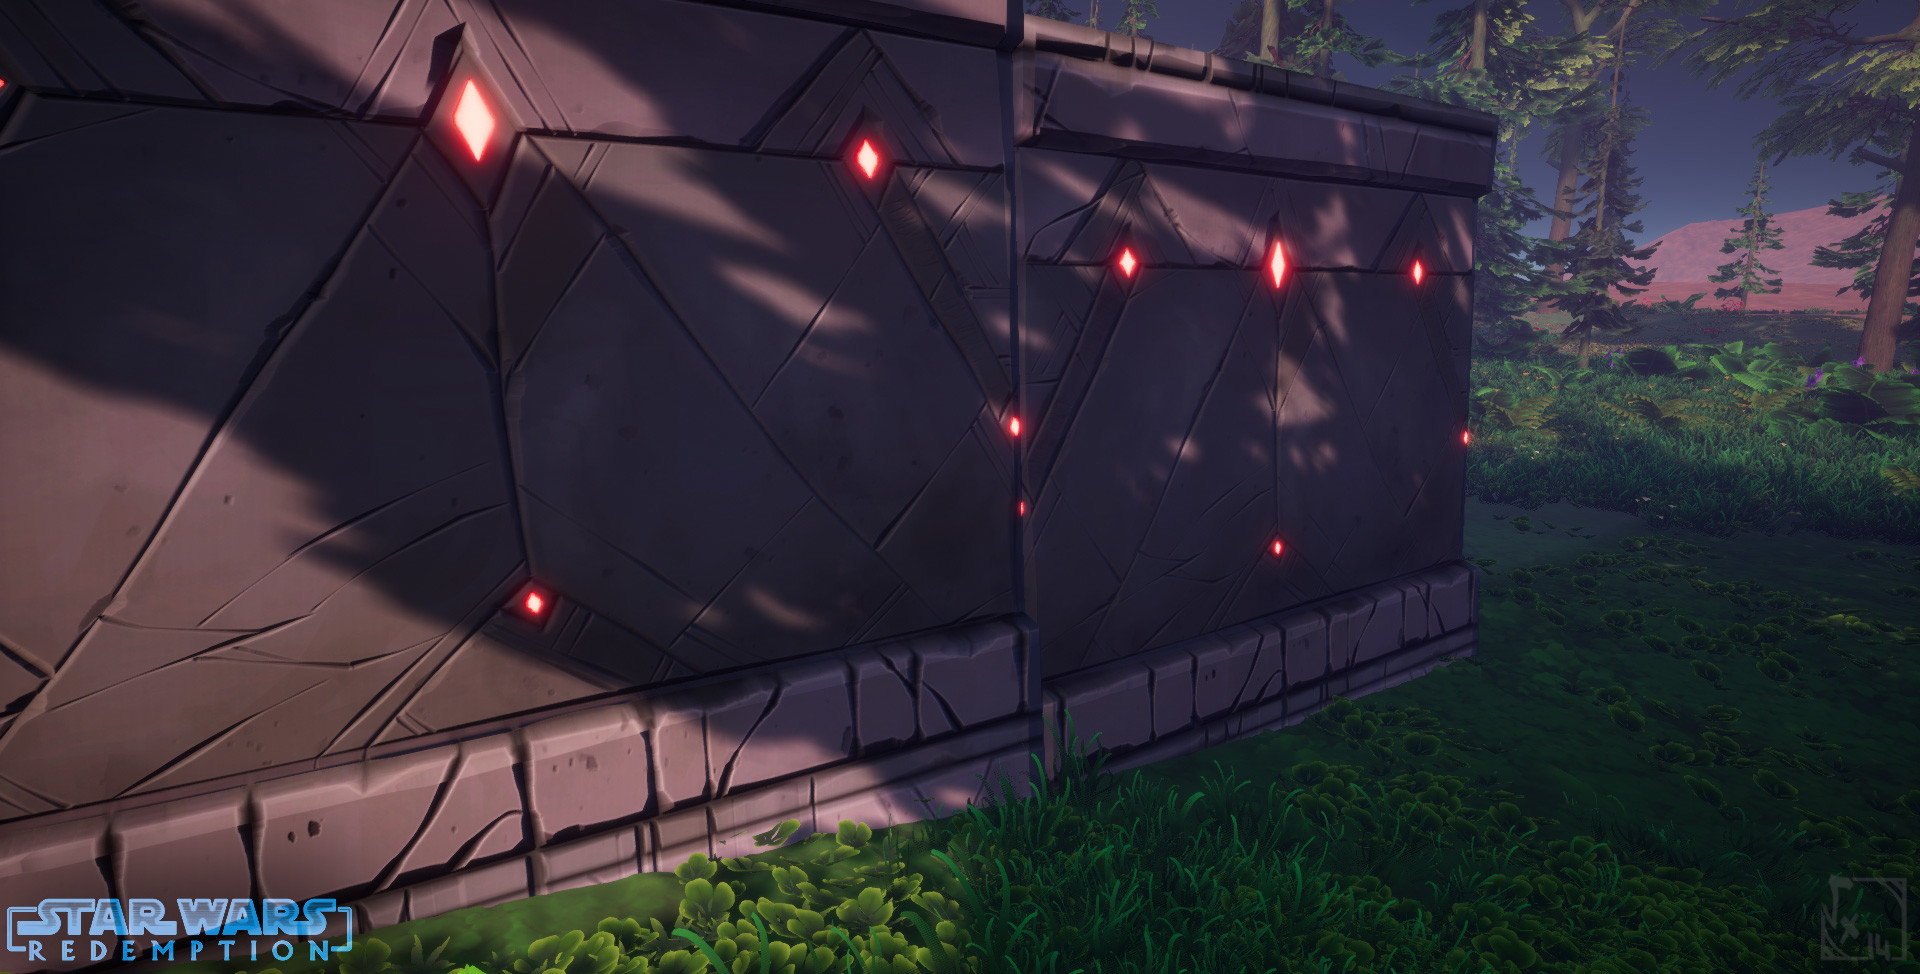
In fact, there's only two "boxes", meaning there's no bevel, only a decalmesh with a sculpt trim normal, it only blends with mesh normals which are set to hard edges each time the relief changes, good things with this technique is the amount of time saved on sculpting assets over and over again, no more tedious Uvwrapp, keep model simple, and go back to modeling with smoothgroops ( which is really important to me =P )
So first thing I needed to do was a tileable texture, using my dear 3DCoat it was fairly easy to do so : ( 0% ZBrush or maya or max or Designer here guys ;) )

Then, I worked on a new kind of material that could allow me to paint different surface materials depending on separate vertexcolor channels, here is a first test with a single plane, 4 vertices with one blue, one red, one green, and one with no Red/Green or Blue, in other words : black
I also blend depending on each layered material's heightmap
Here is what I've been up to do with all maps blended ( BaseColor, Composite 1 (Metal/Rough/AO), Composite 2 (Cavity/Emissive/Height), and Normalmap ) :
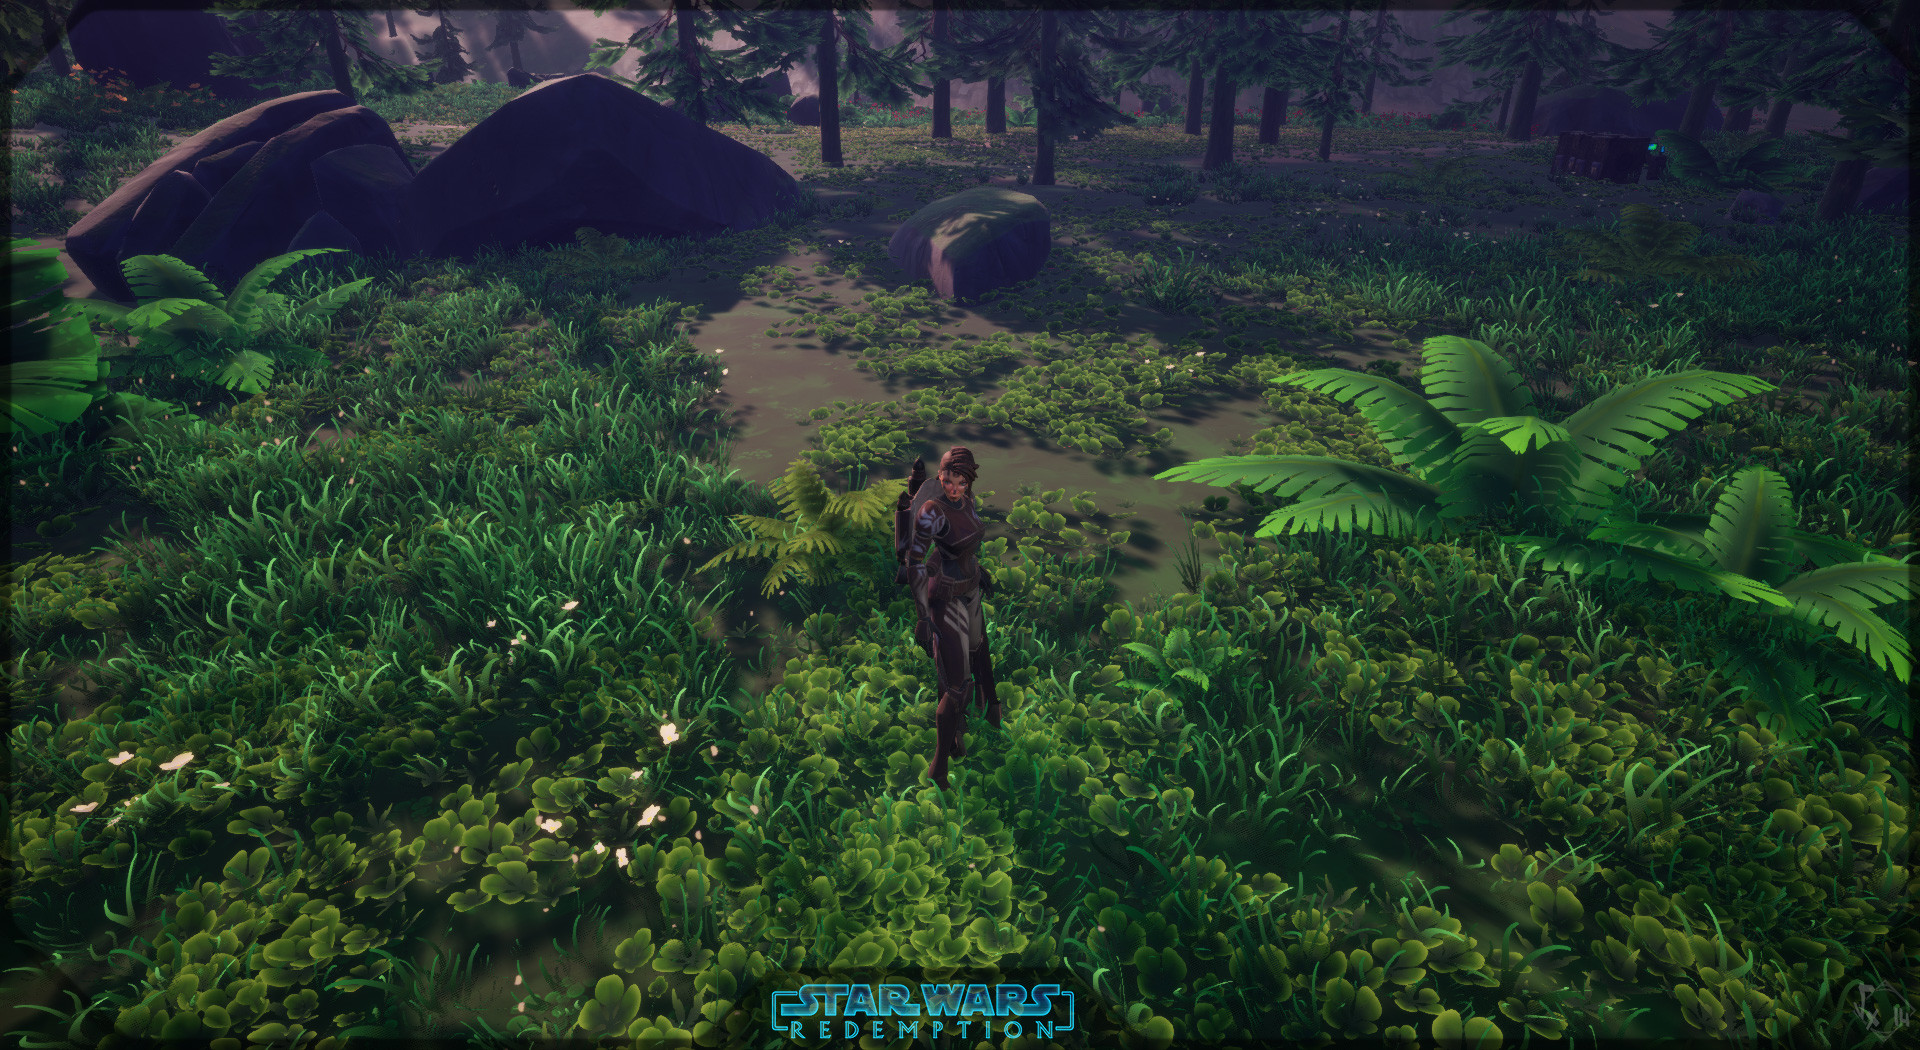
Lumberia's Forest as it's now in the game =)
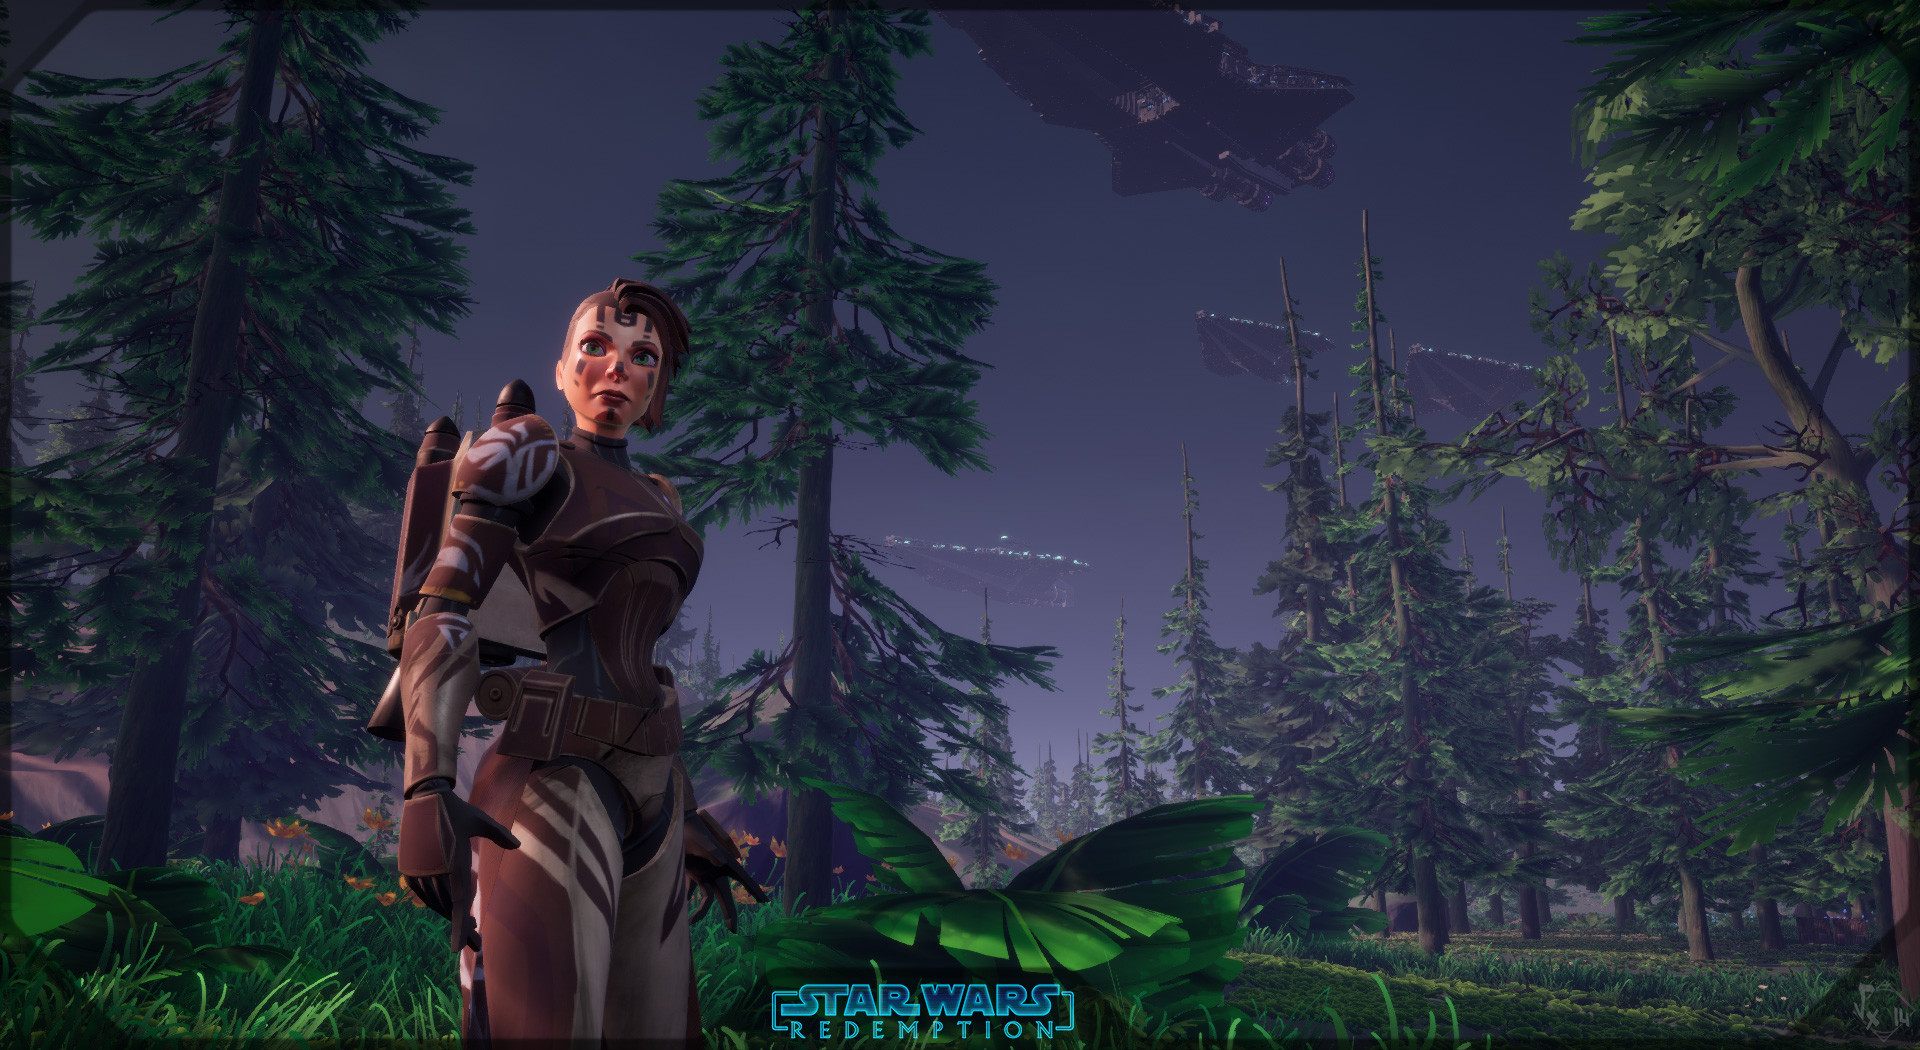
Improved all scene's colorimetry with postprocess which desaturate scene based on ZDpeth pass. Useful for Space maps where there's no "horizon" unlike ground maps
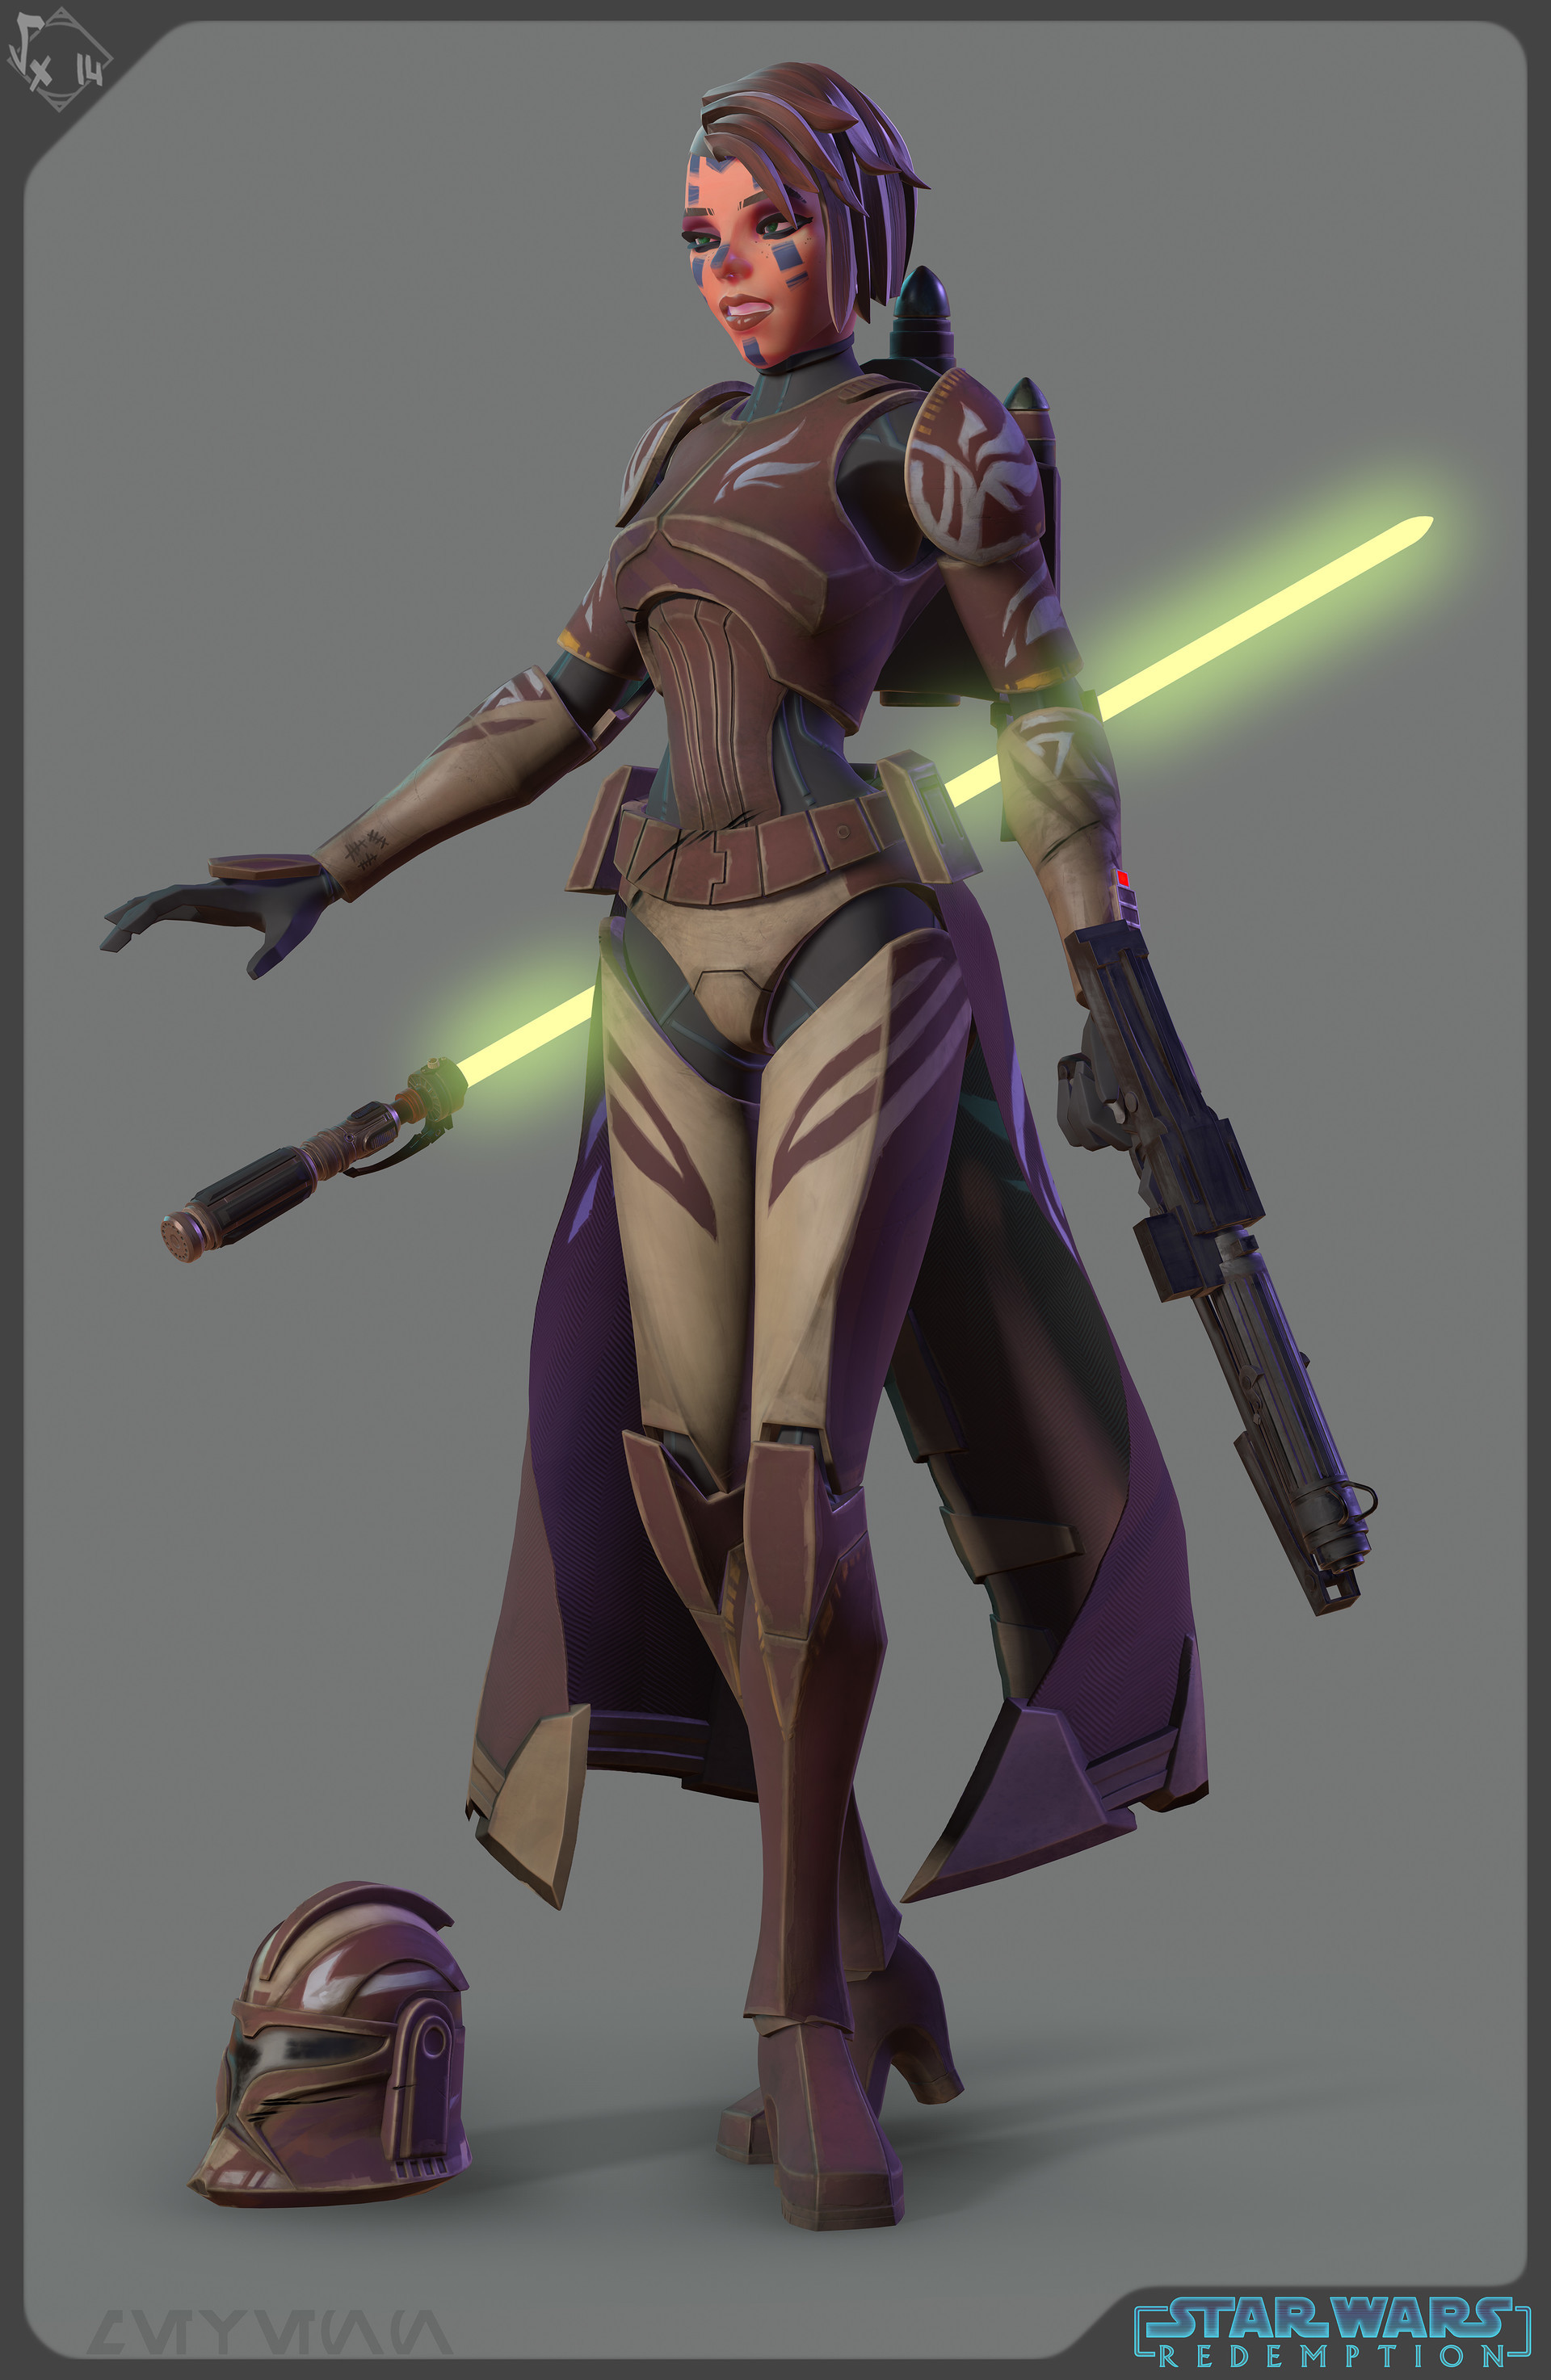
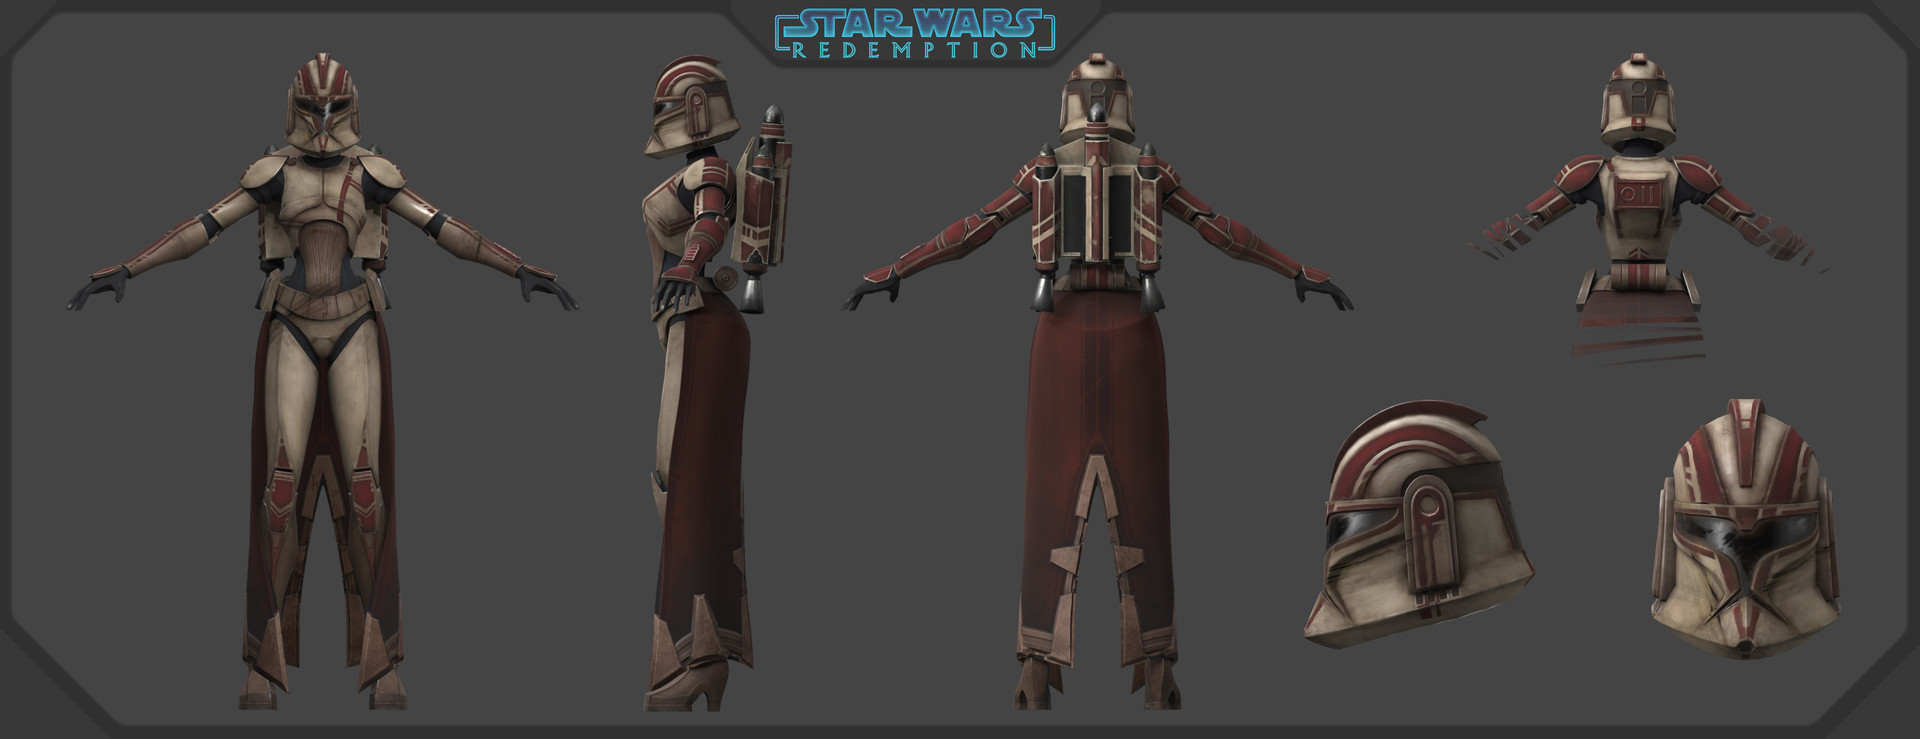
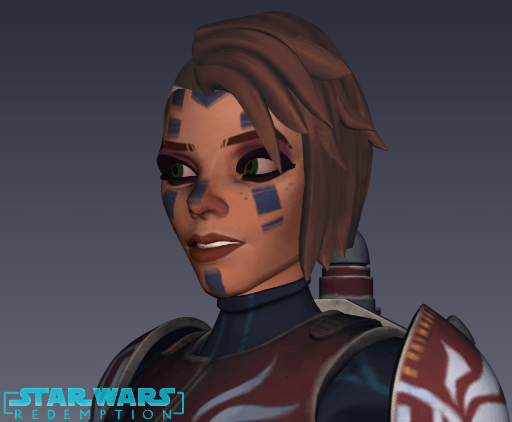
You've noticed that Mevenn's skin has changed on Lumberia's screenshots ? You're right ! Here come her beautiful new skin : Phoenix
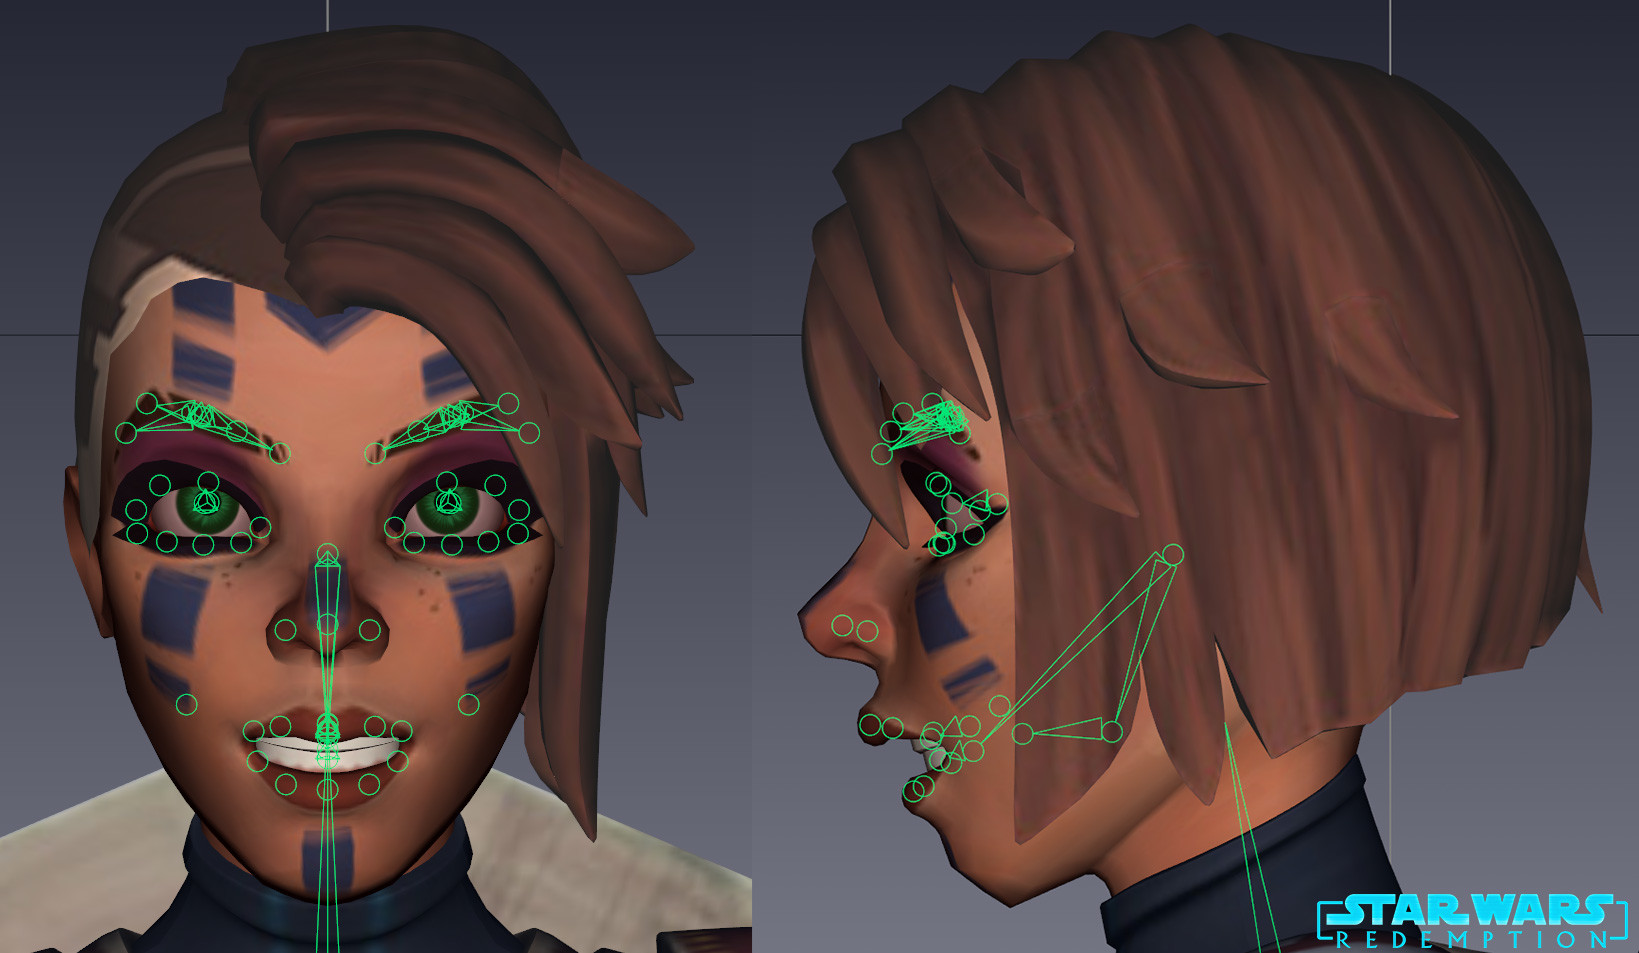
I also went back on animation, I really enjoy this part of game art, I wish to better my skills at each new one I'll do as anything I'll have to learn =)
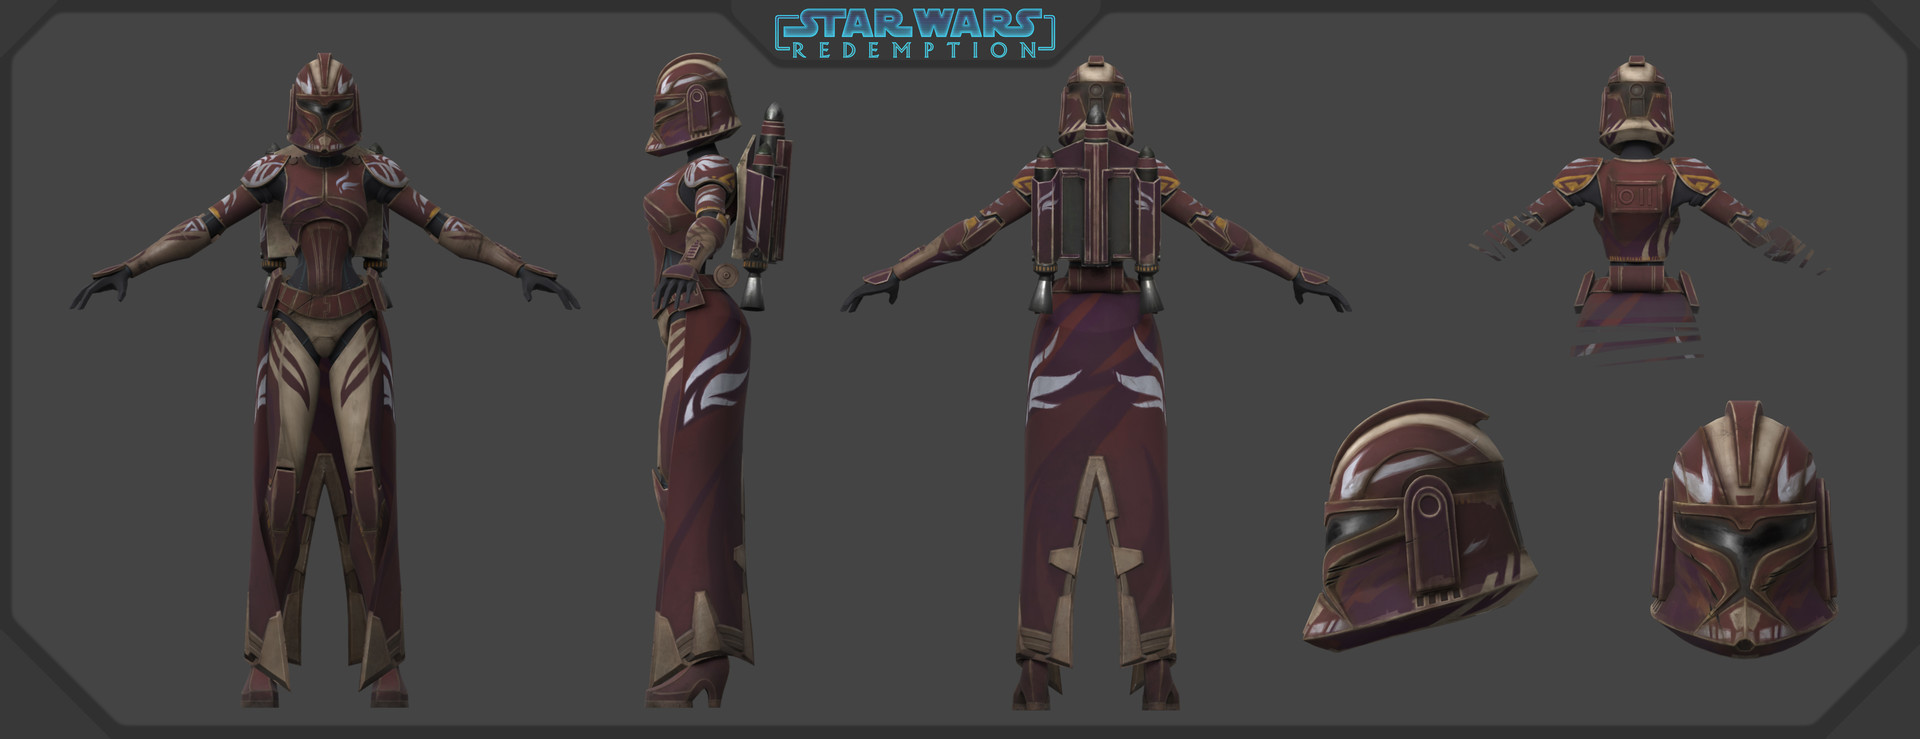
A quick comparison with her "Legacy" skin :
The rig is now really good, I guess it's not 100% perfect but we may call it finished ^^ I updated it with a "Fly" controller for better in-air moves, that was a request from Thomas Chaumel ( our Animator on Redemtpion ) who works now at TeamTo Valence, on several Animated TV series with strong rigs made on Maya, so he told me some suggestion I could implement in Mevenn's rig for bettering his animation workflow. The Fly controller is just a joint between the root and the pelvis which allow the animator to define a new mass center of the mesh, it's really important when you make spins and stunts, and you can offset it on each keyframe as you wish
Facial part has now more expressions stored in Akeytsu, facial rig is 100% ok to Thomas and I so we can make Mevenn live !
Training room WIPs, which is a rework of an old environment I did back in 2013, but optimized this time with better detail's management ( the old one had too many greeble/random stuff on areas we don't want to stick on. It's fixed now ;)
Old version ( 3dsmax+Vray, composited on photoshop, not in realtime =/ )
From this old mesh, I remapped UVs by hand on this texture sheet, made for another environment ( Mevenn's Room, in the works ;) ). The goald was to define clearly colors, and what's metallic or not. I also performed a vertice normals faceweight script so the model looked "highpoly", but in fact it wasn't.

WIP of the new mapped one, realtime on UE4 :
I also Improved shaders functions with a vertex color parametrable emissive, see how "light" on neons decrease progressively when going on top of the room, I think it's a good addition to help level design being easier to read
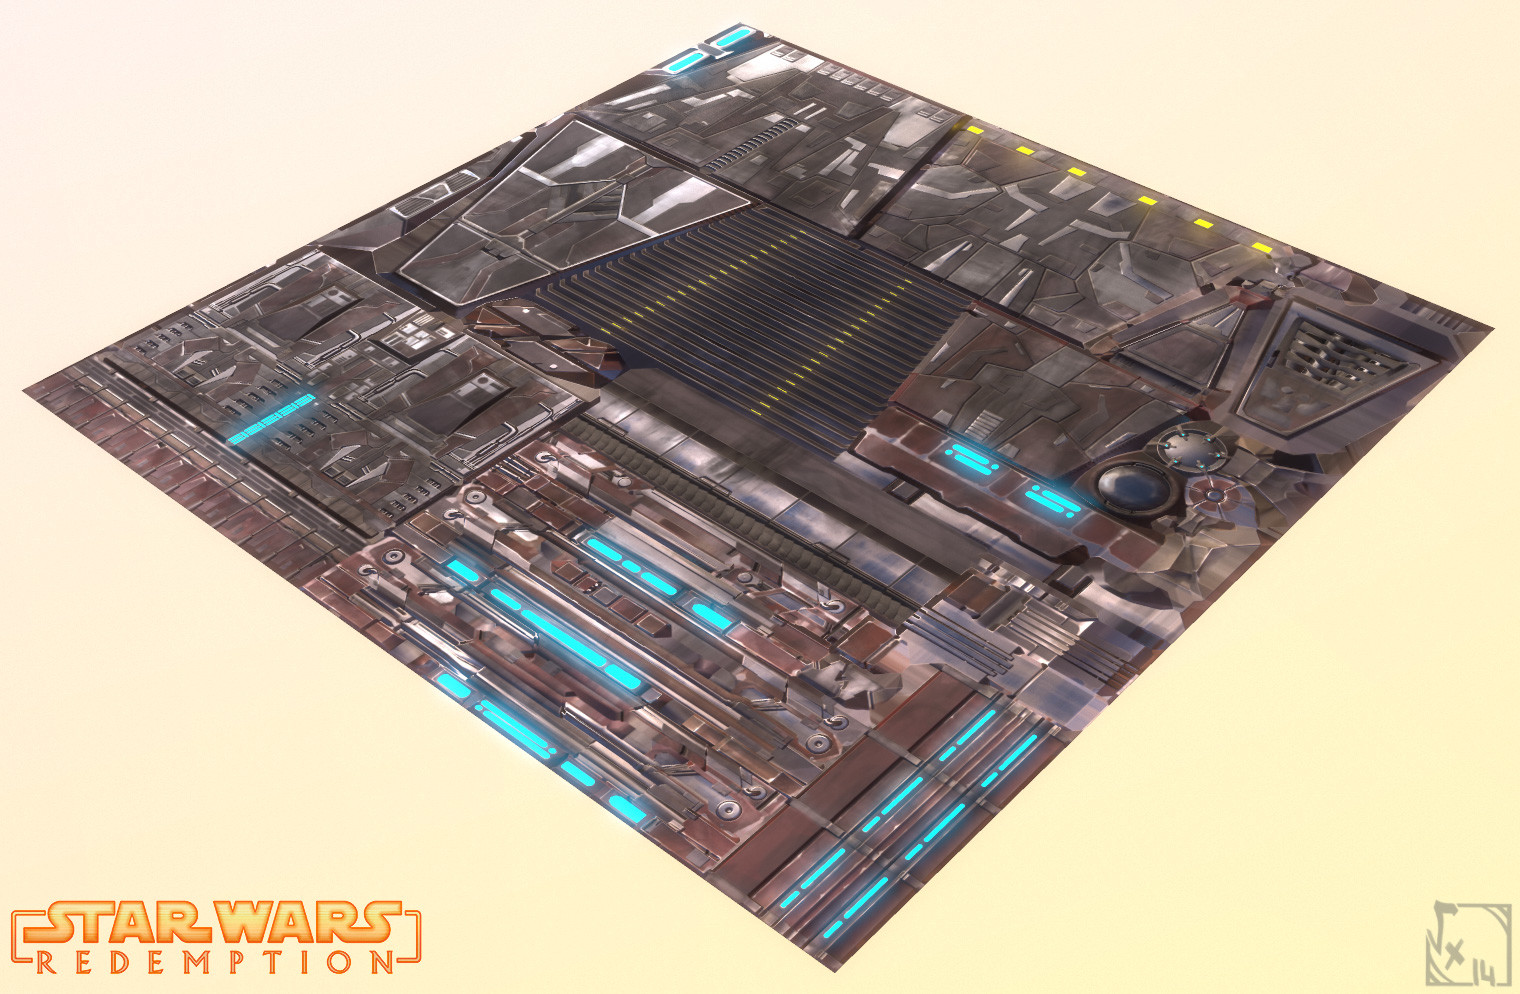
From there, I simplified all models and baked all PBR maps into Marmoset 3.05 on these new really low-poly assets. After this I simply imported the result into 3DCoat on my lowpoly models and refined all these textures, and as I already had informations about metal/Rough/Colors, all I needed to do was to pick there and paint precisely there, it took me a few minutes to do, here is the new map used ingame :
As model's Vertices normals were carefully oriented to arbitrary planar positions, I can also reuse this atlas on another asset =)
...Once finished with all textures baked and enhanced on new optimized meshes :

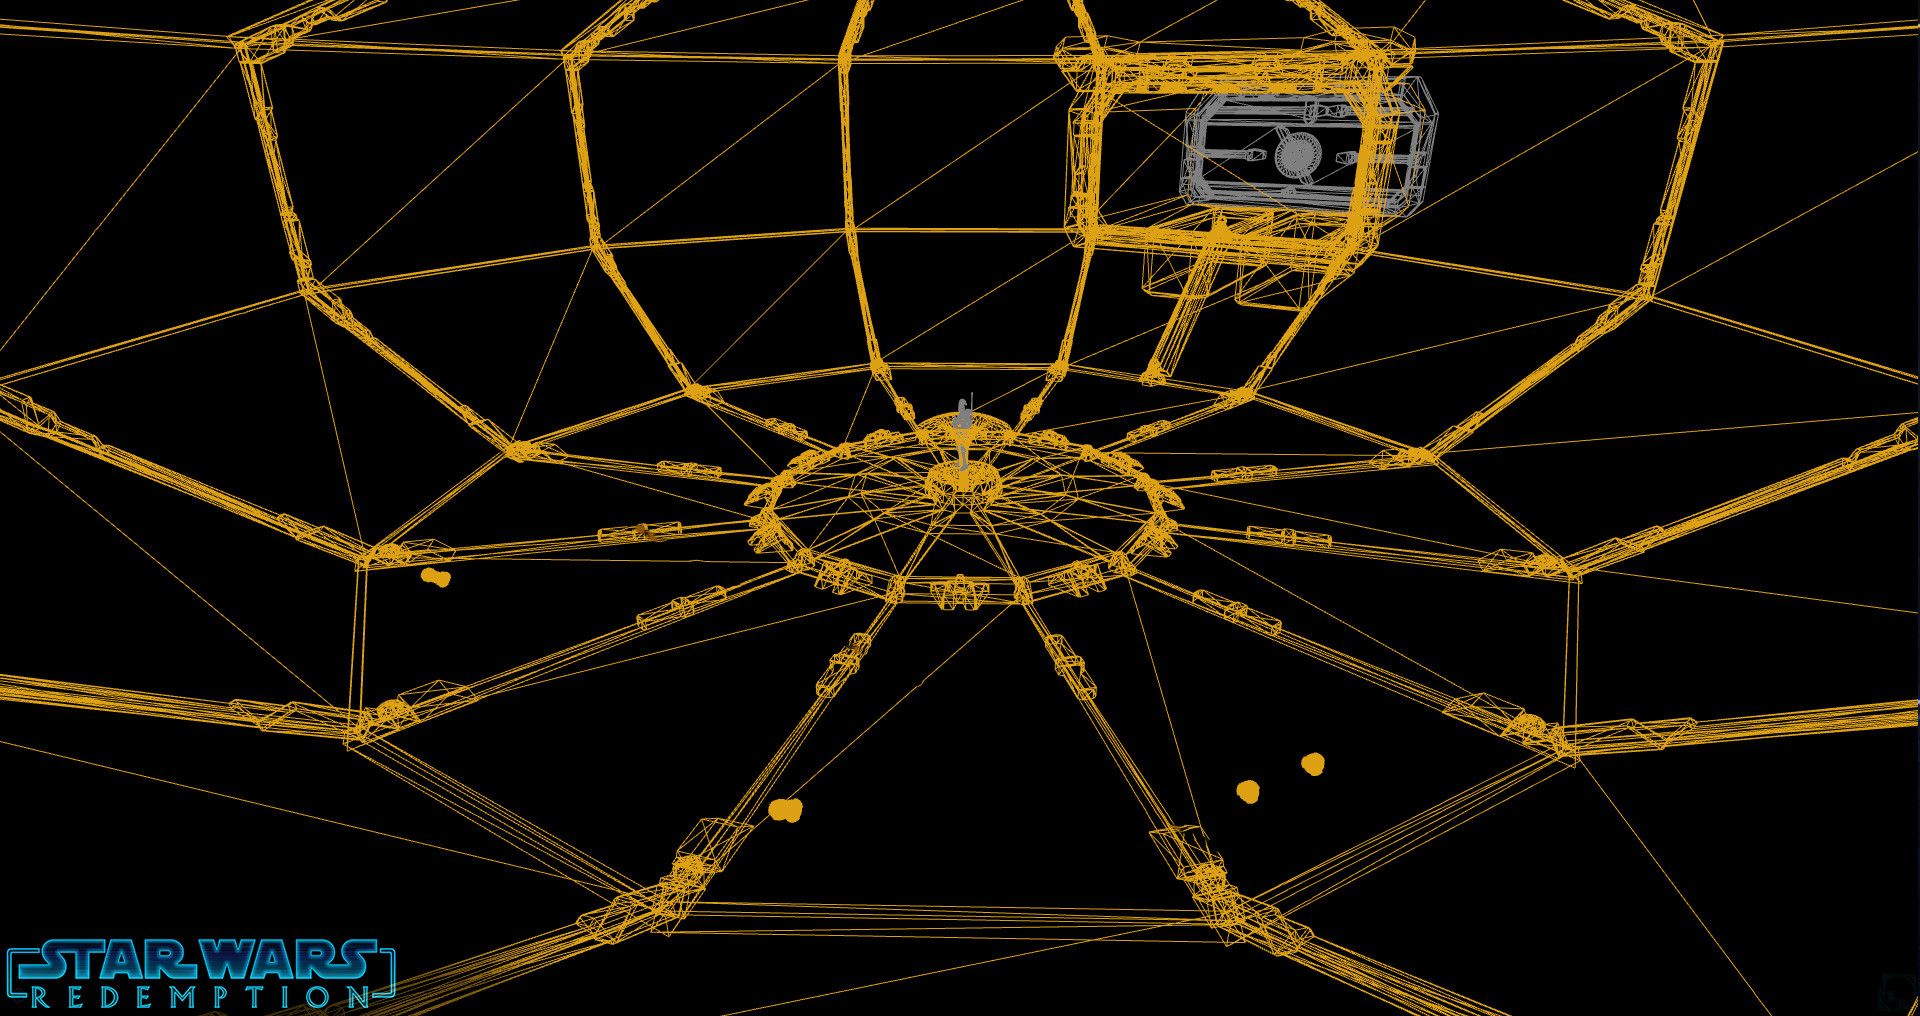
( Wireframe of this scene )
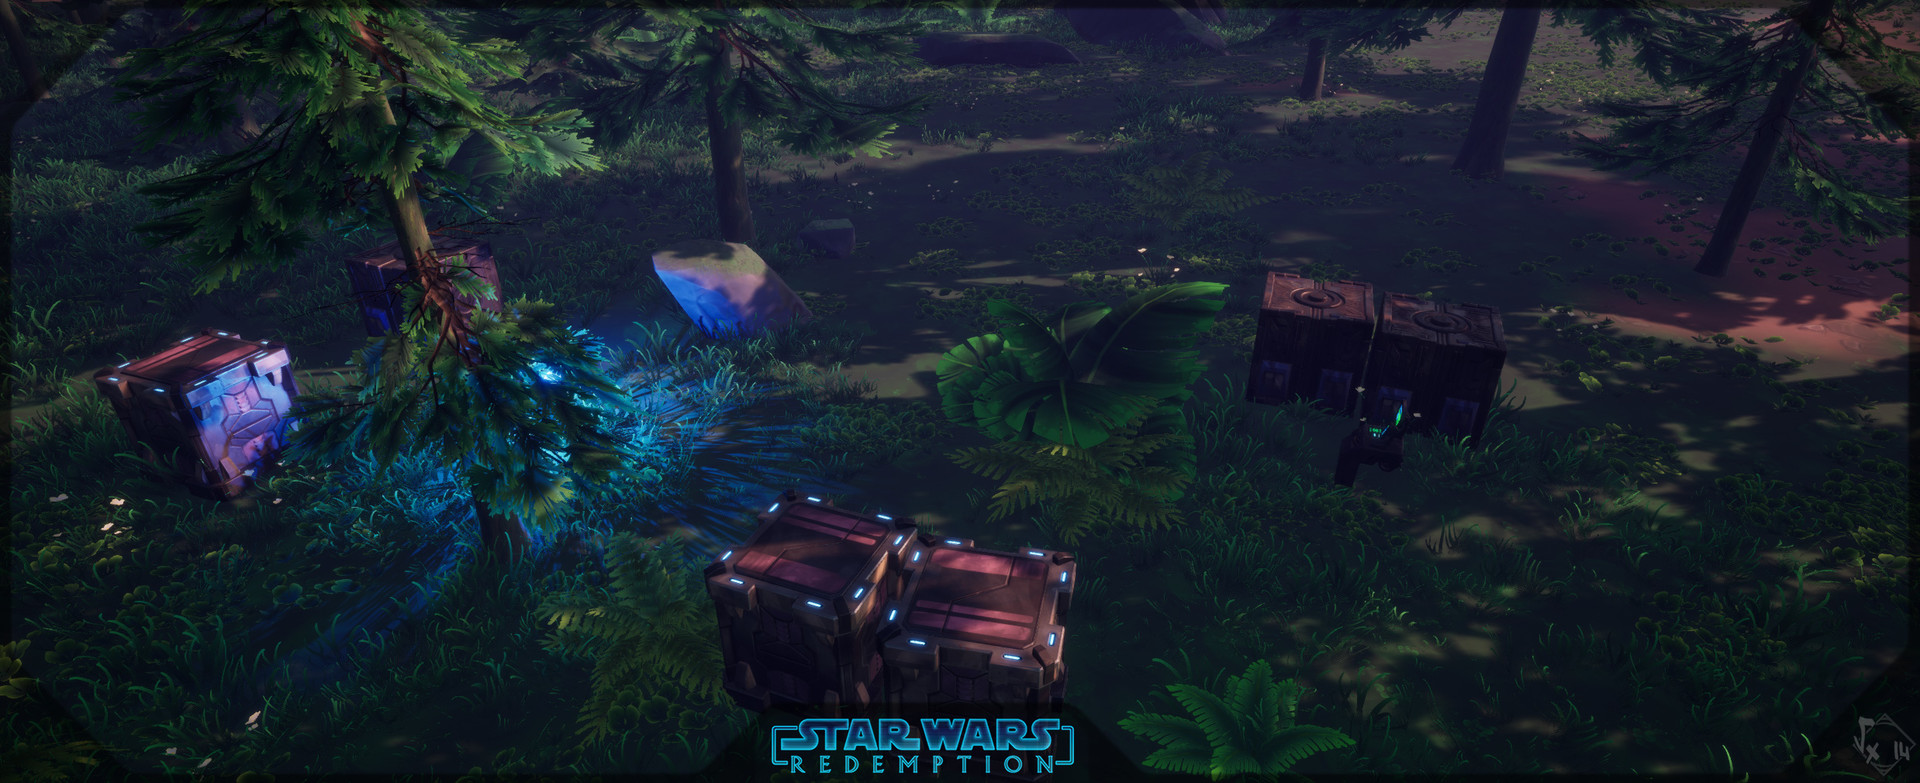
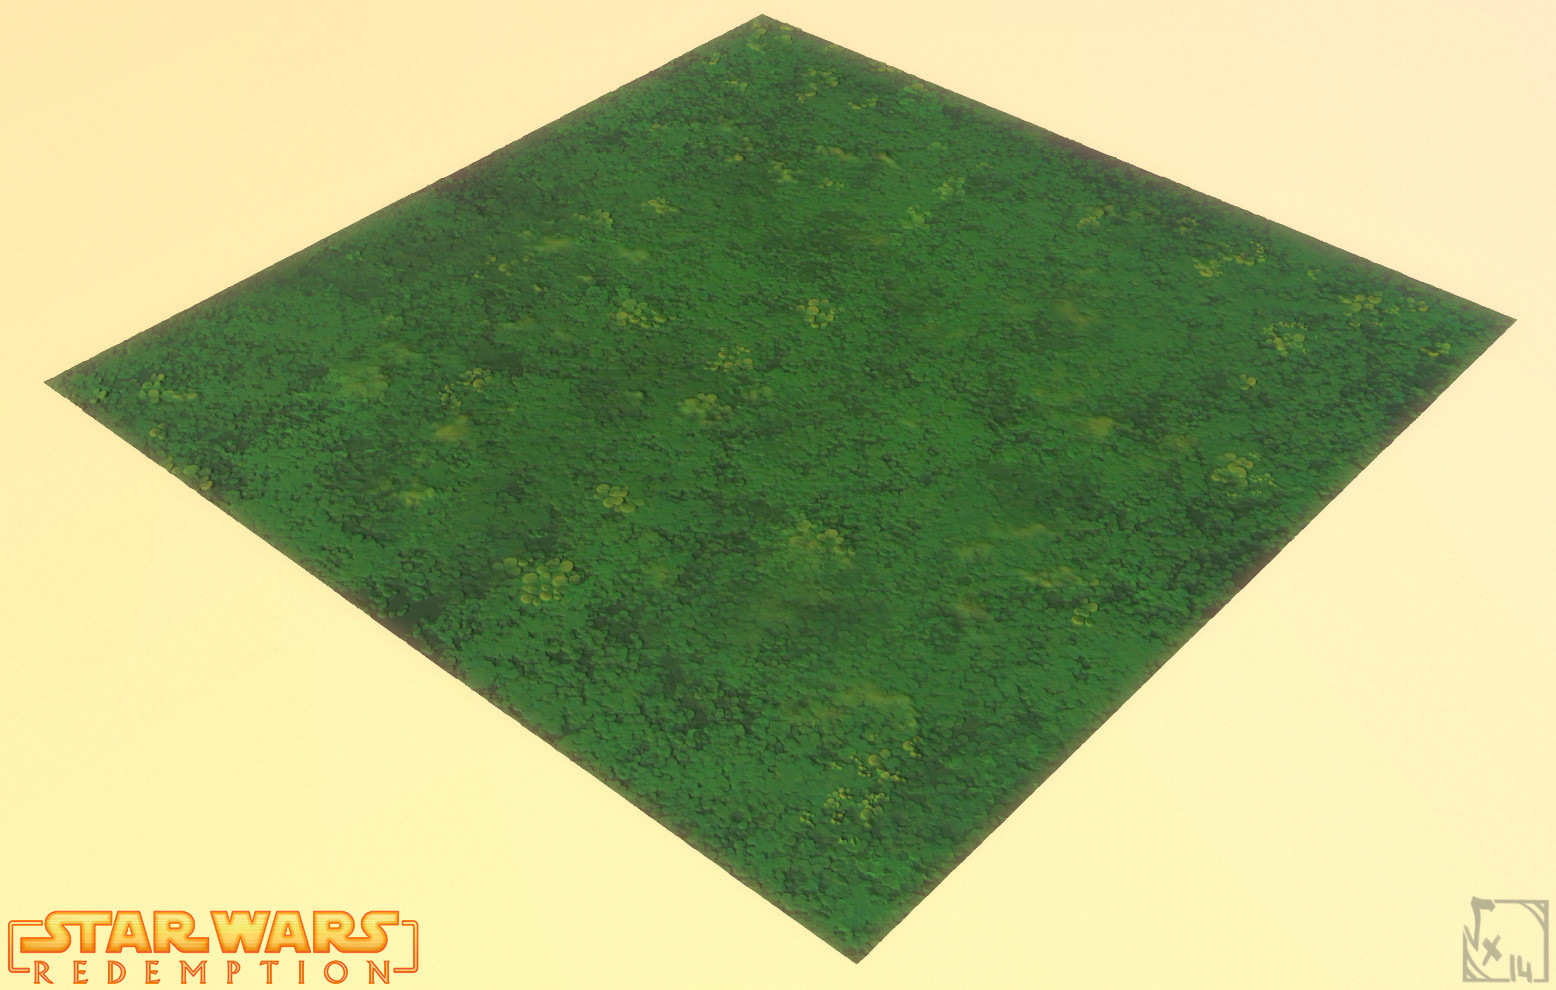
Last but not least, the Grass tiles I talked about at the very beginning :
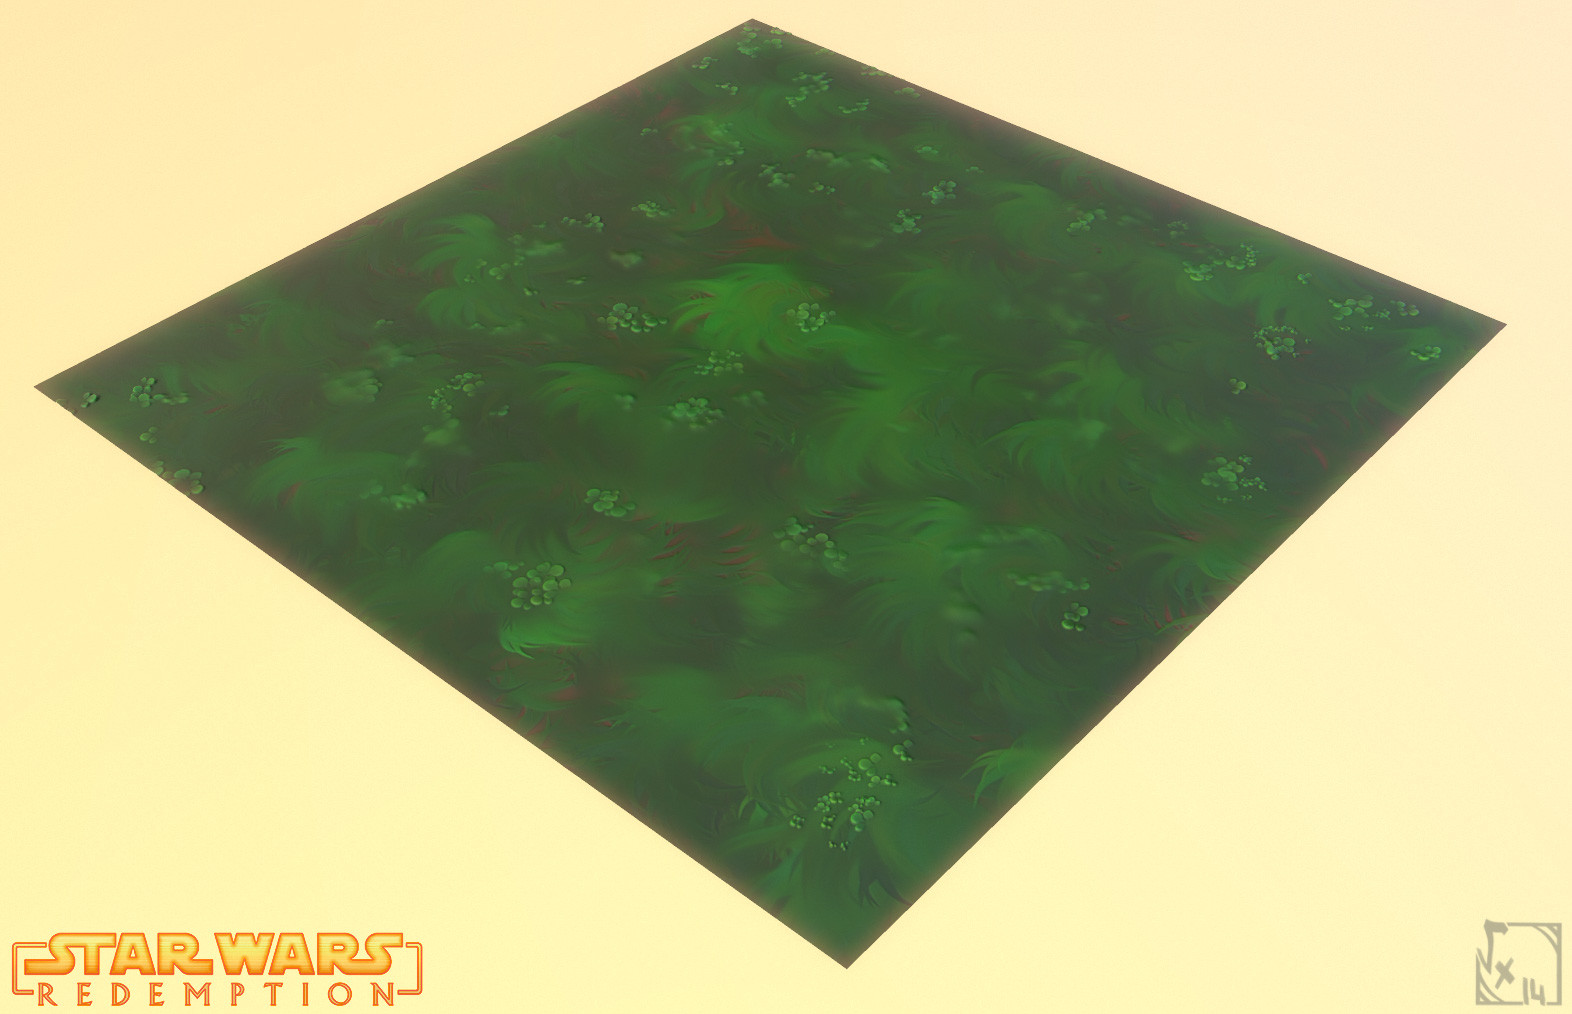
A variant with Clover cover ^^ I use it a lot on trunks/Rocks to generate a kind of lichen/moss, it works really well =)
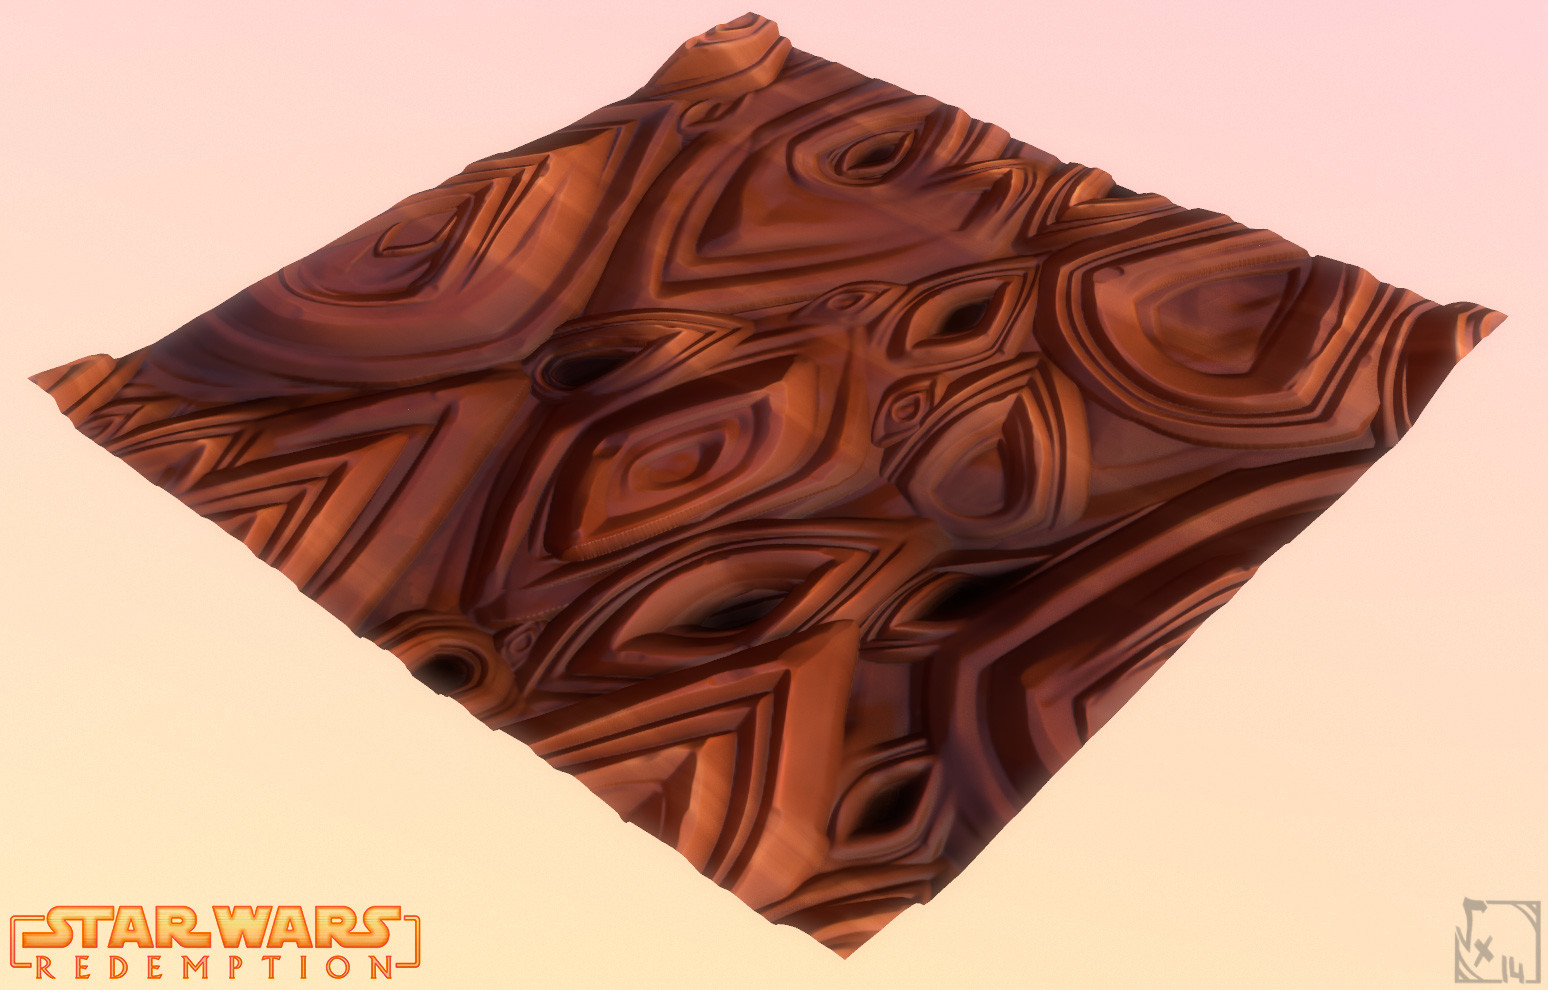
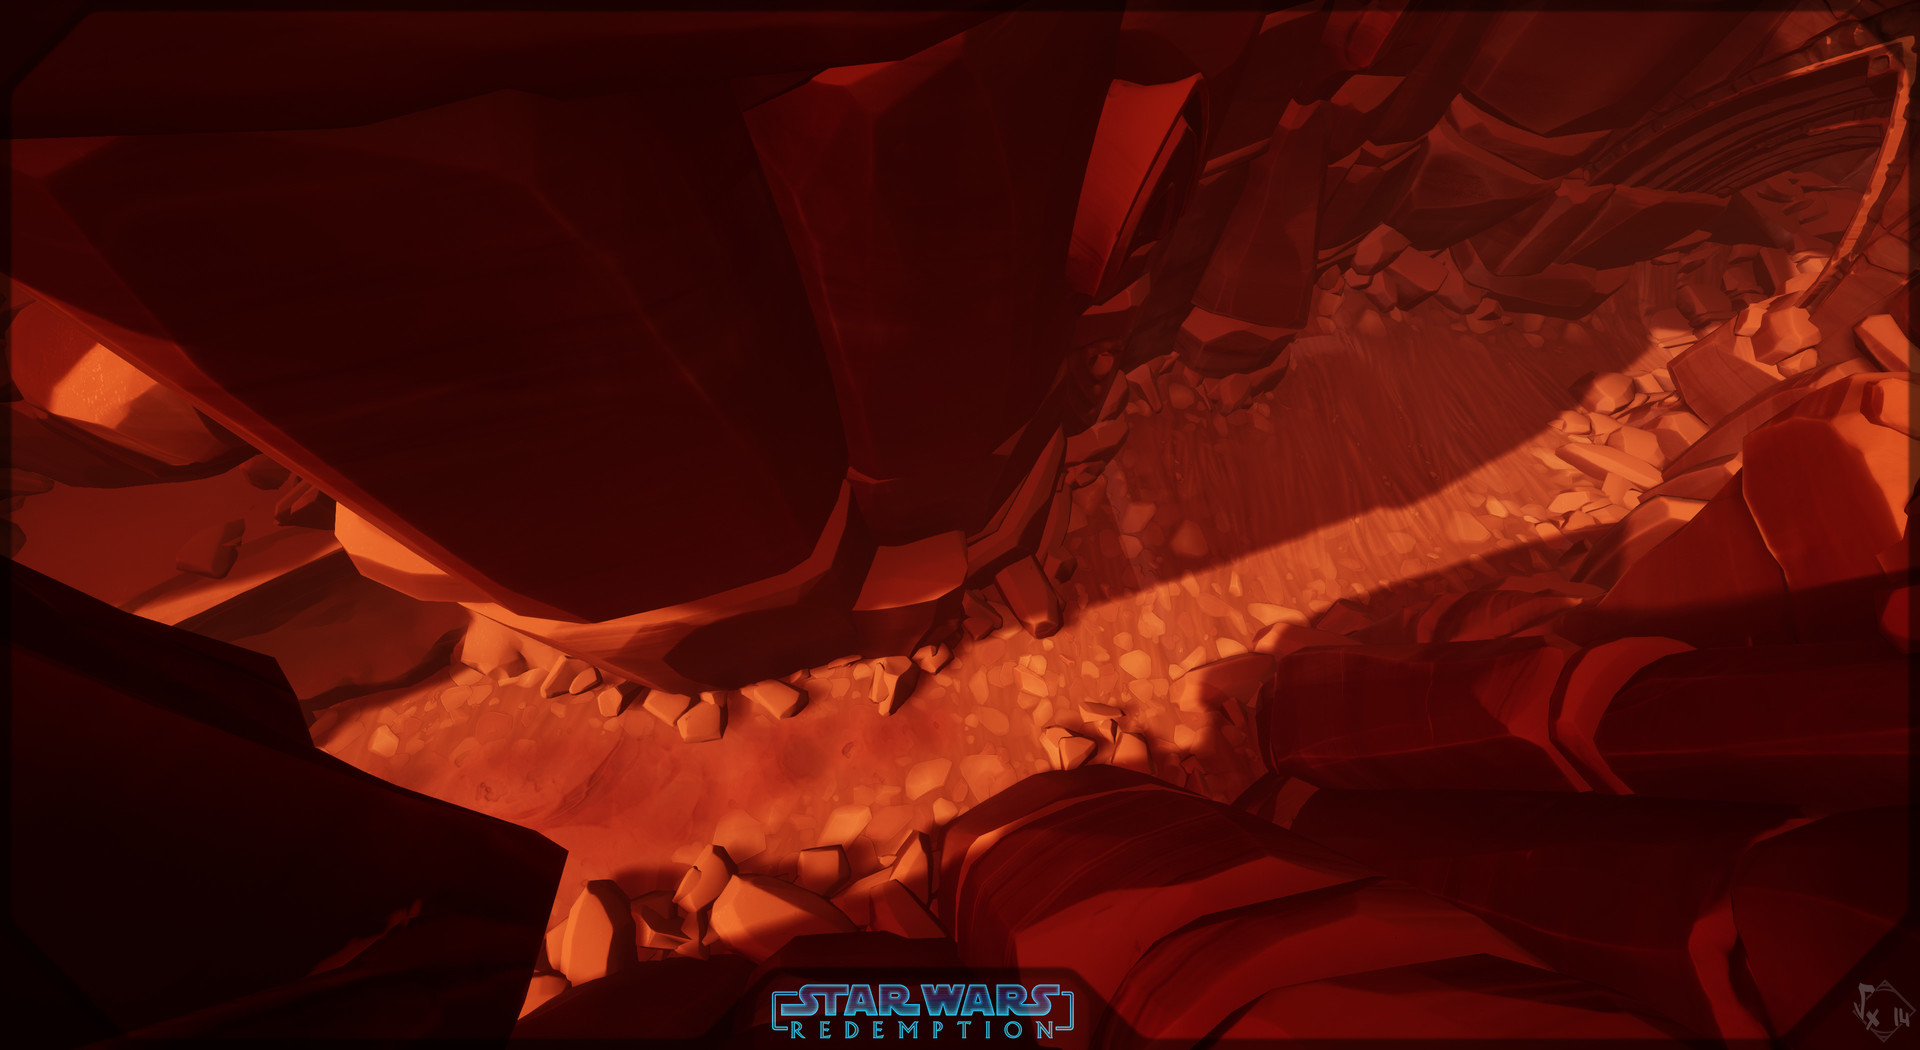
Not fan about this one, "Alcove", for Geonosis. It doesn't work well as is I think...
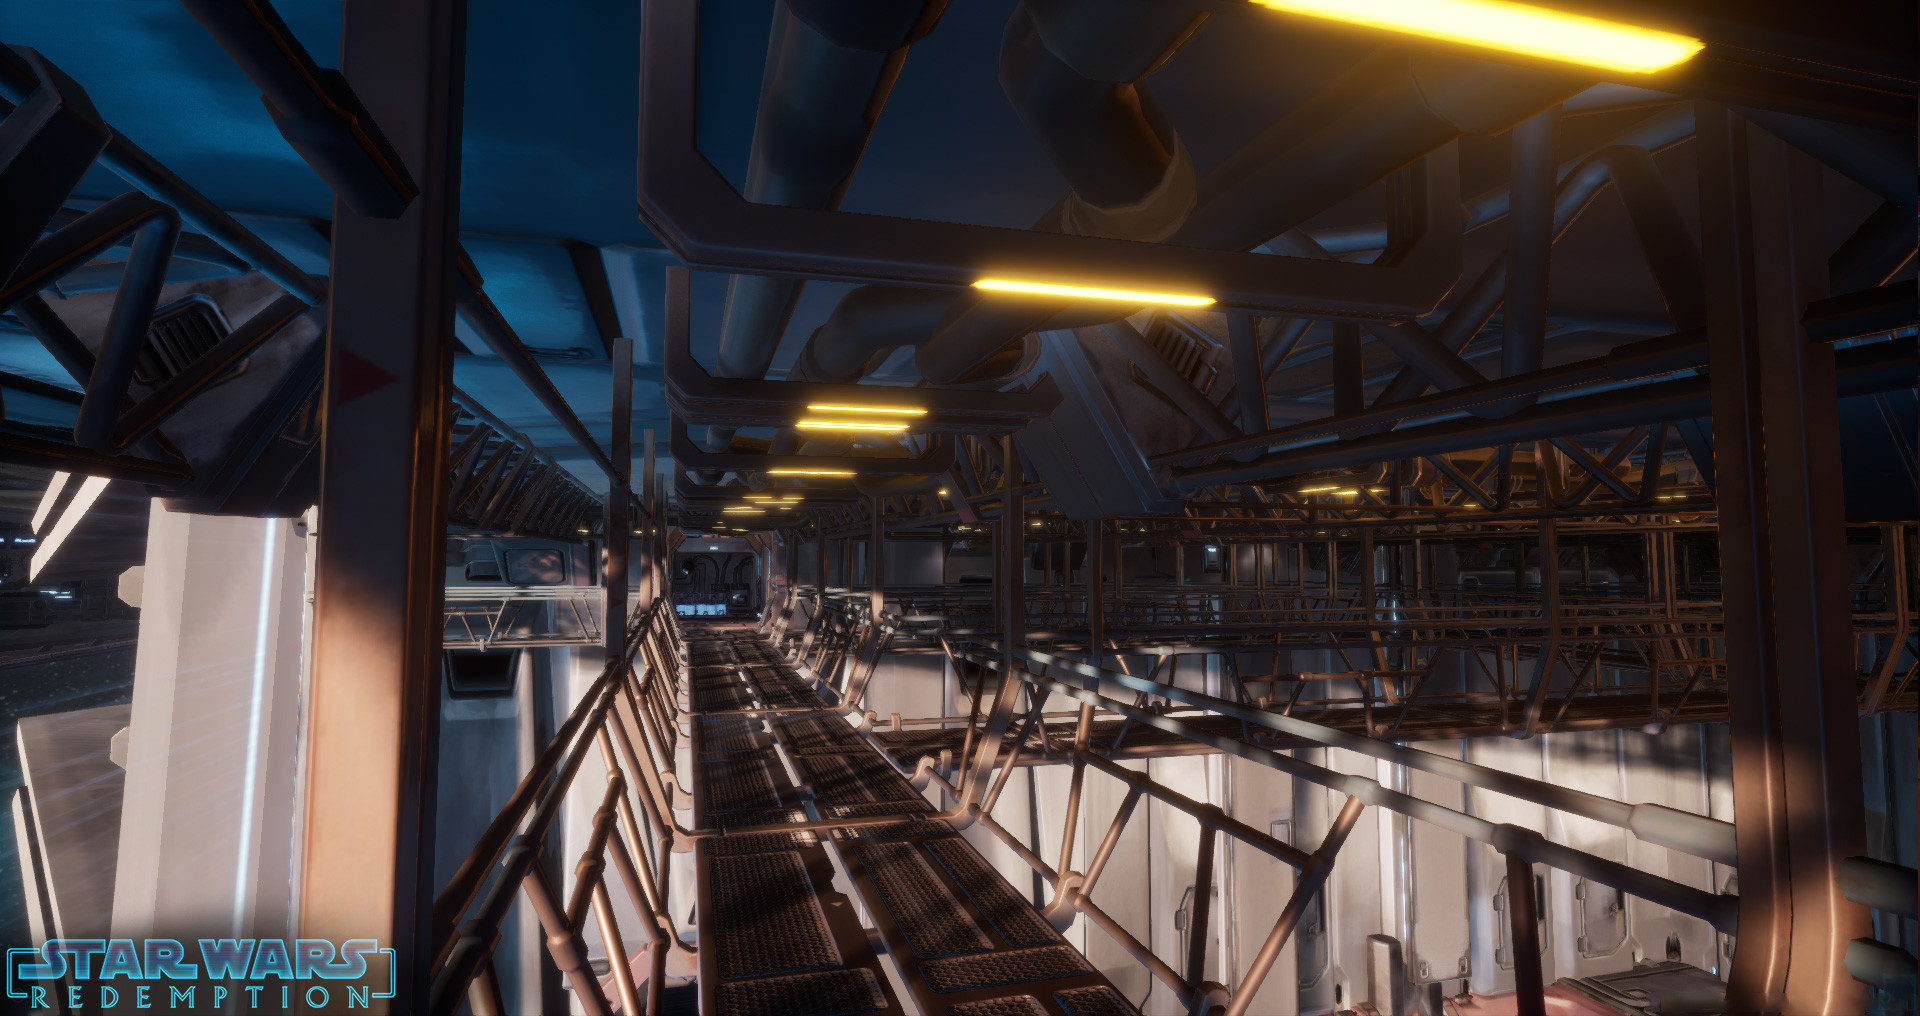
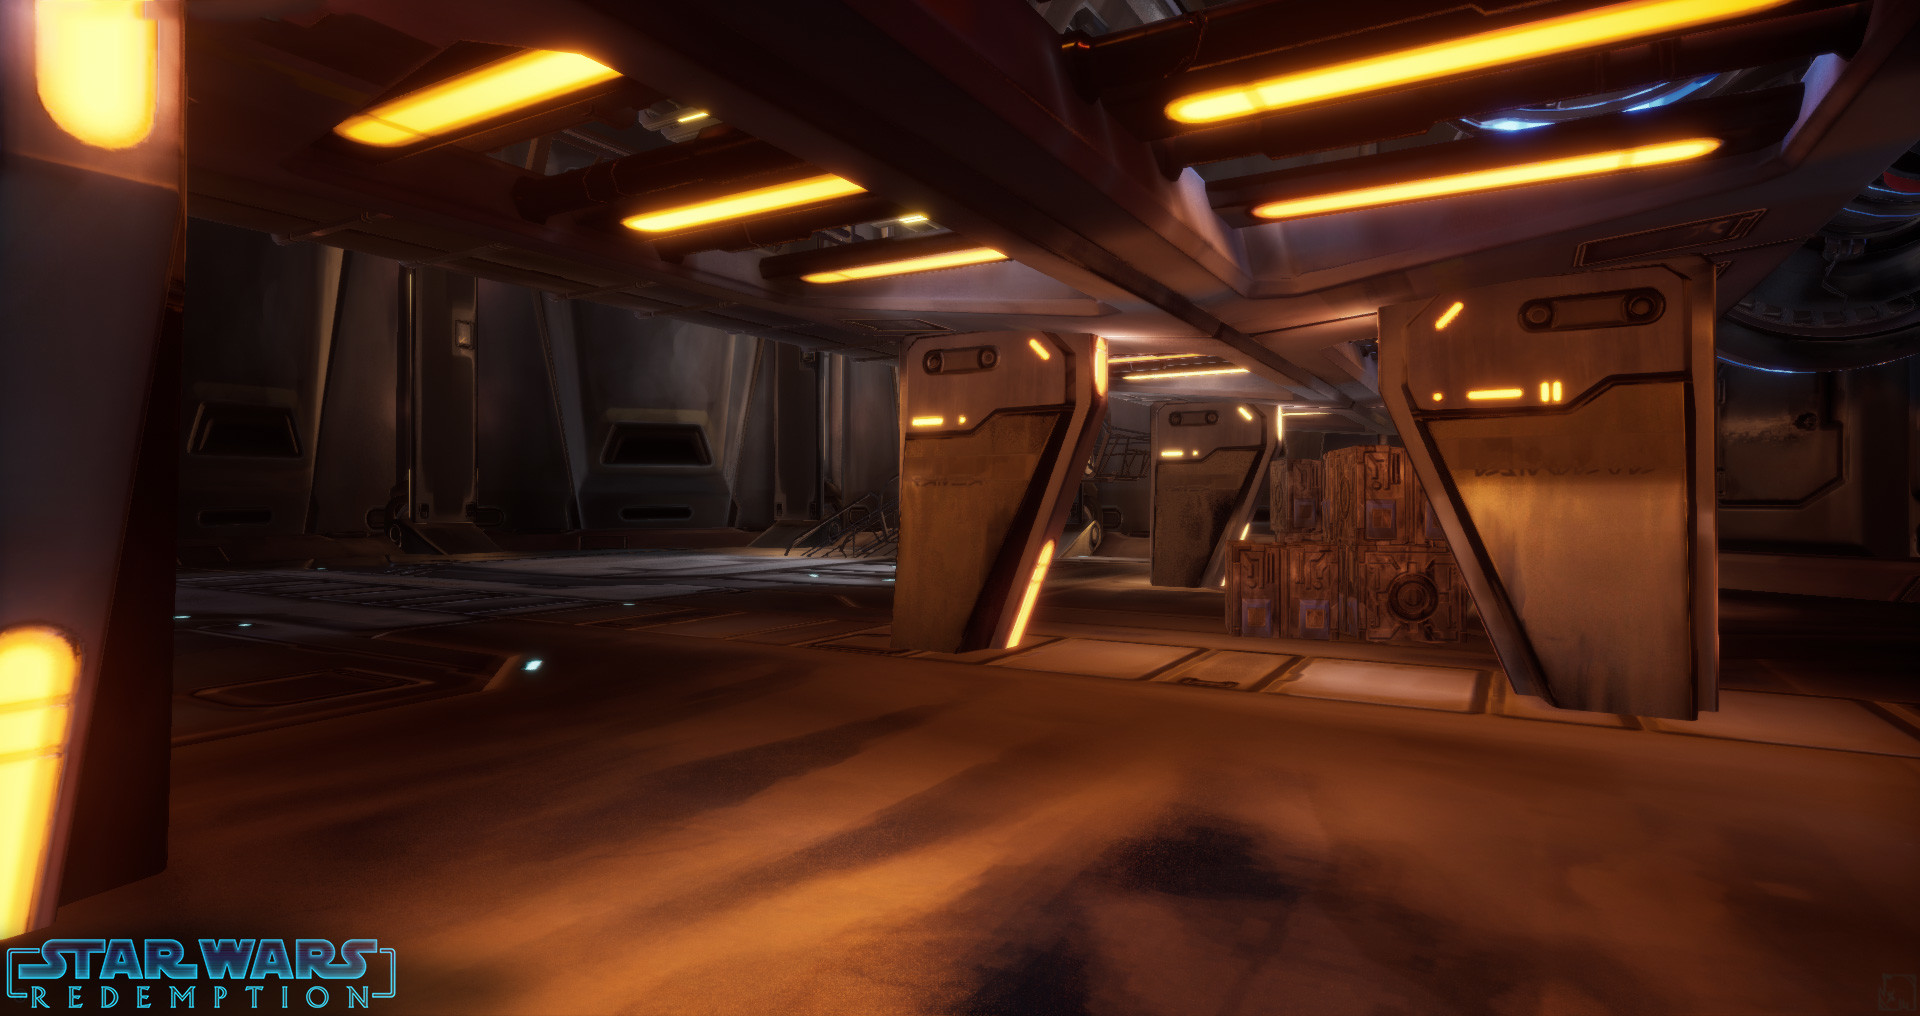
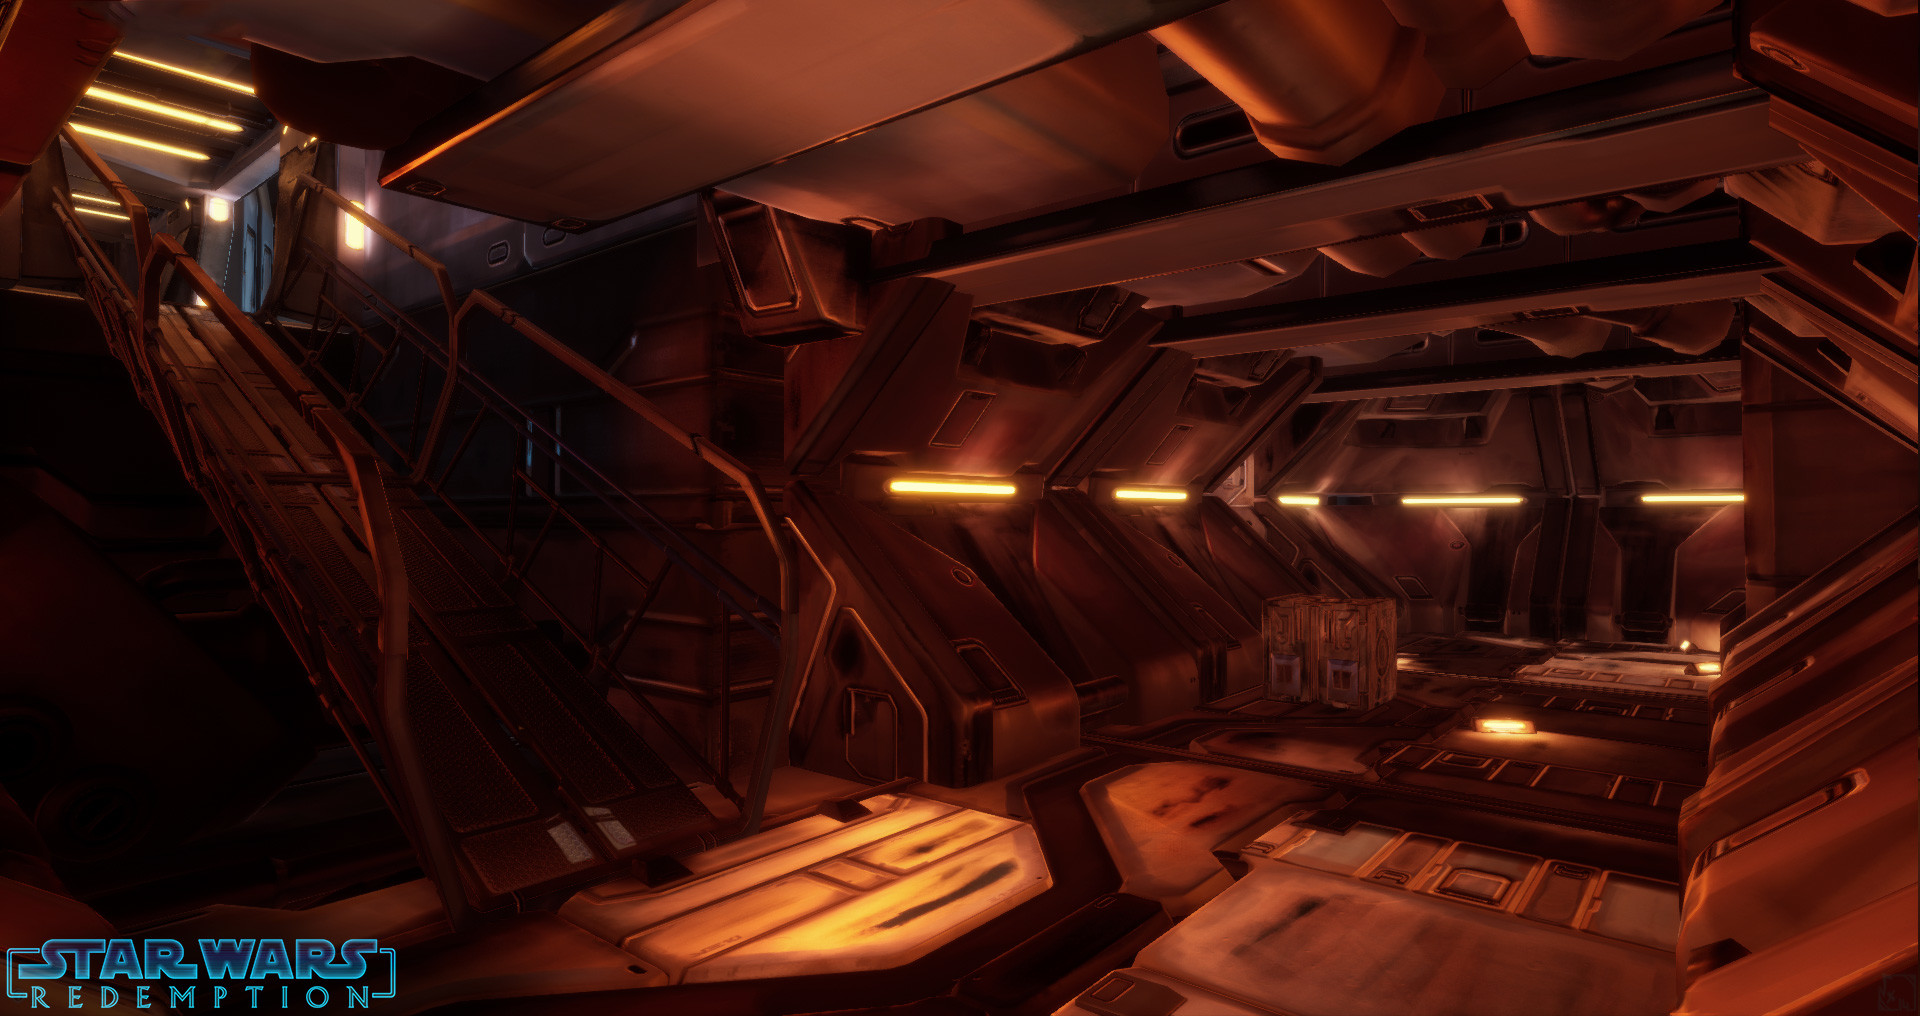
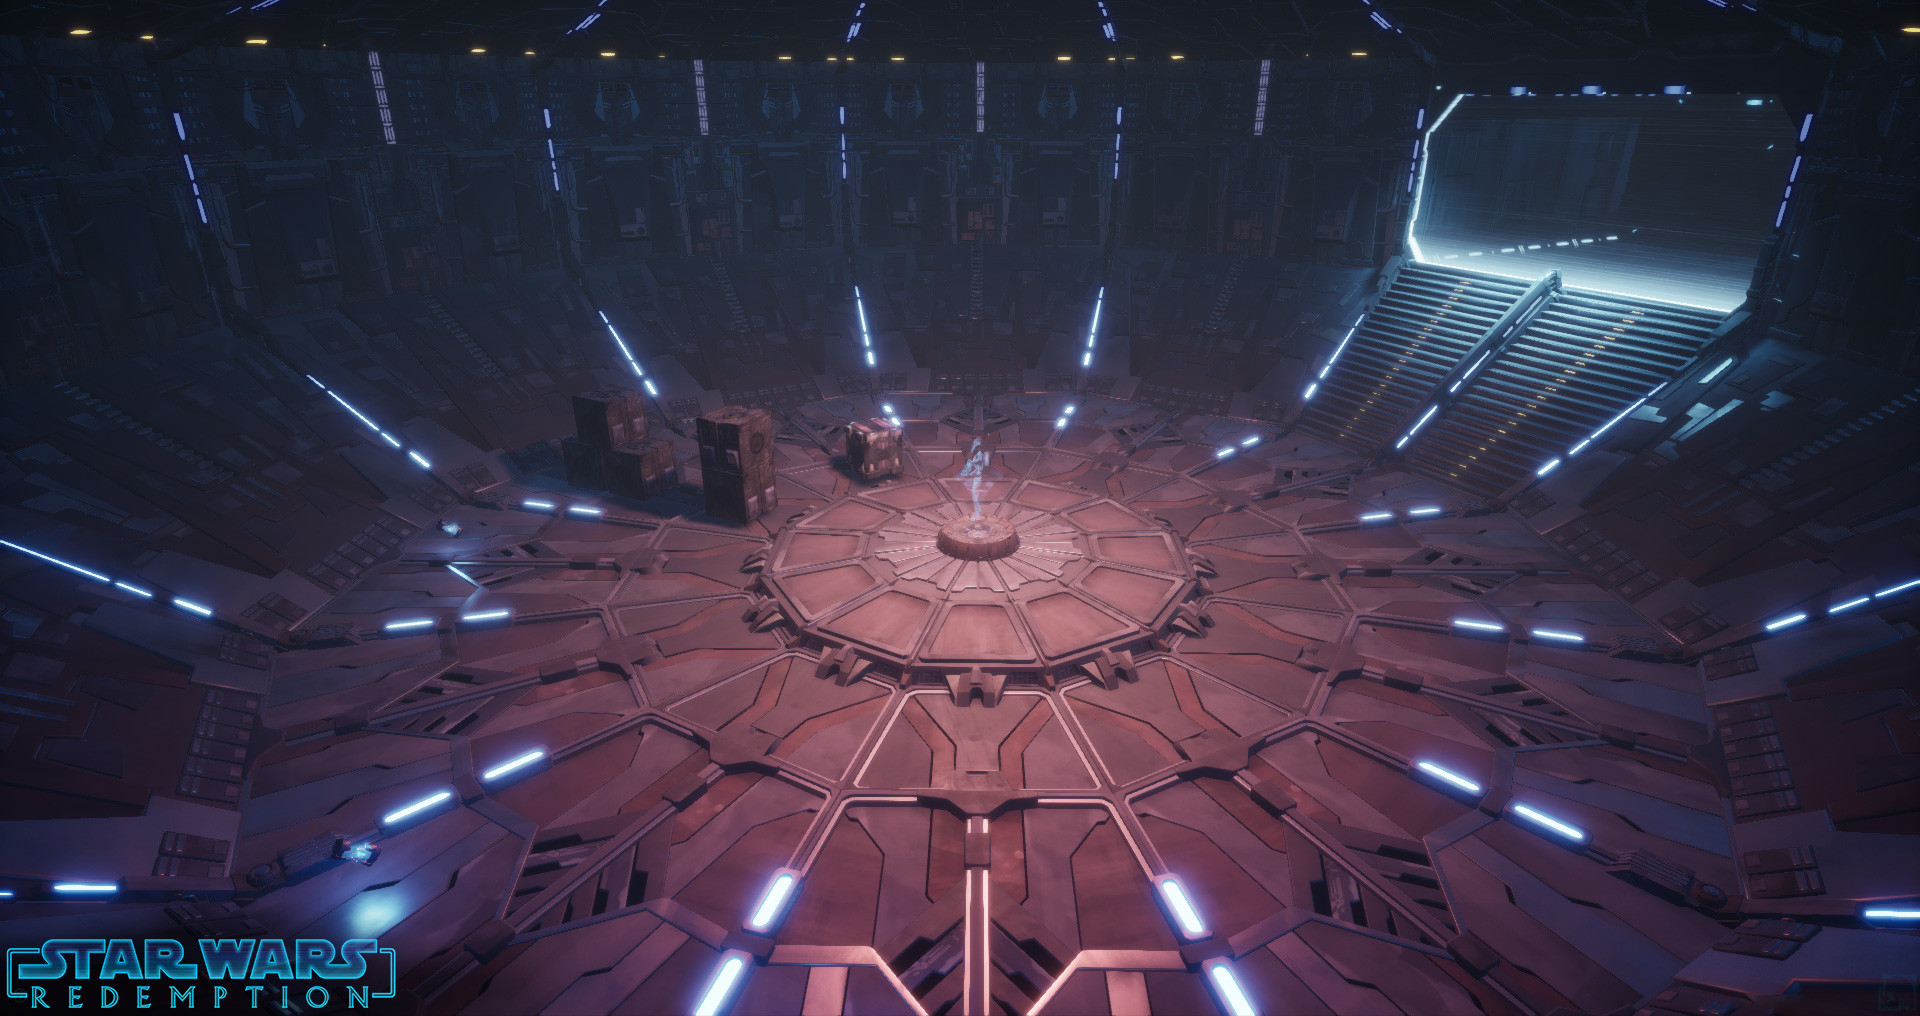
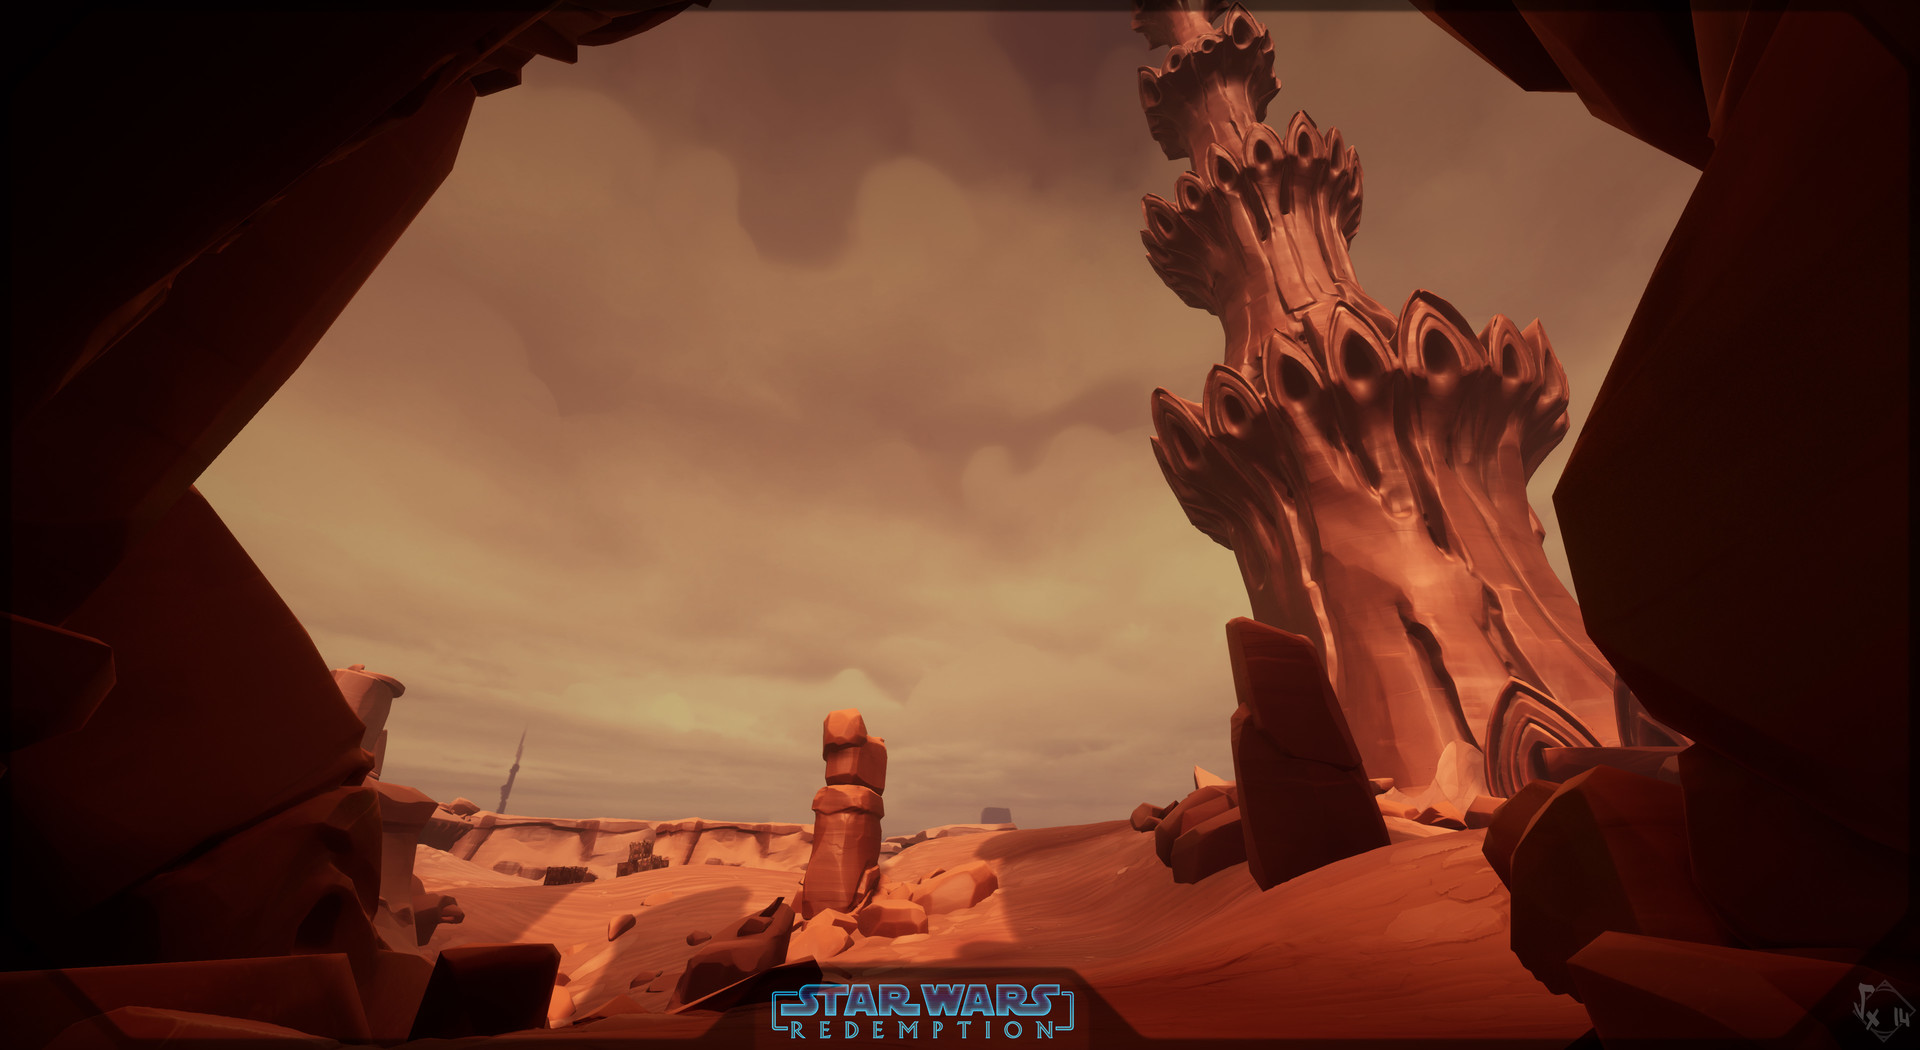
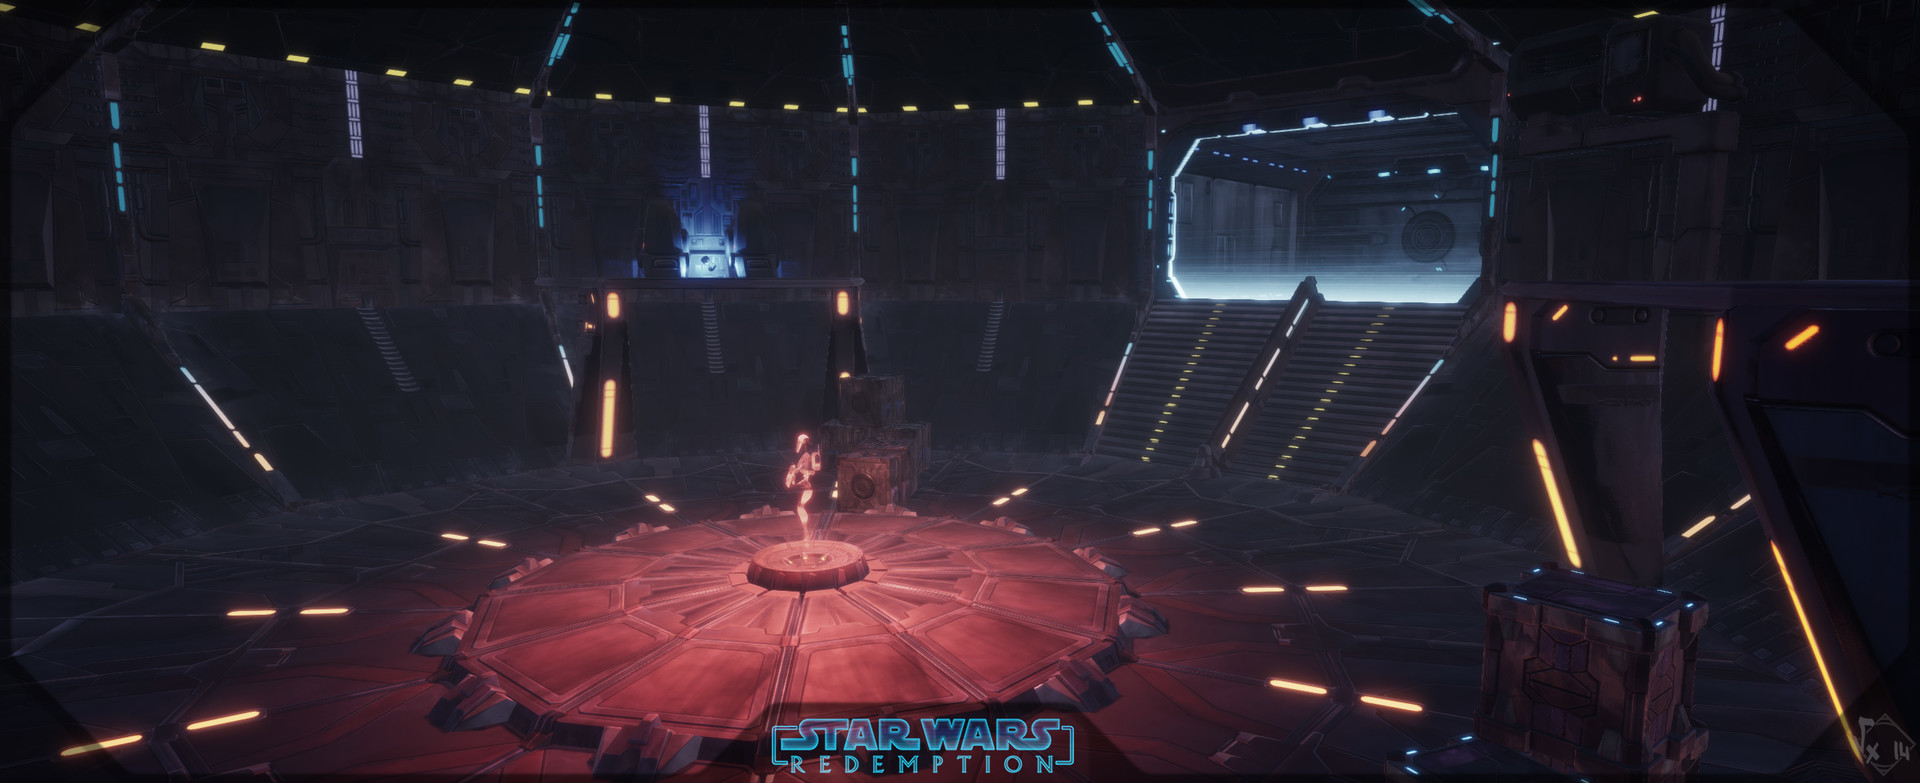
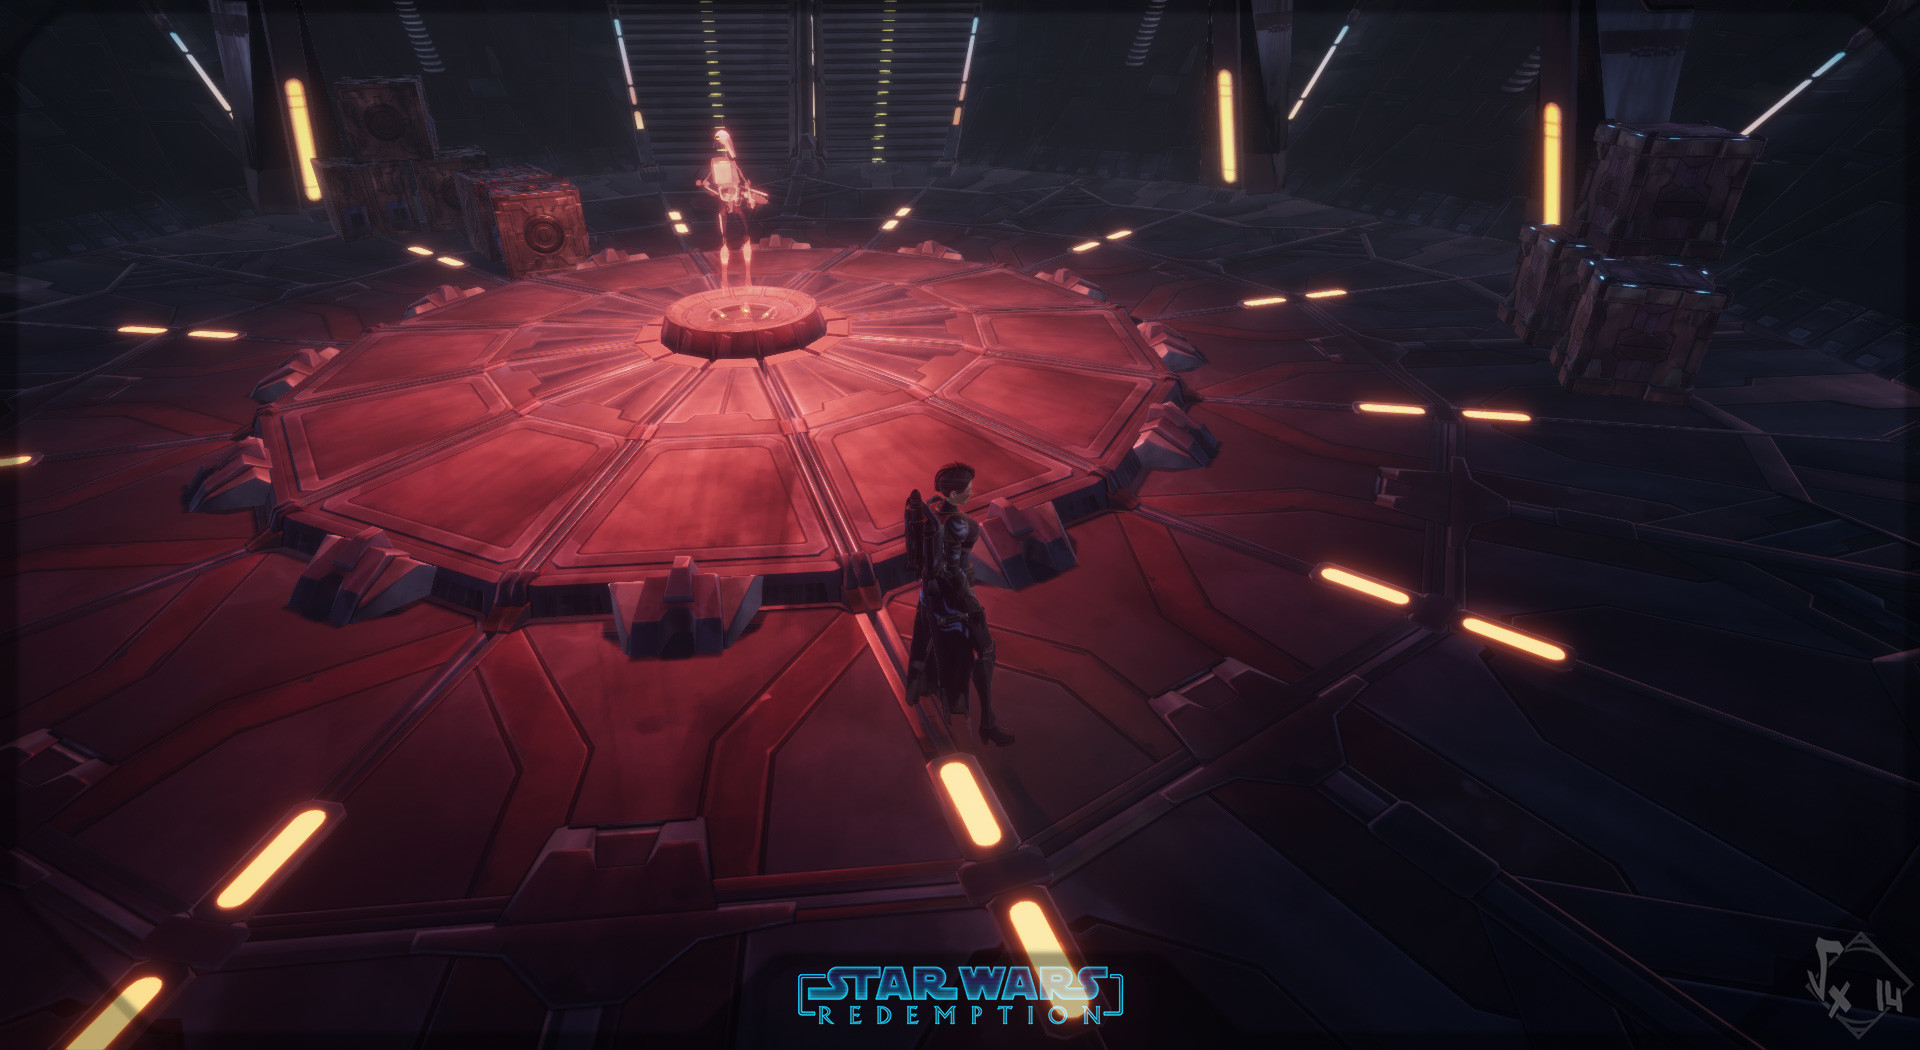
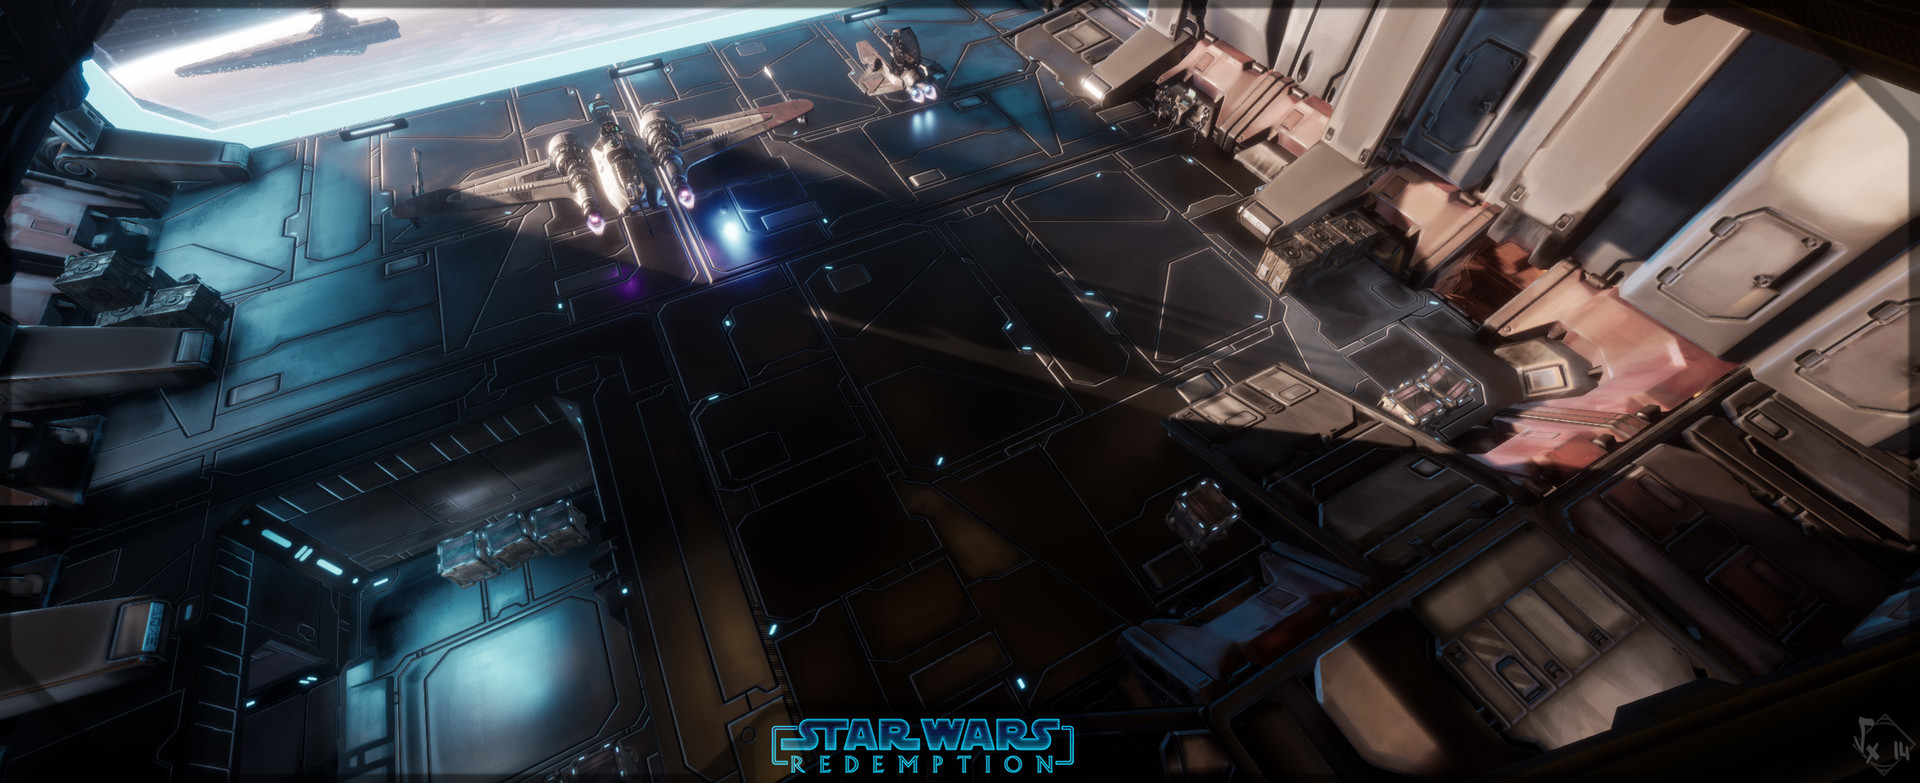
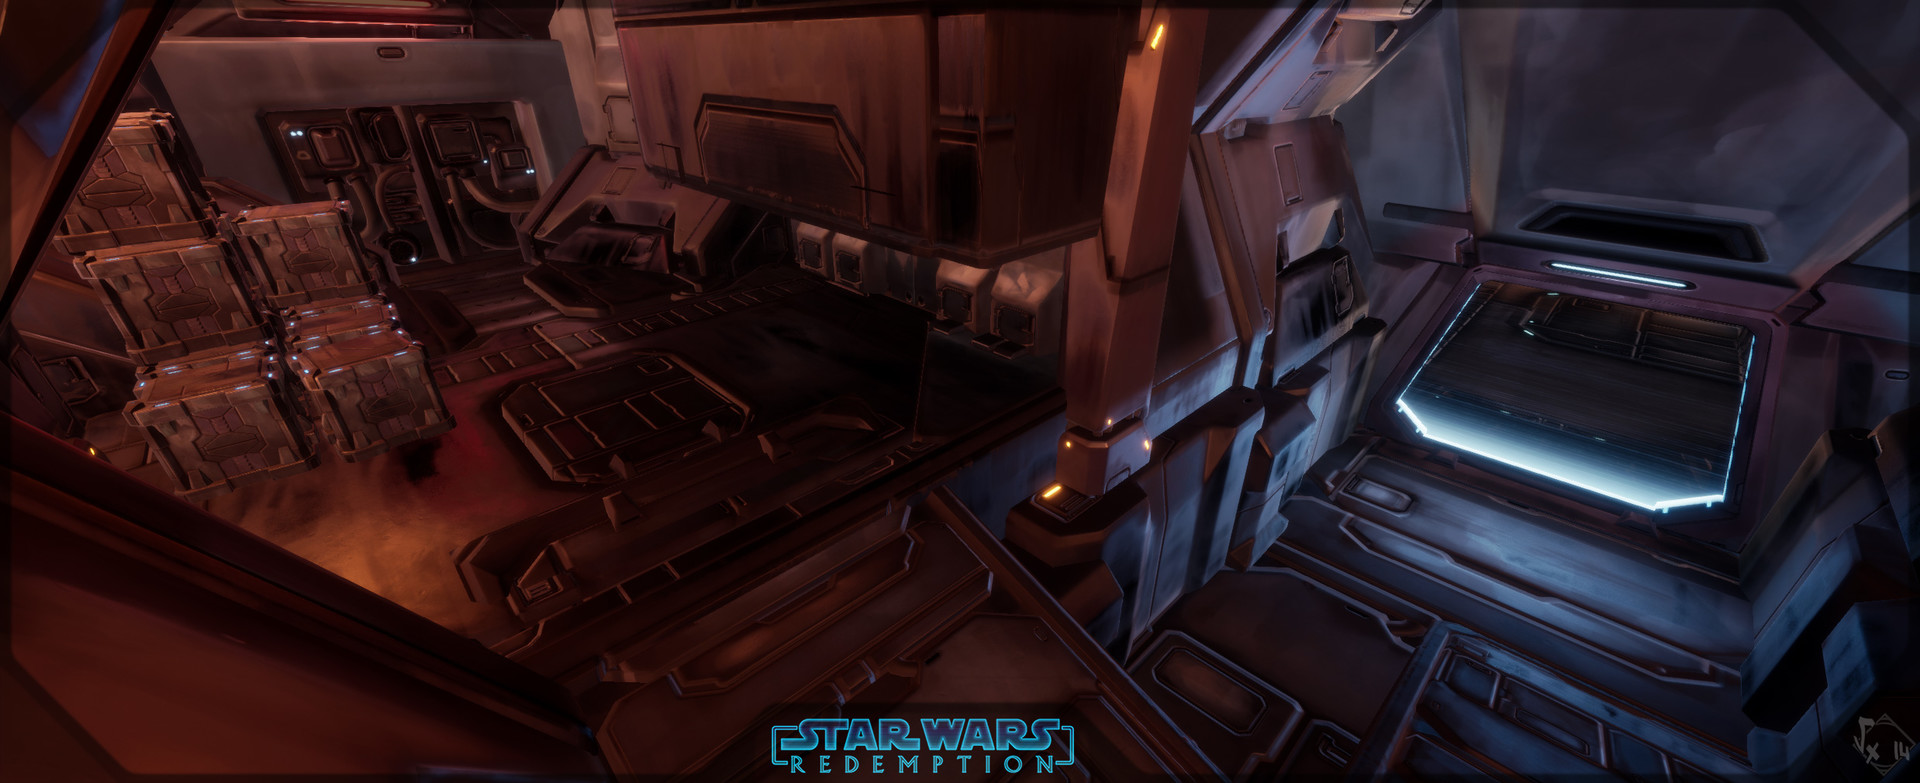
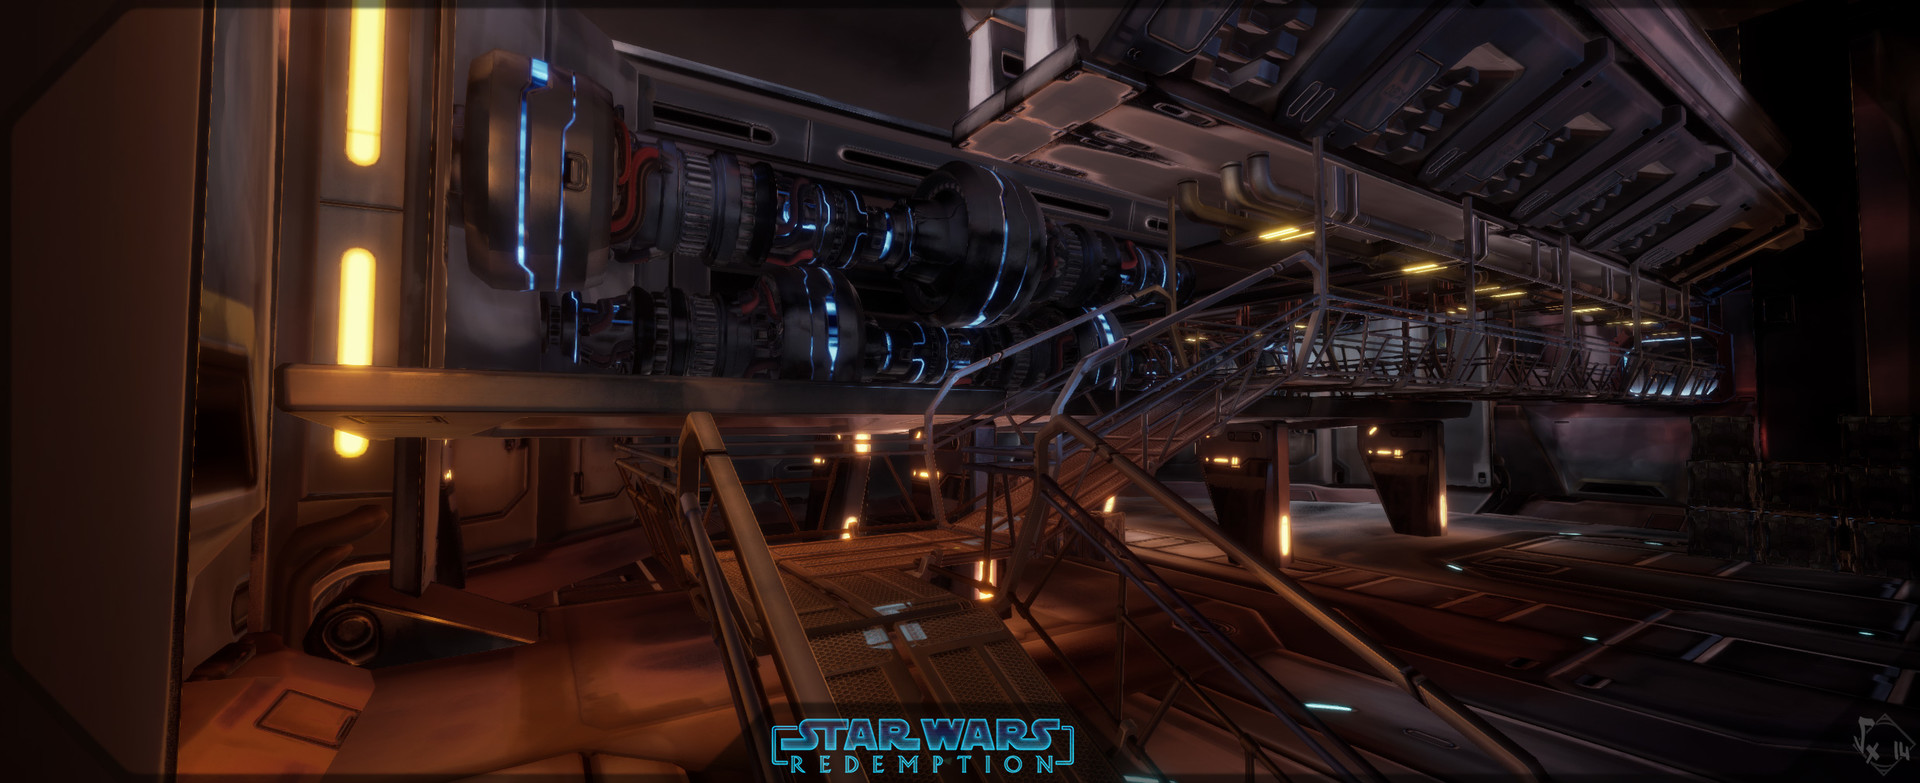
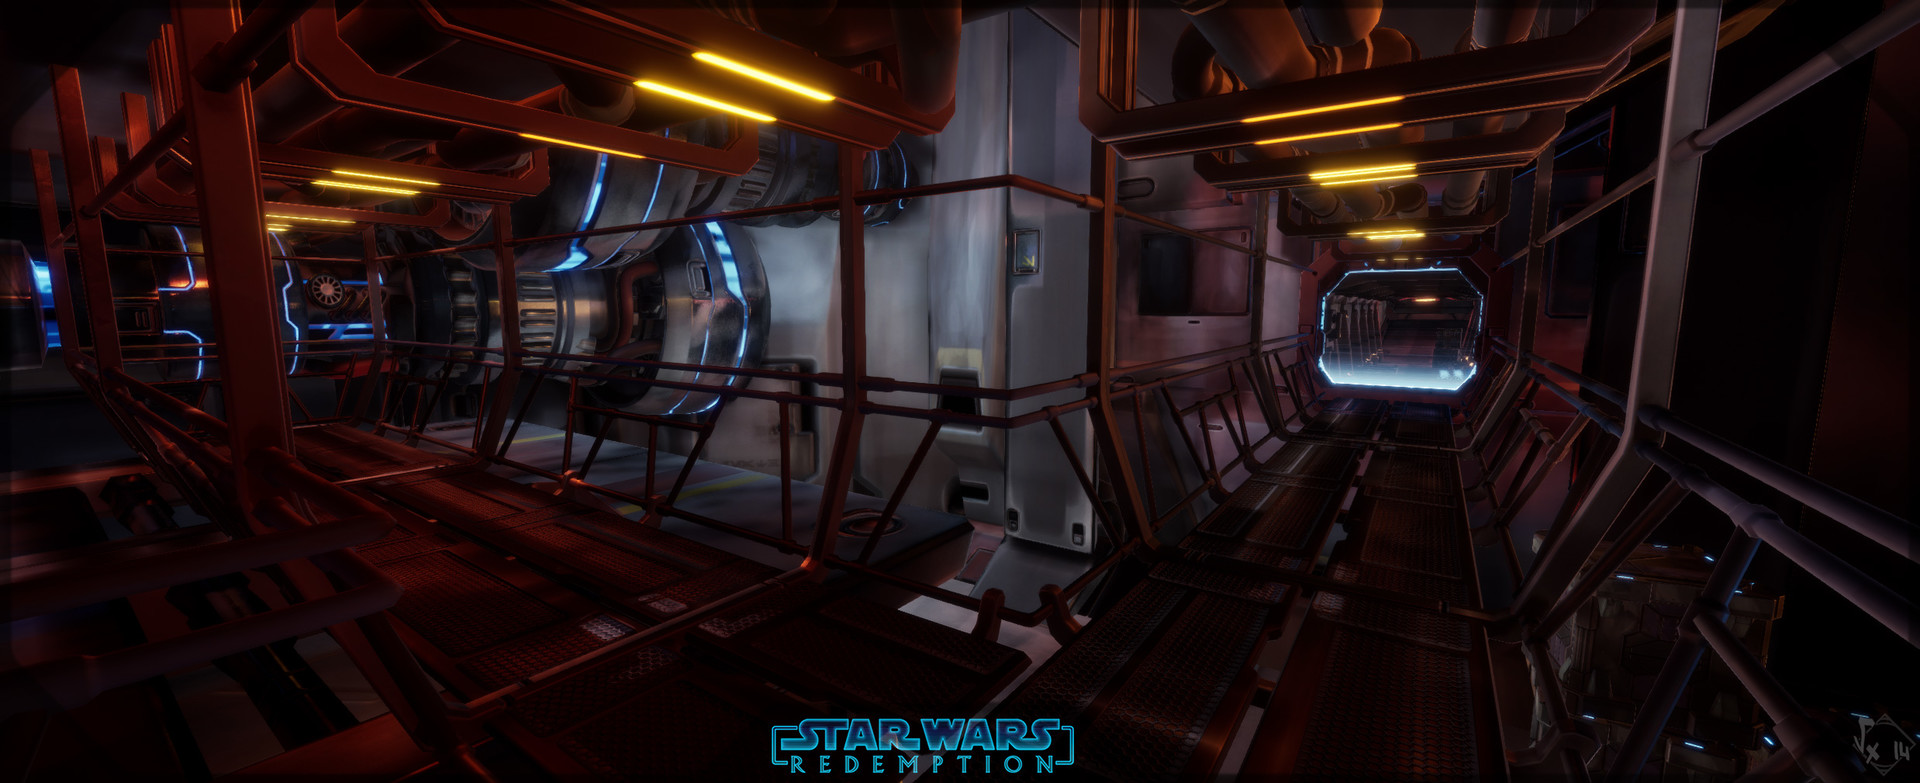
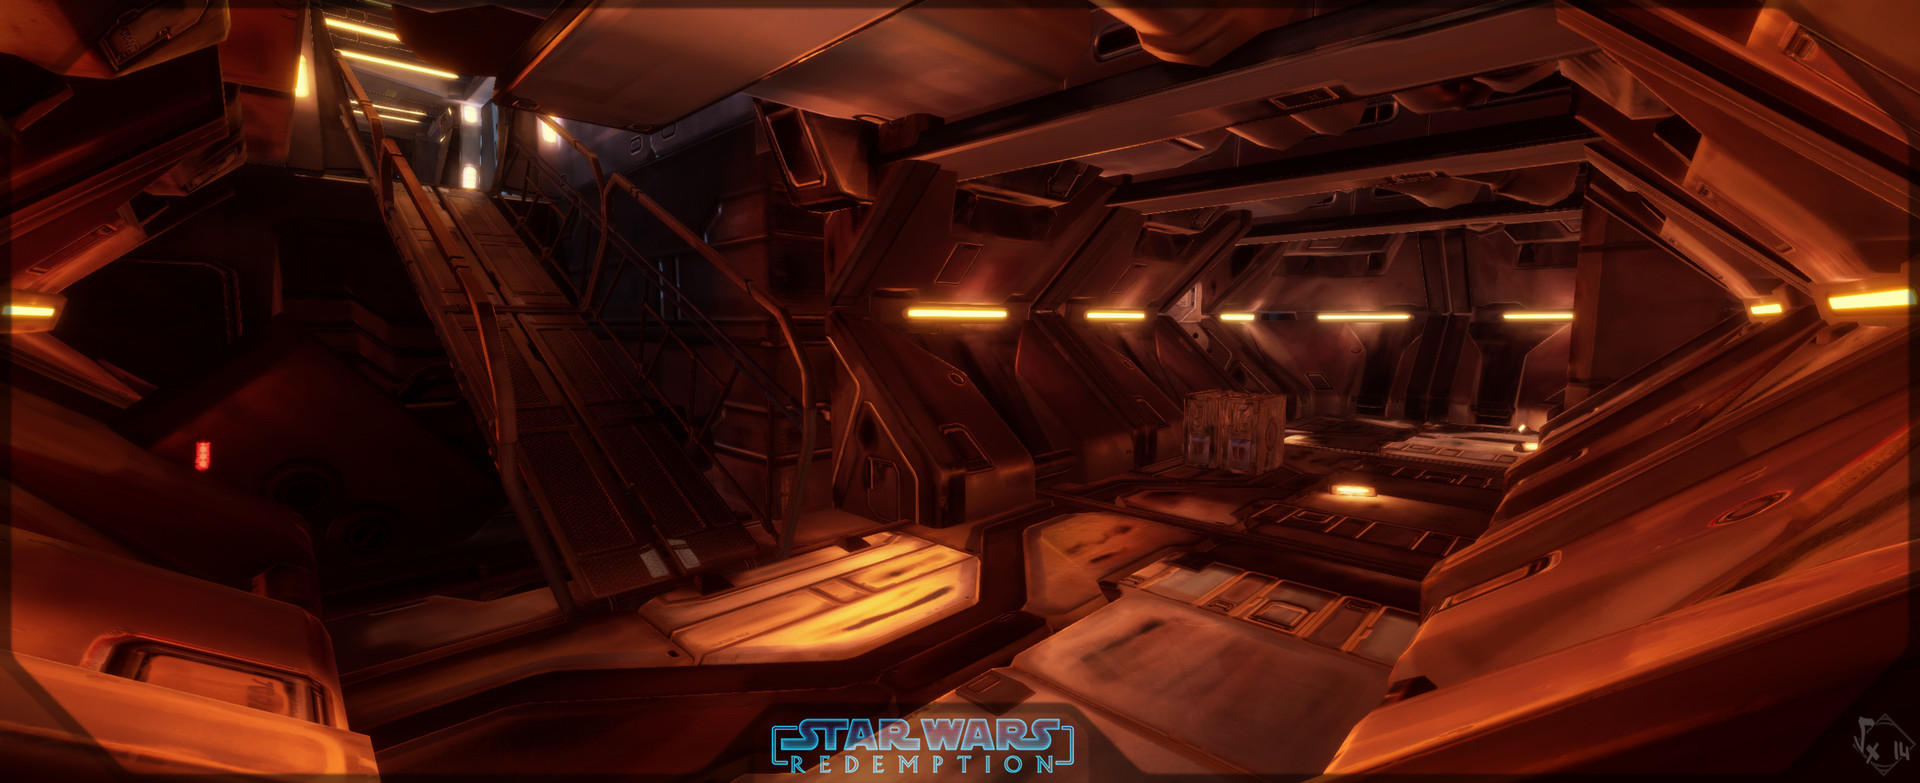
Yet some screenshots about others environment to end this new post :)
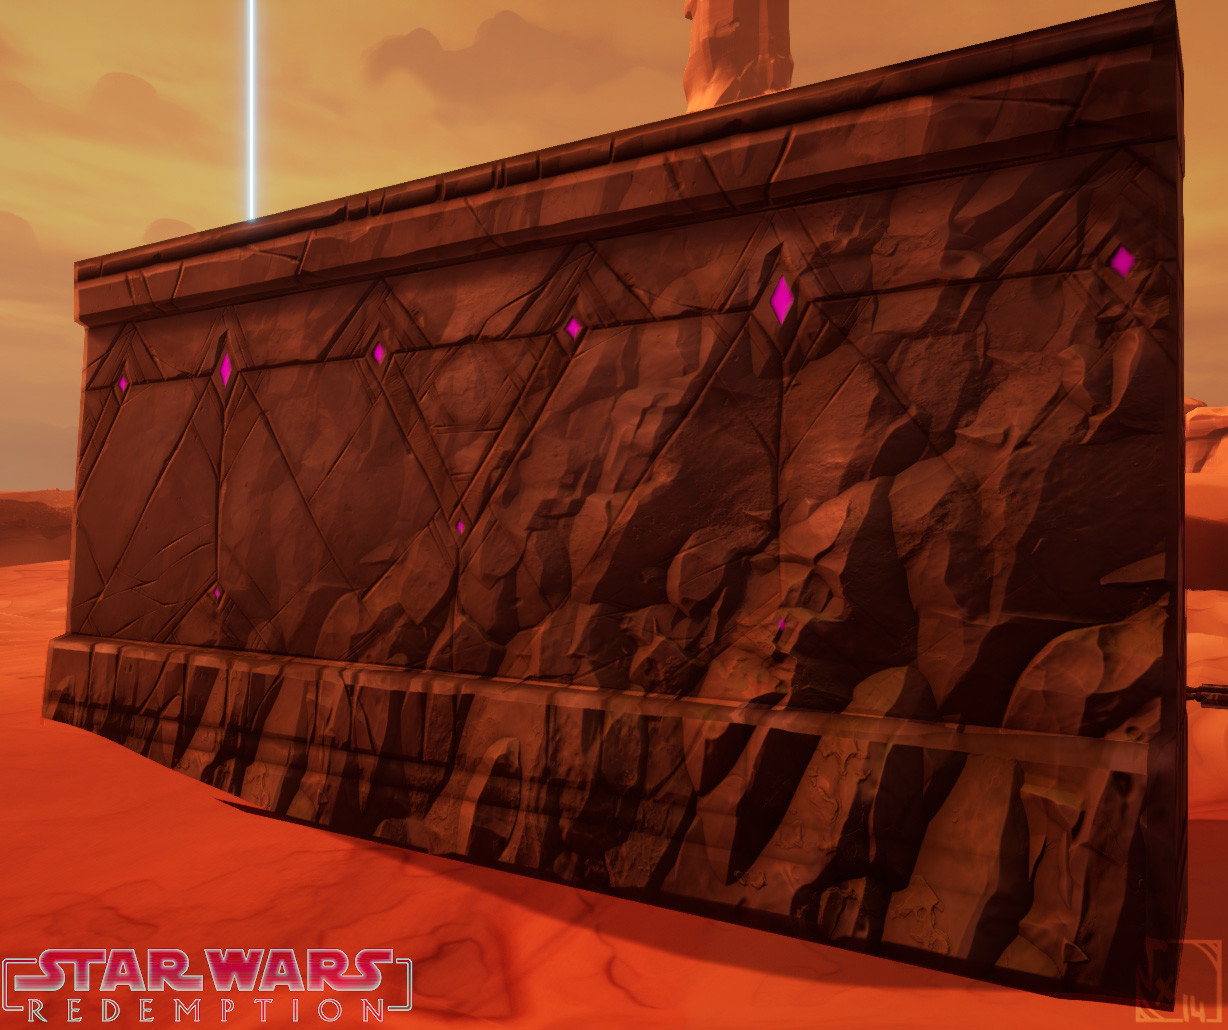
There's some dying Lucrehulk's control spheres in the sky =D A little VFX I made, it's looks really good except the beam which should come from clone army, at the moment it comes from the emitter's world position =/ It looked like a kind of a reactor trail, not a destruction beam, so I removed it for screenshots ^^" You can still see it on the blend vertex wall I posted above ;)
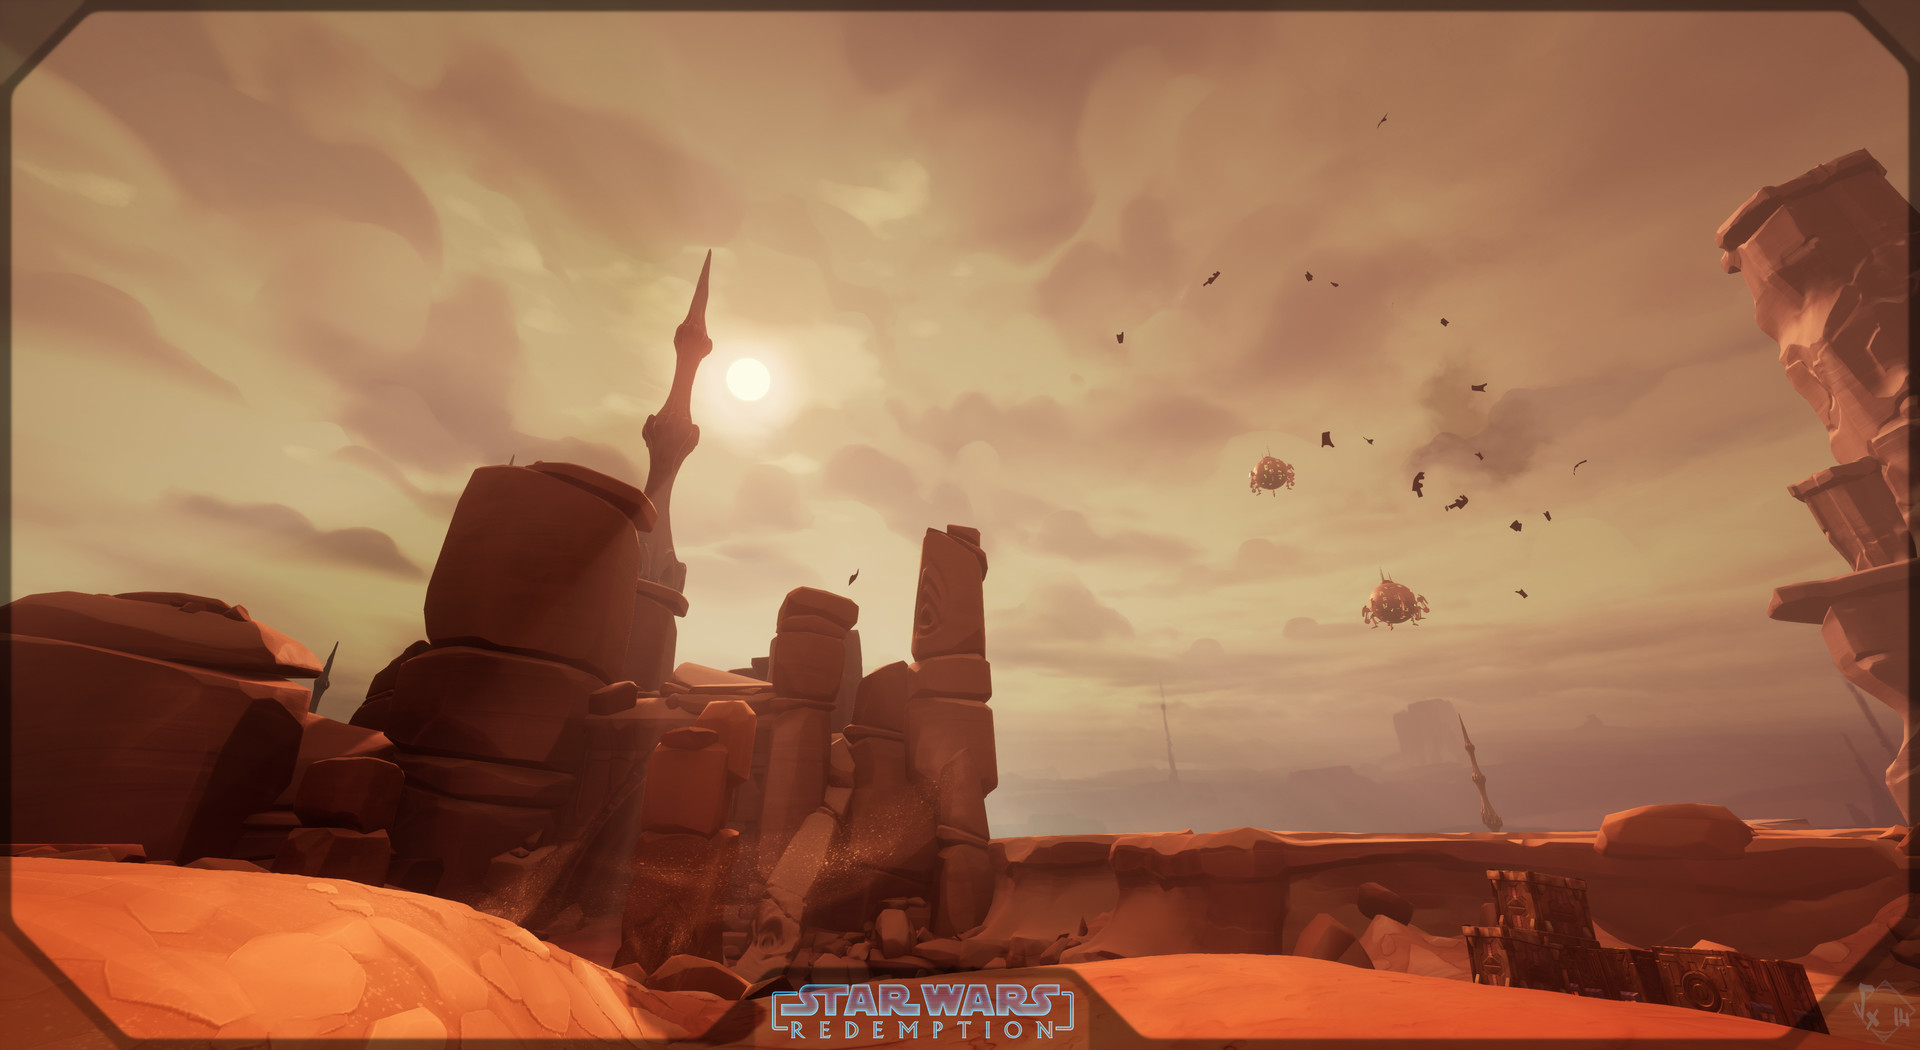
The little red guys should be an spawnable opponent =)
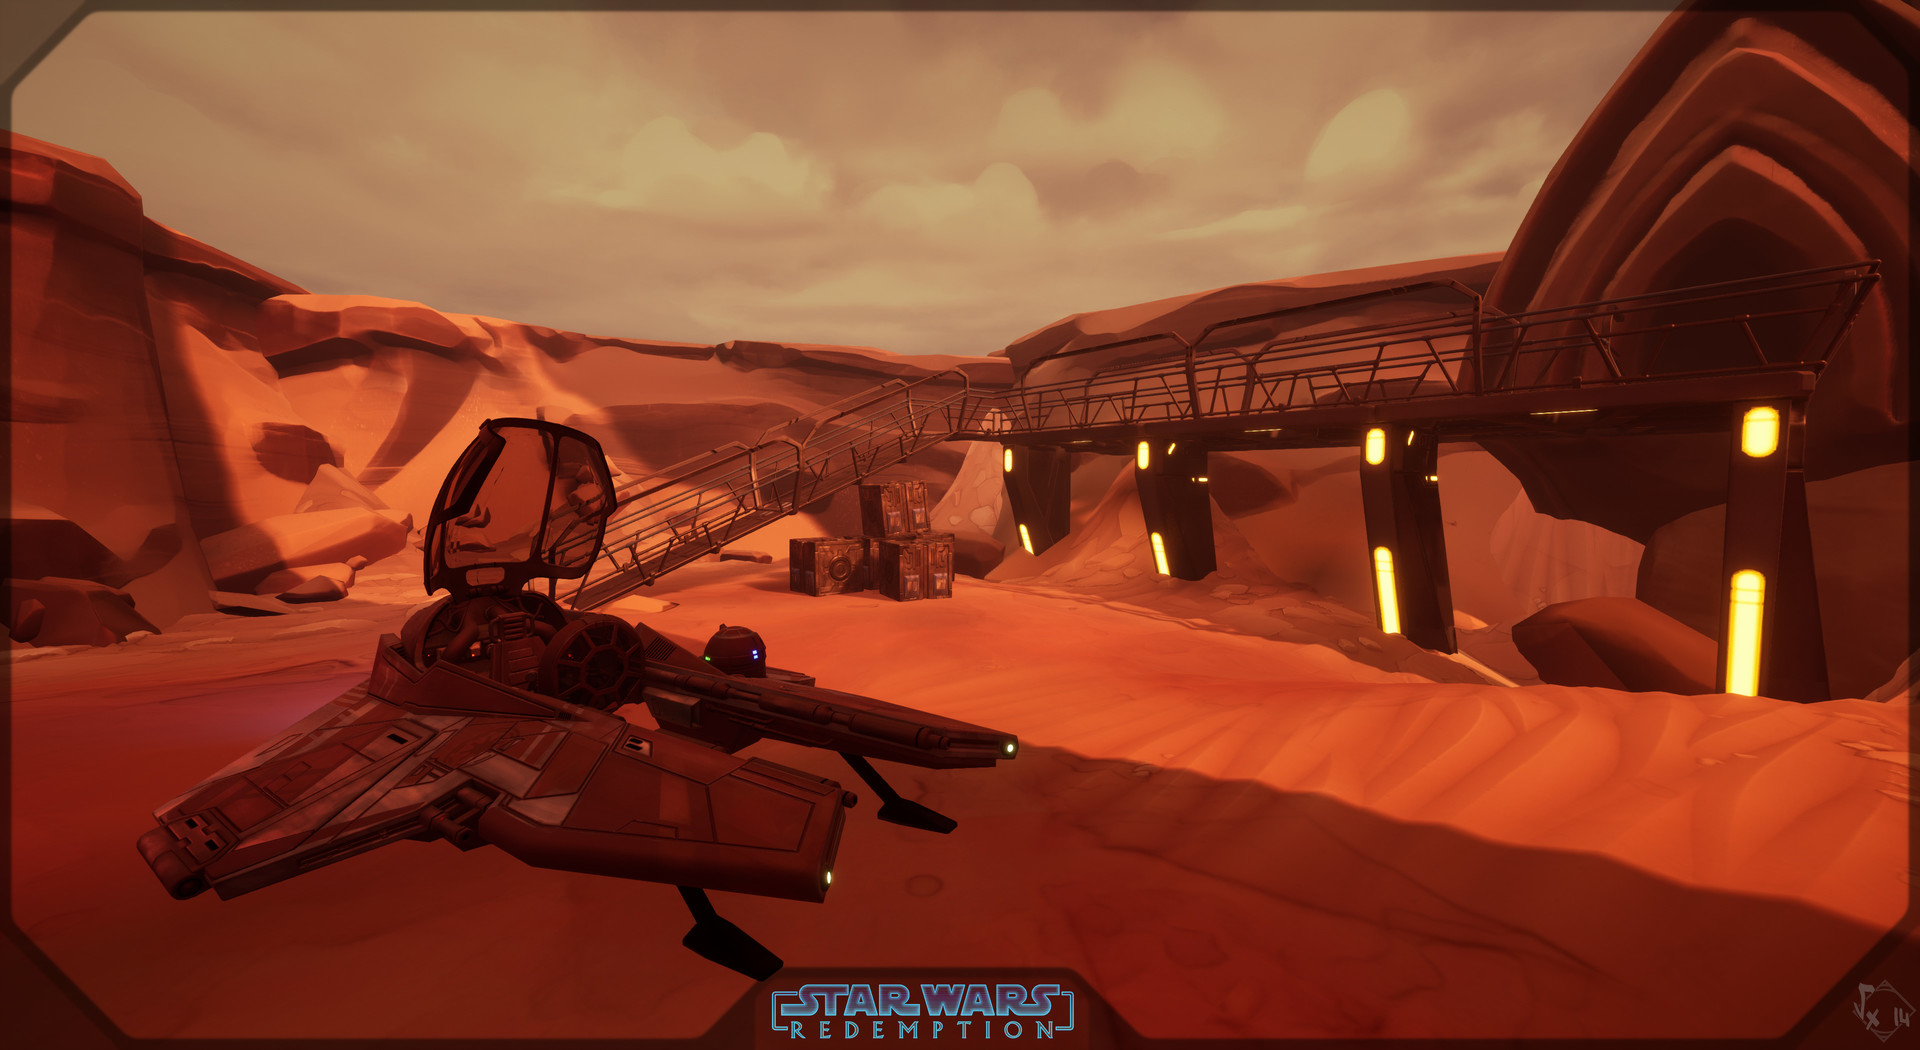
Some Bacta heal Kegs on blue areas, I know that level design is ultra basic atm, cause we still work on gameplay/feel, once the character will move as expected we will start having real fun making levels ;)

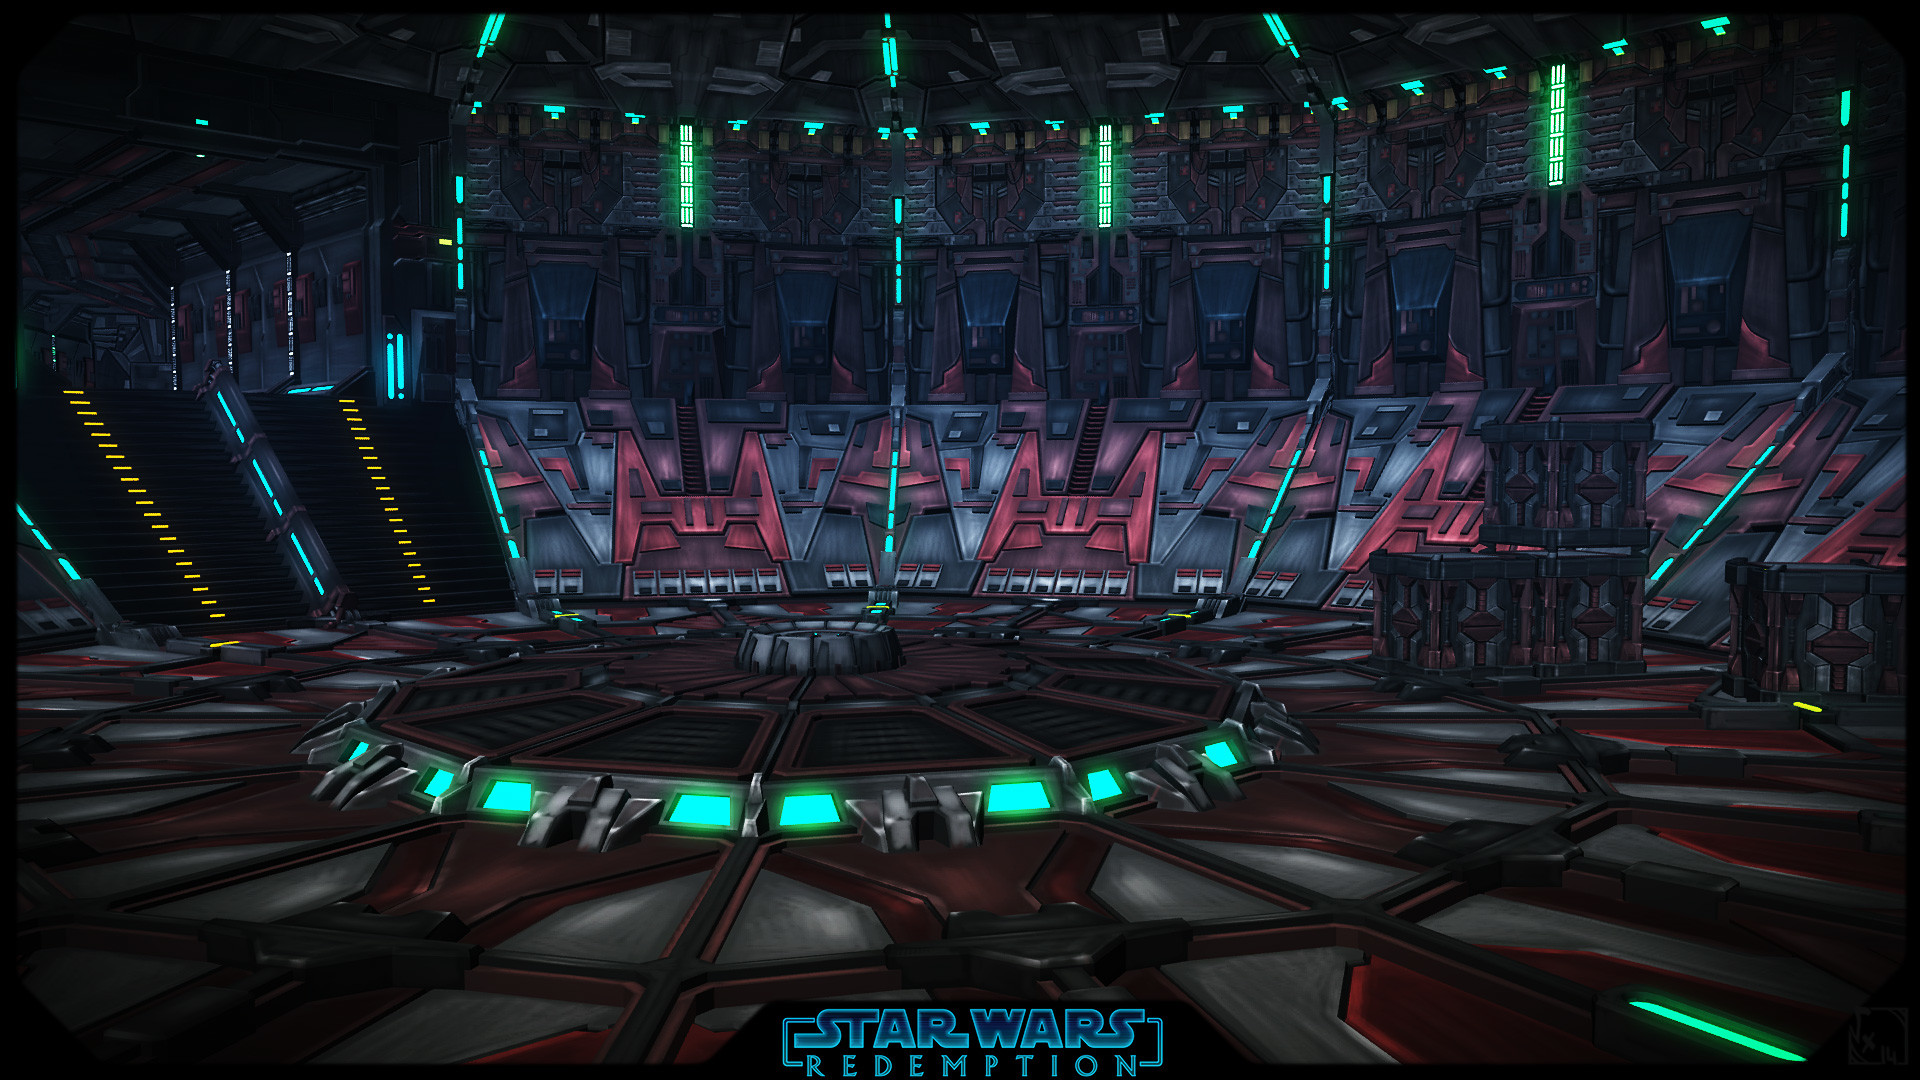
And then the rest of Venator's interior, it's not "really" the one that may exist, I just take some references, moods, from films, TV serie and other custom projects to build my own version of this interior =)

That's all folks !
Des Bisous ! And MERCI BEAUCOUP again guys for your super support ♥