Hi dudes !
Some news since last time I posted something here (it was about 6 months ago =O)
FIrst of all, I'm so happy to work at Nukeygara since 3 months, I learn a lot of things there, and I work for one of my top favorite enterprises, makers of the wonderful Akeytsu ♥
I made this cute level to showcase animations ;) We'll see this later in this article
Now, let's focus a bit more on the animation part of the project done mostly by Thomas Chaumel (https://www.artstation.com/keyblack), I did only a few of these animations, mostly the new Idle with a focus on facial expressions (still WIP)
Whole new animset done on Droideka, here are some of these :
Retract
Roll

Deploy
Turn Right
Stun Attack
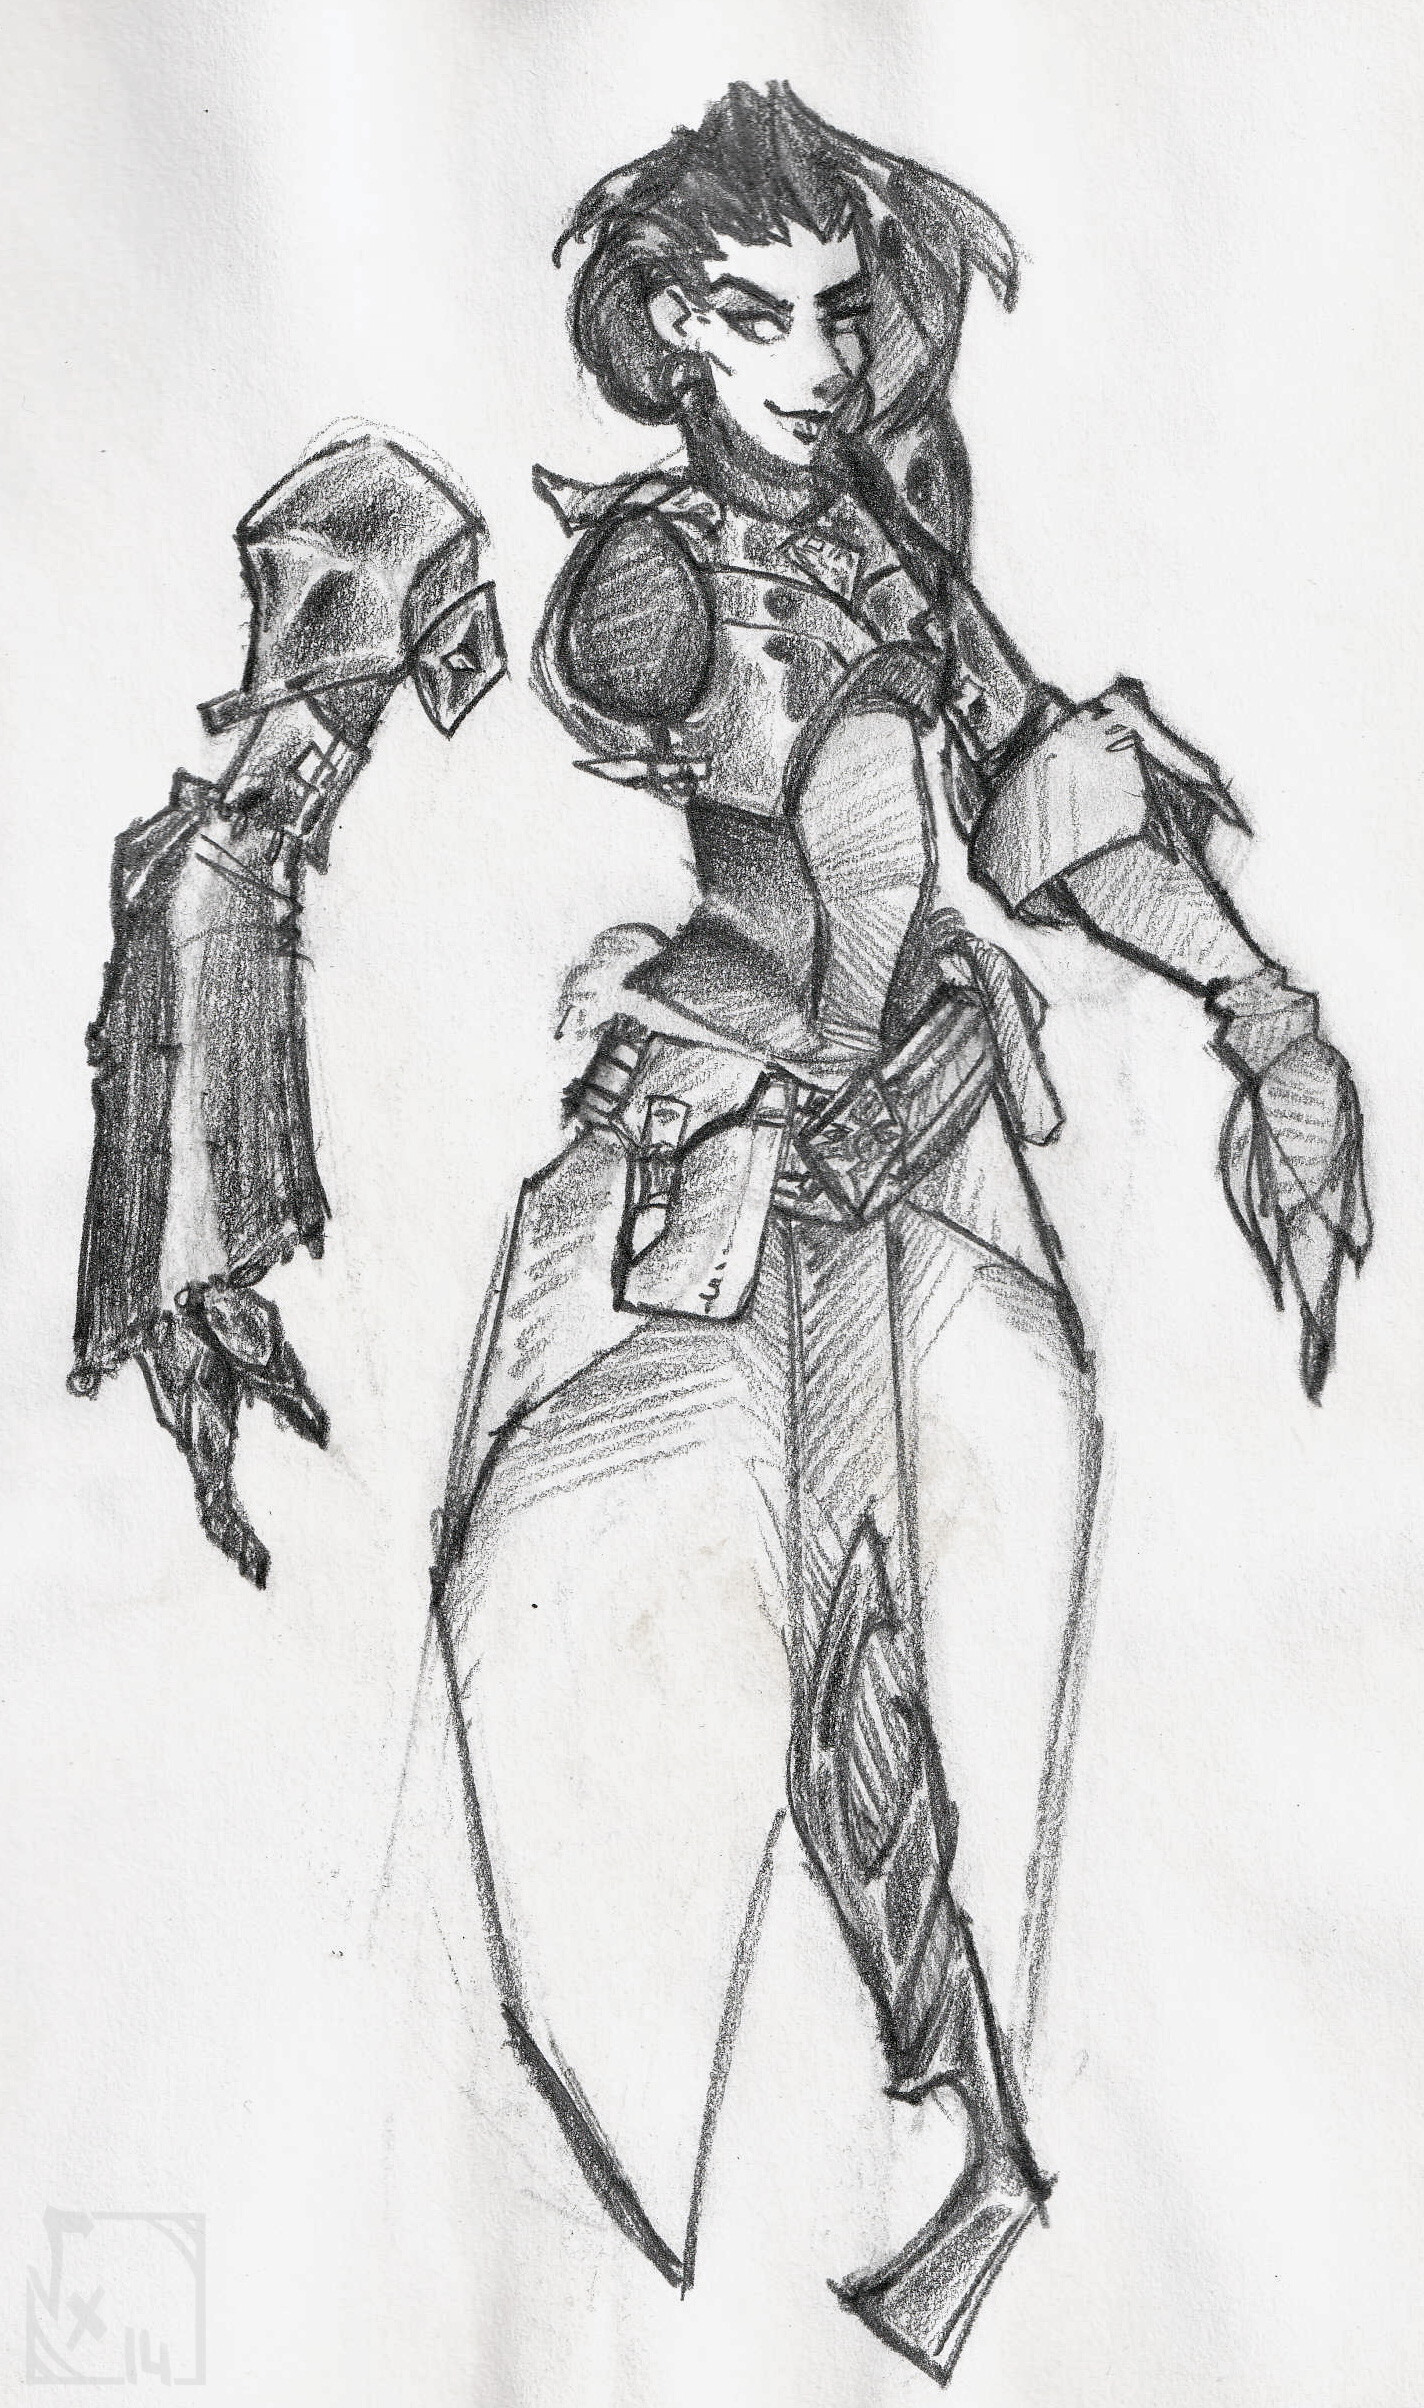
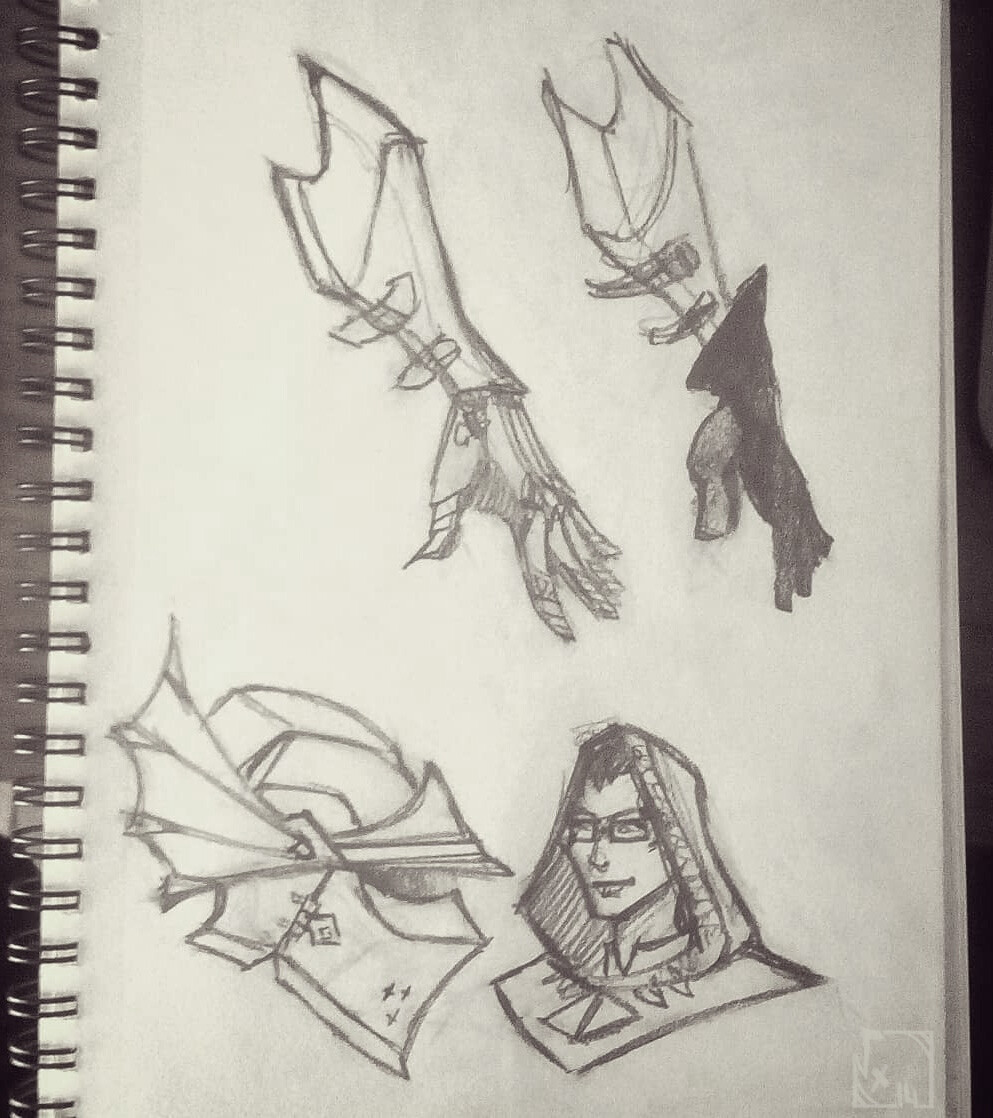
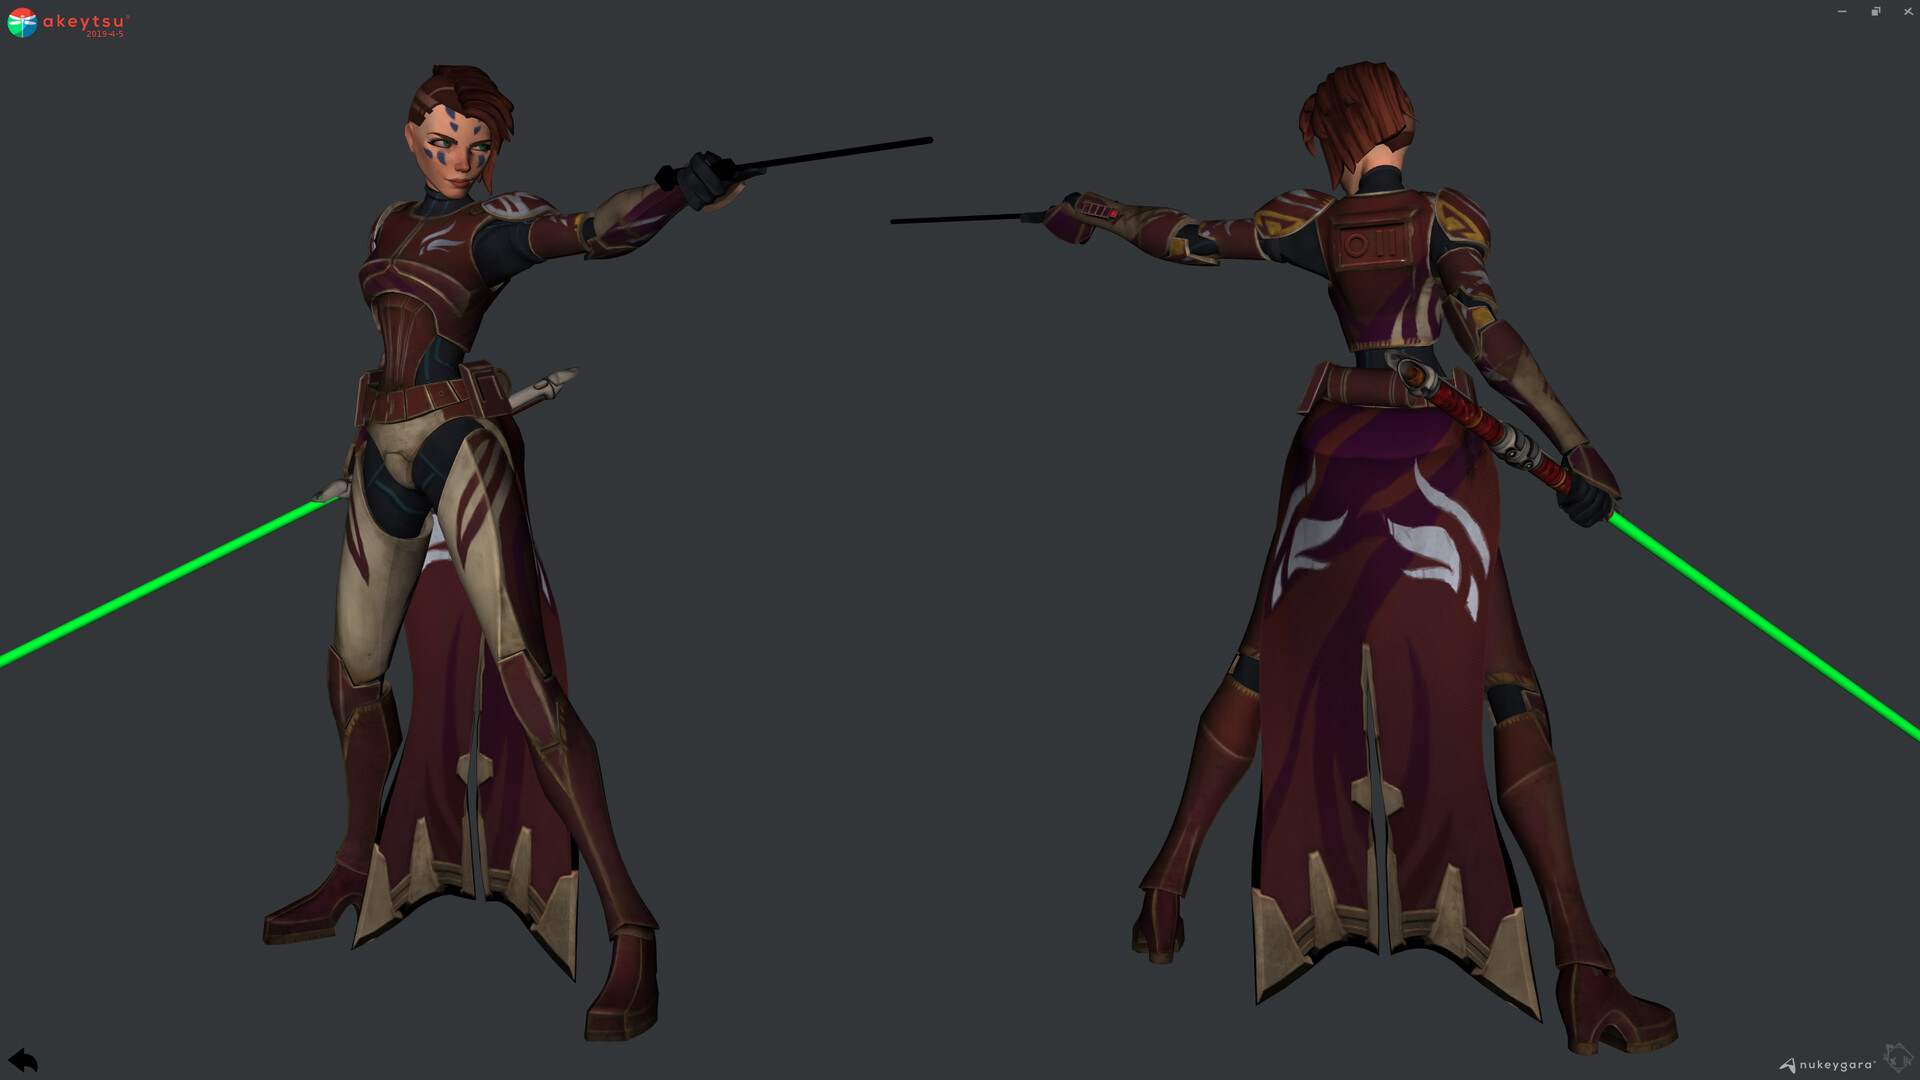
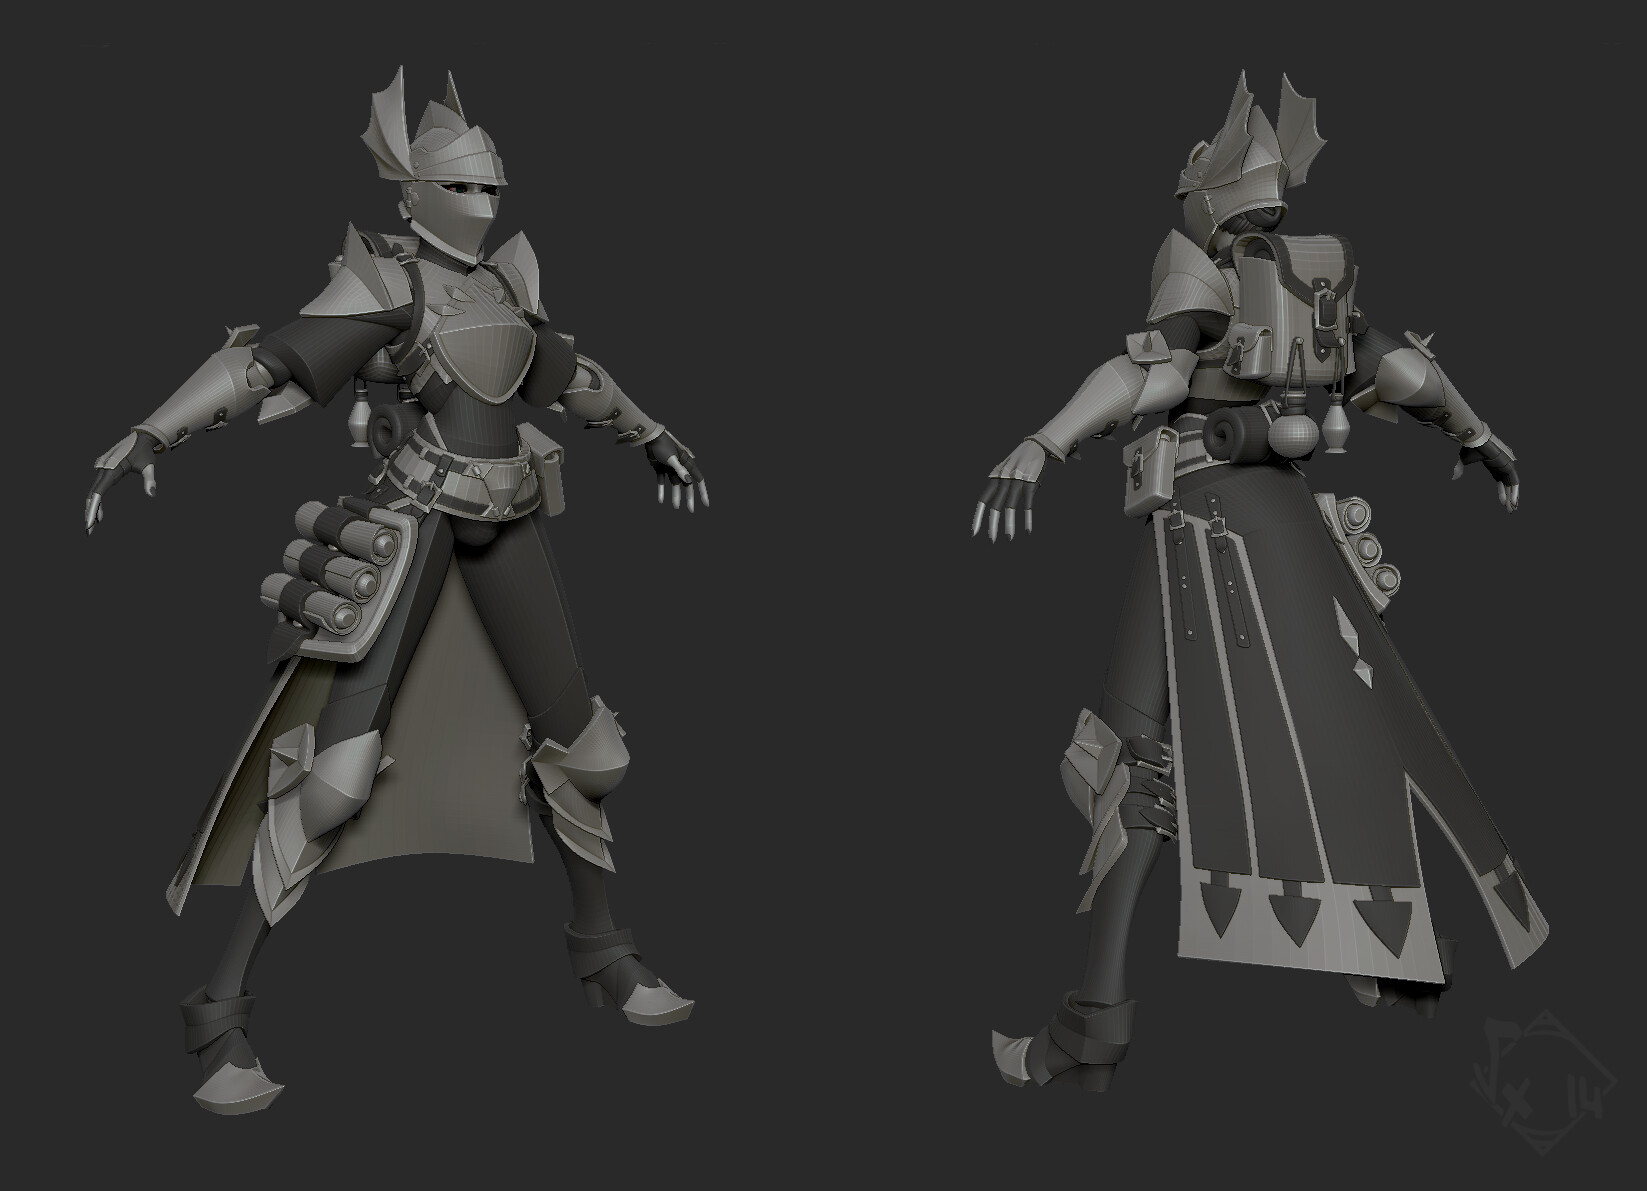
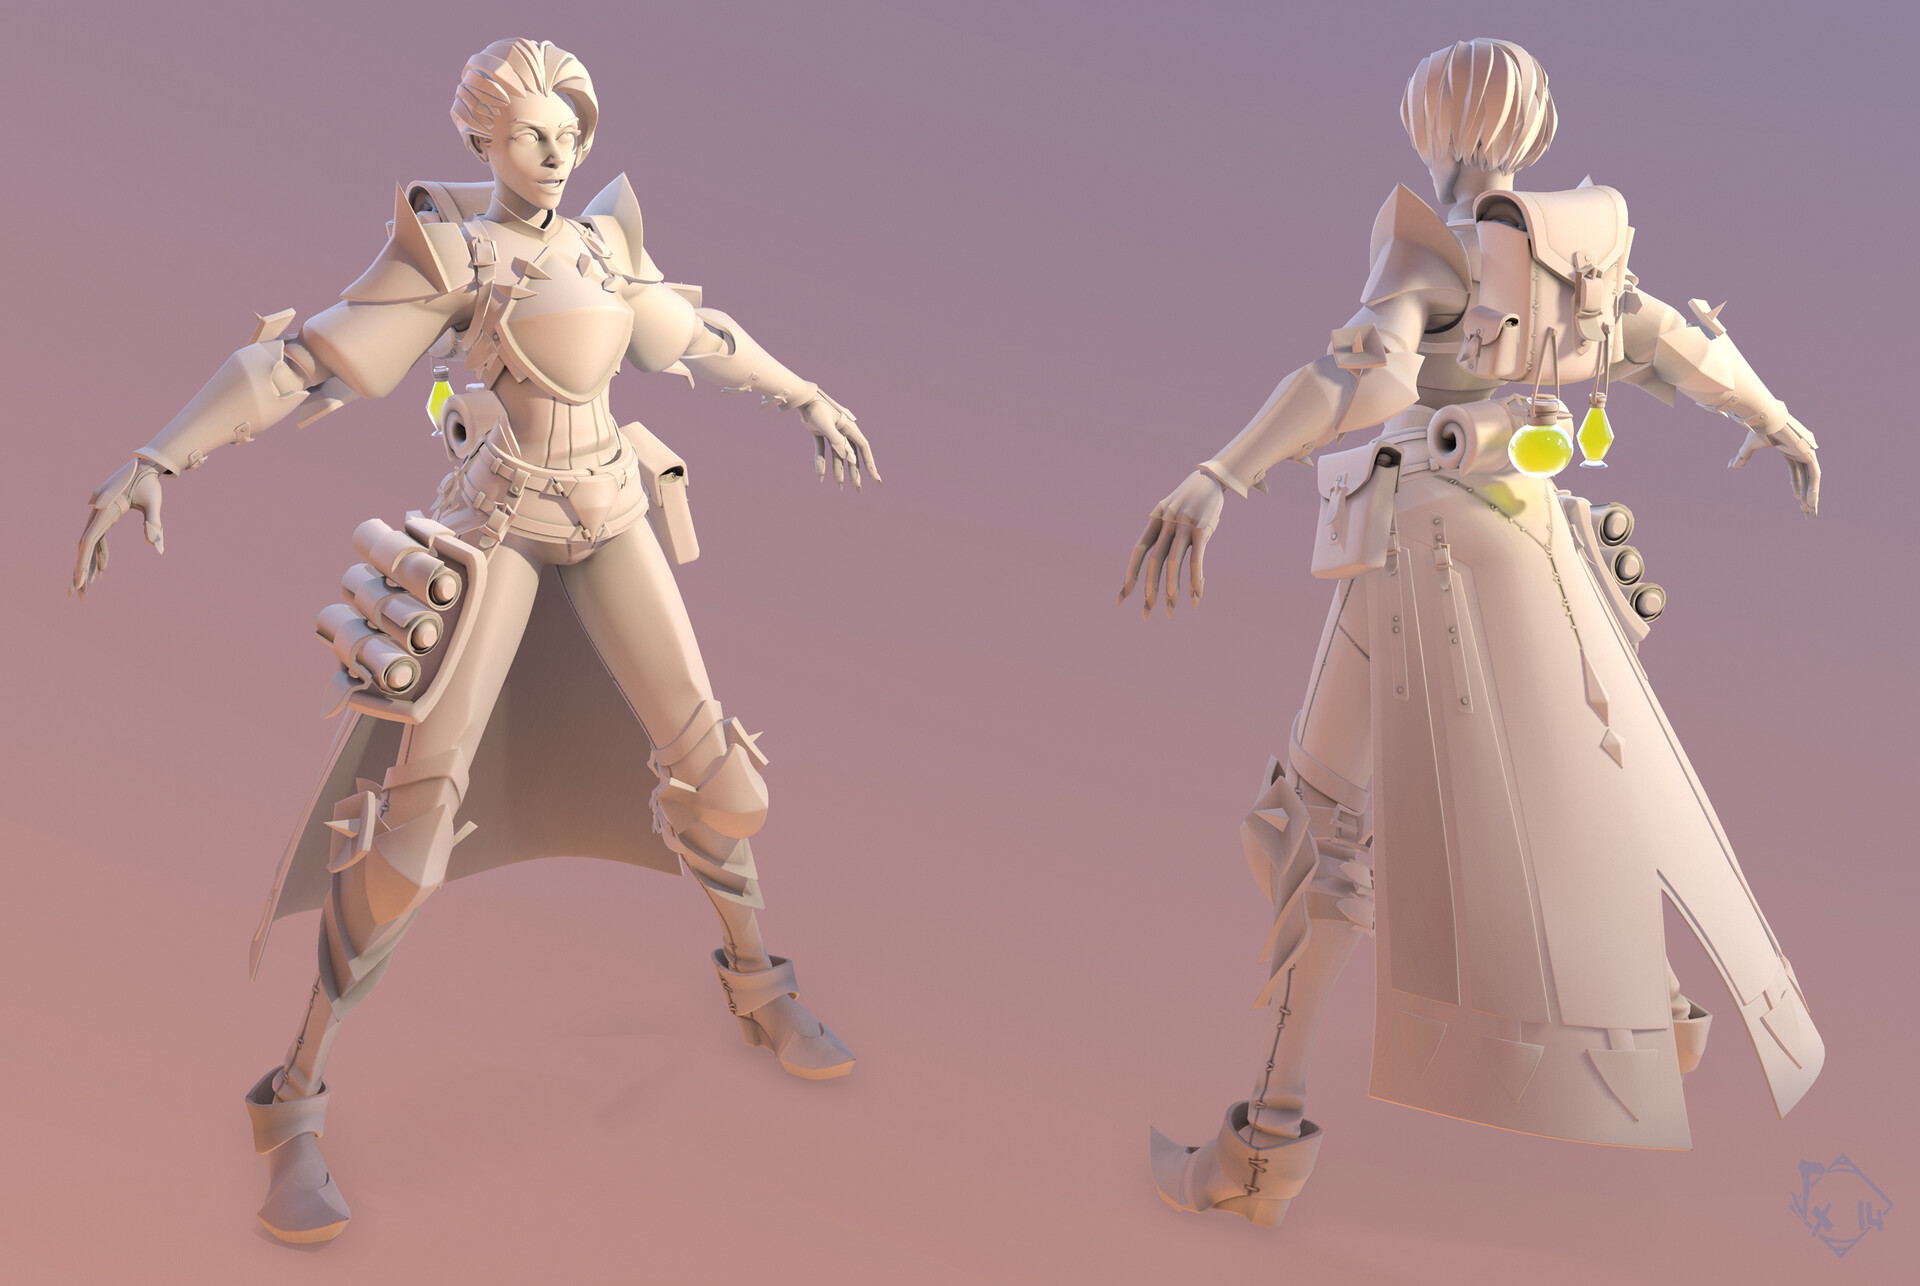
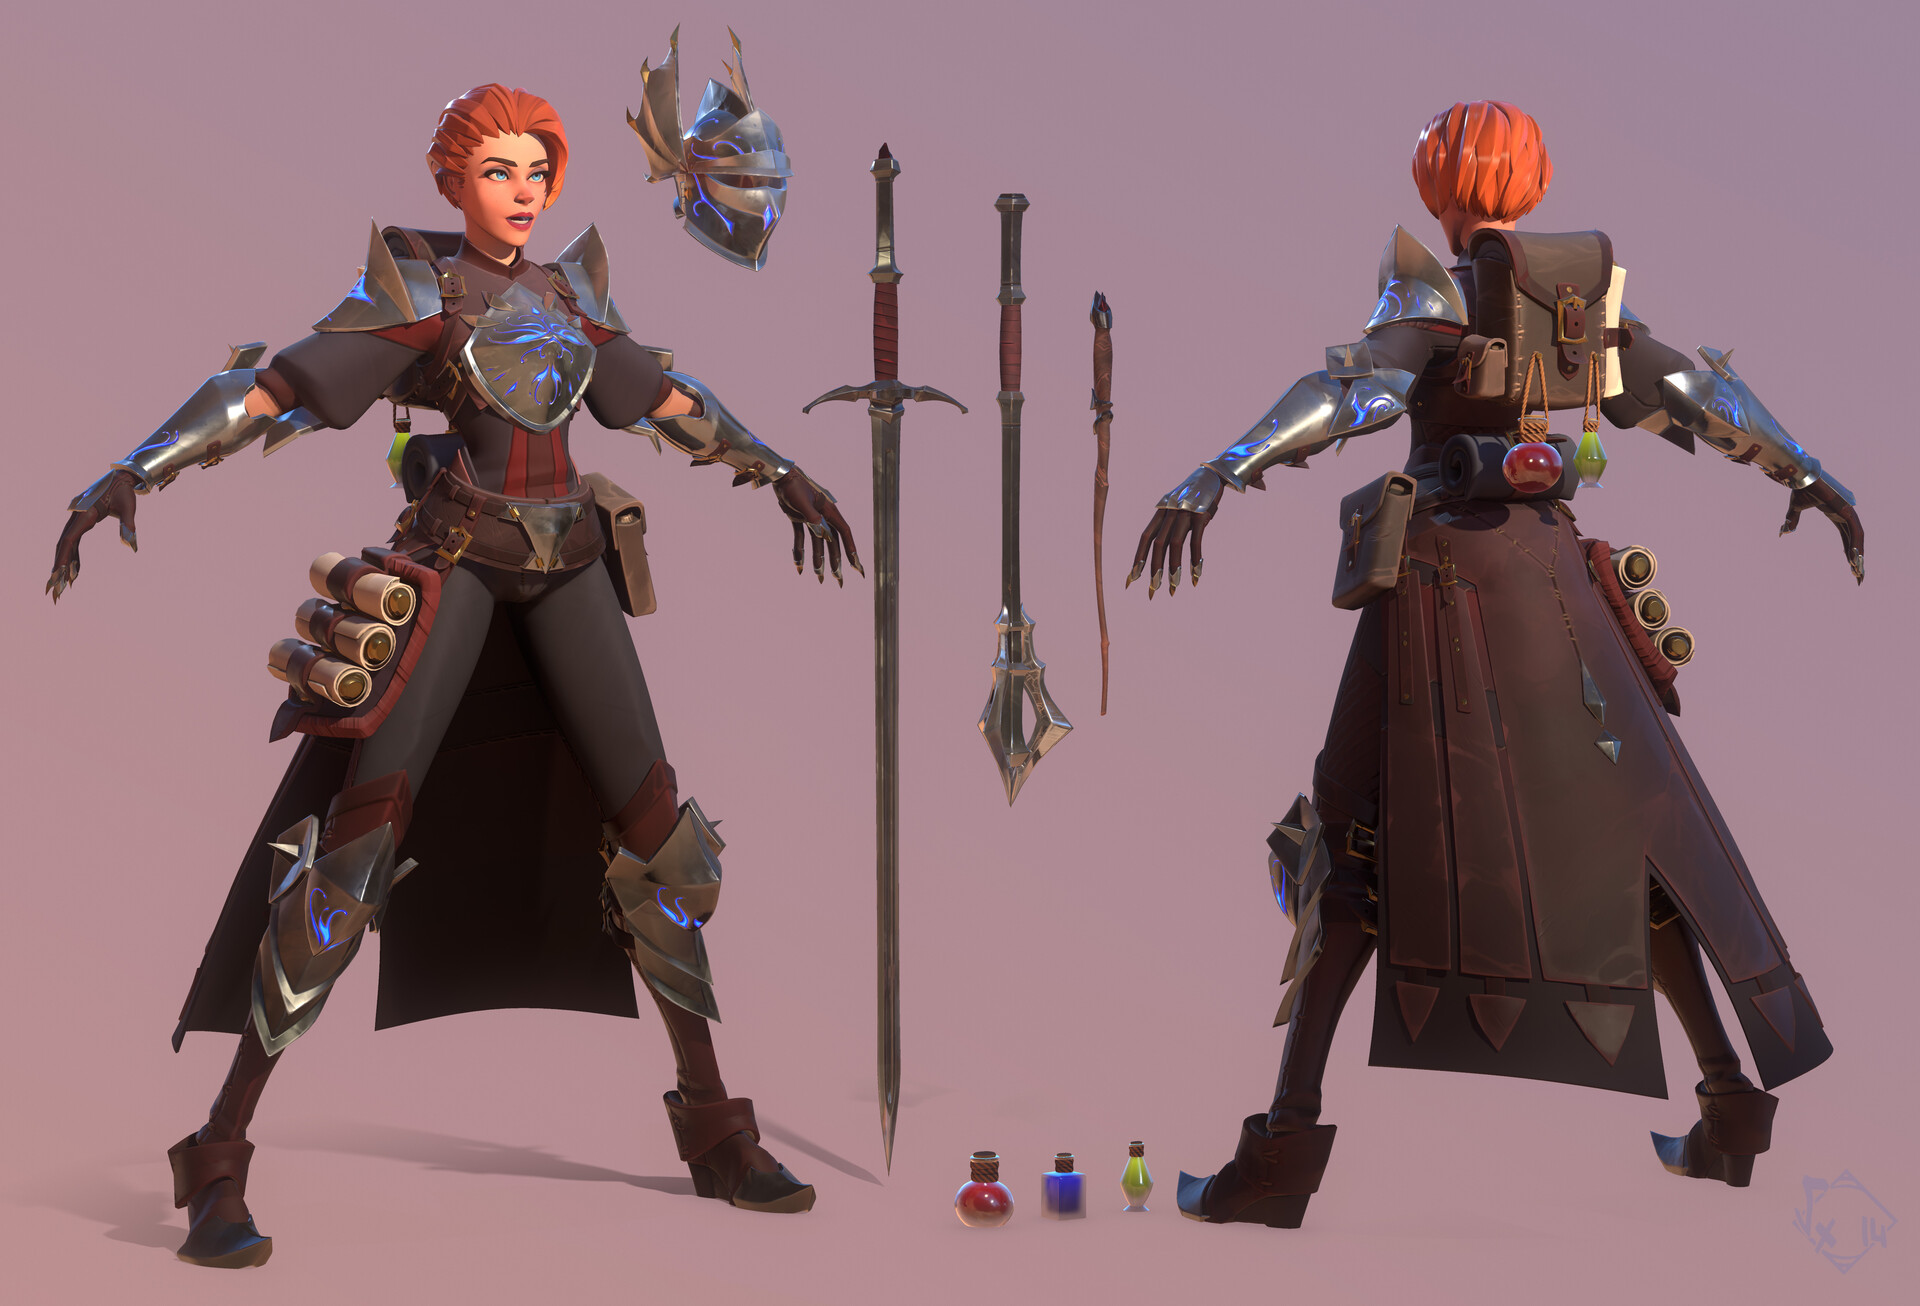
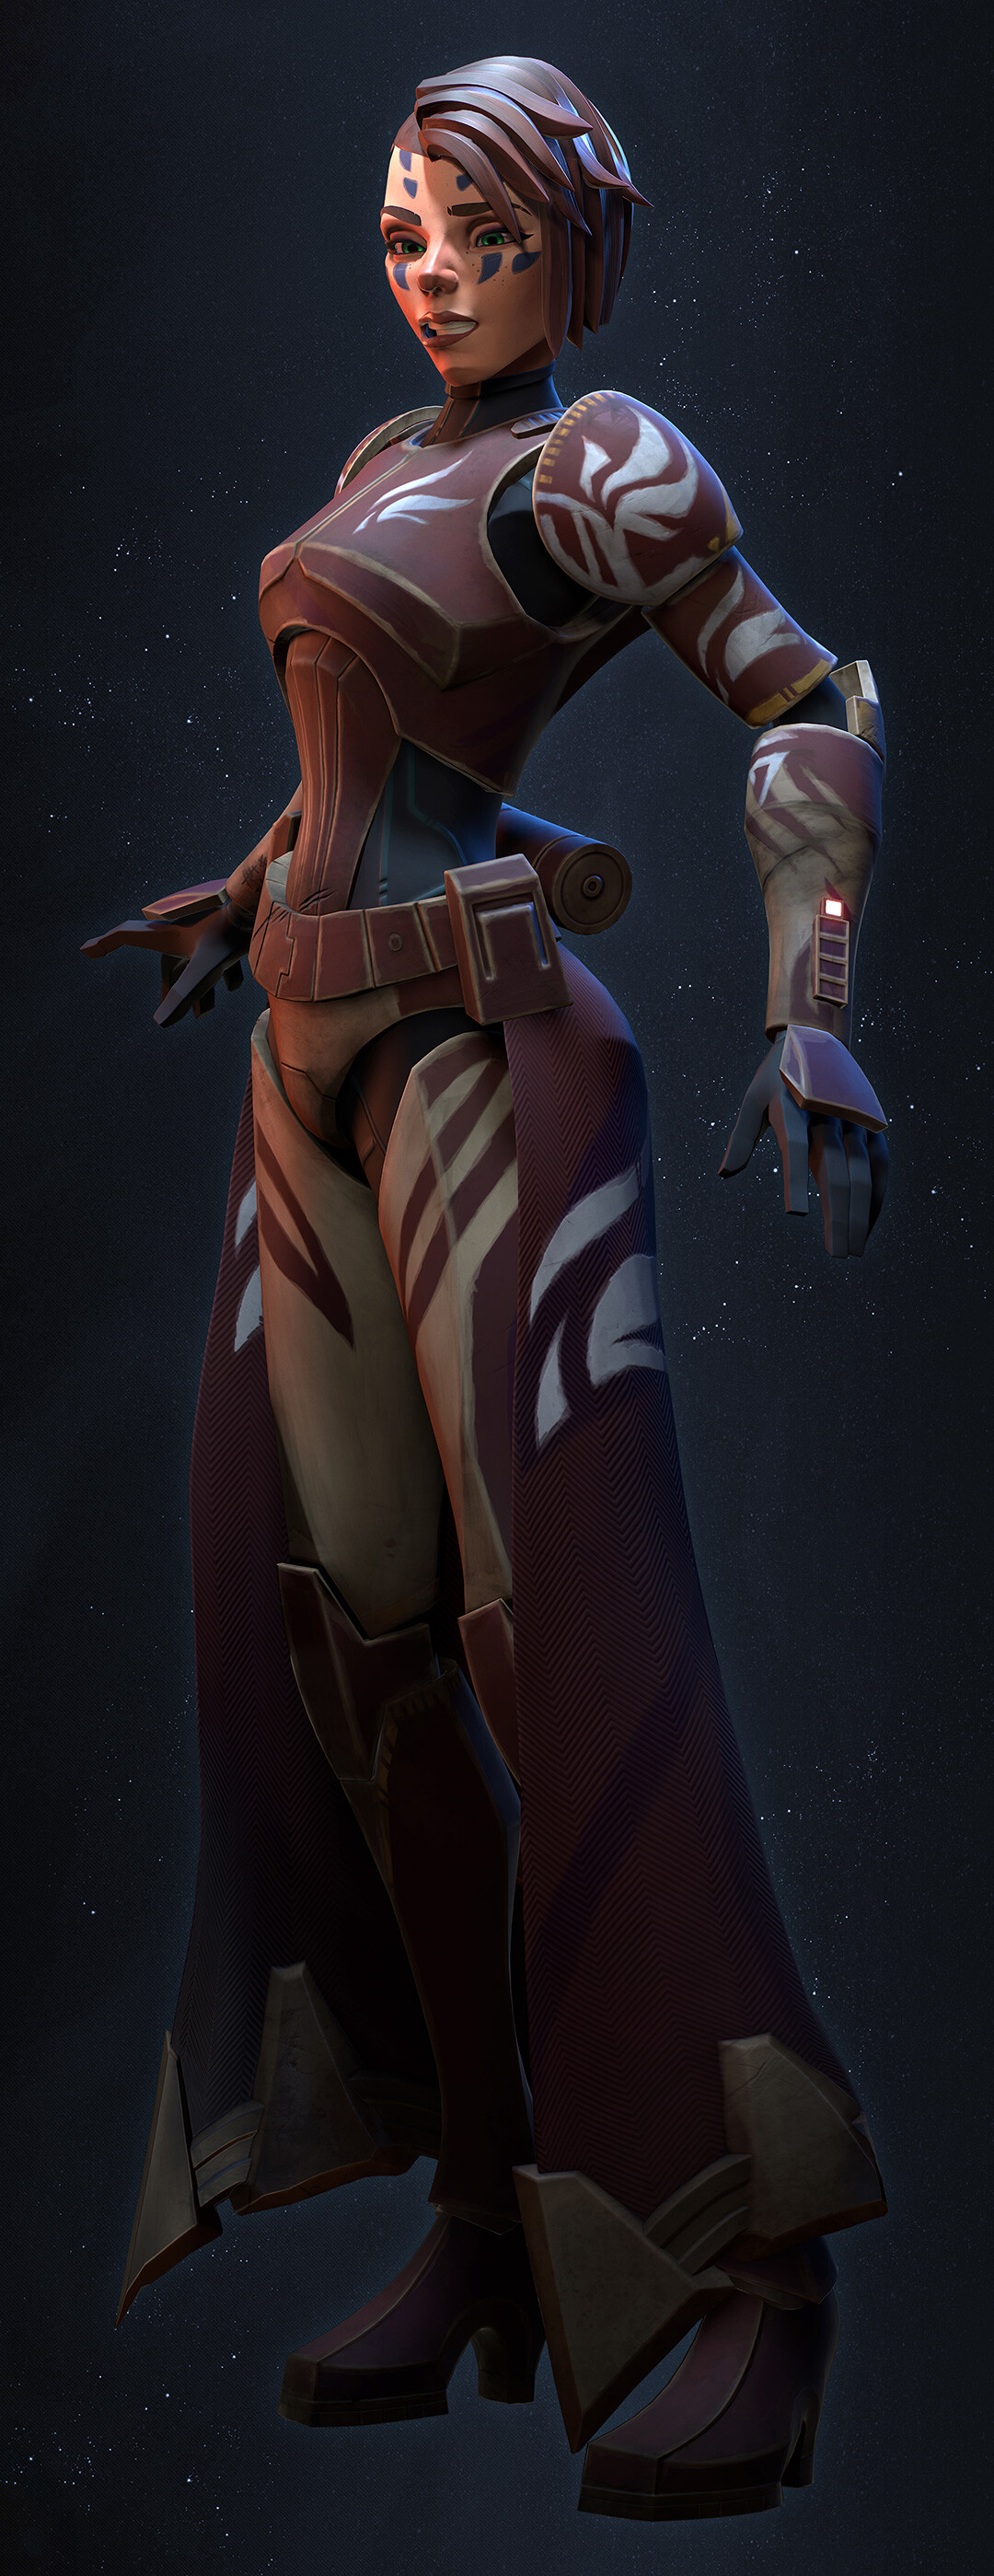
Our main character (Mevenn) had some upgrades ^^ Here is a first try on a new weapon, we wanted to have something cooler and we're damn fans of Darth Maul...soooooooooo(cisse) :
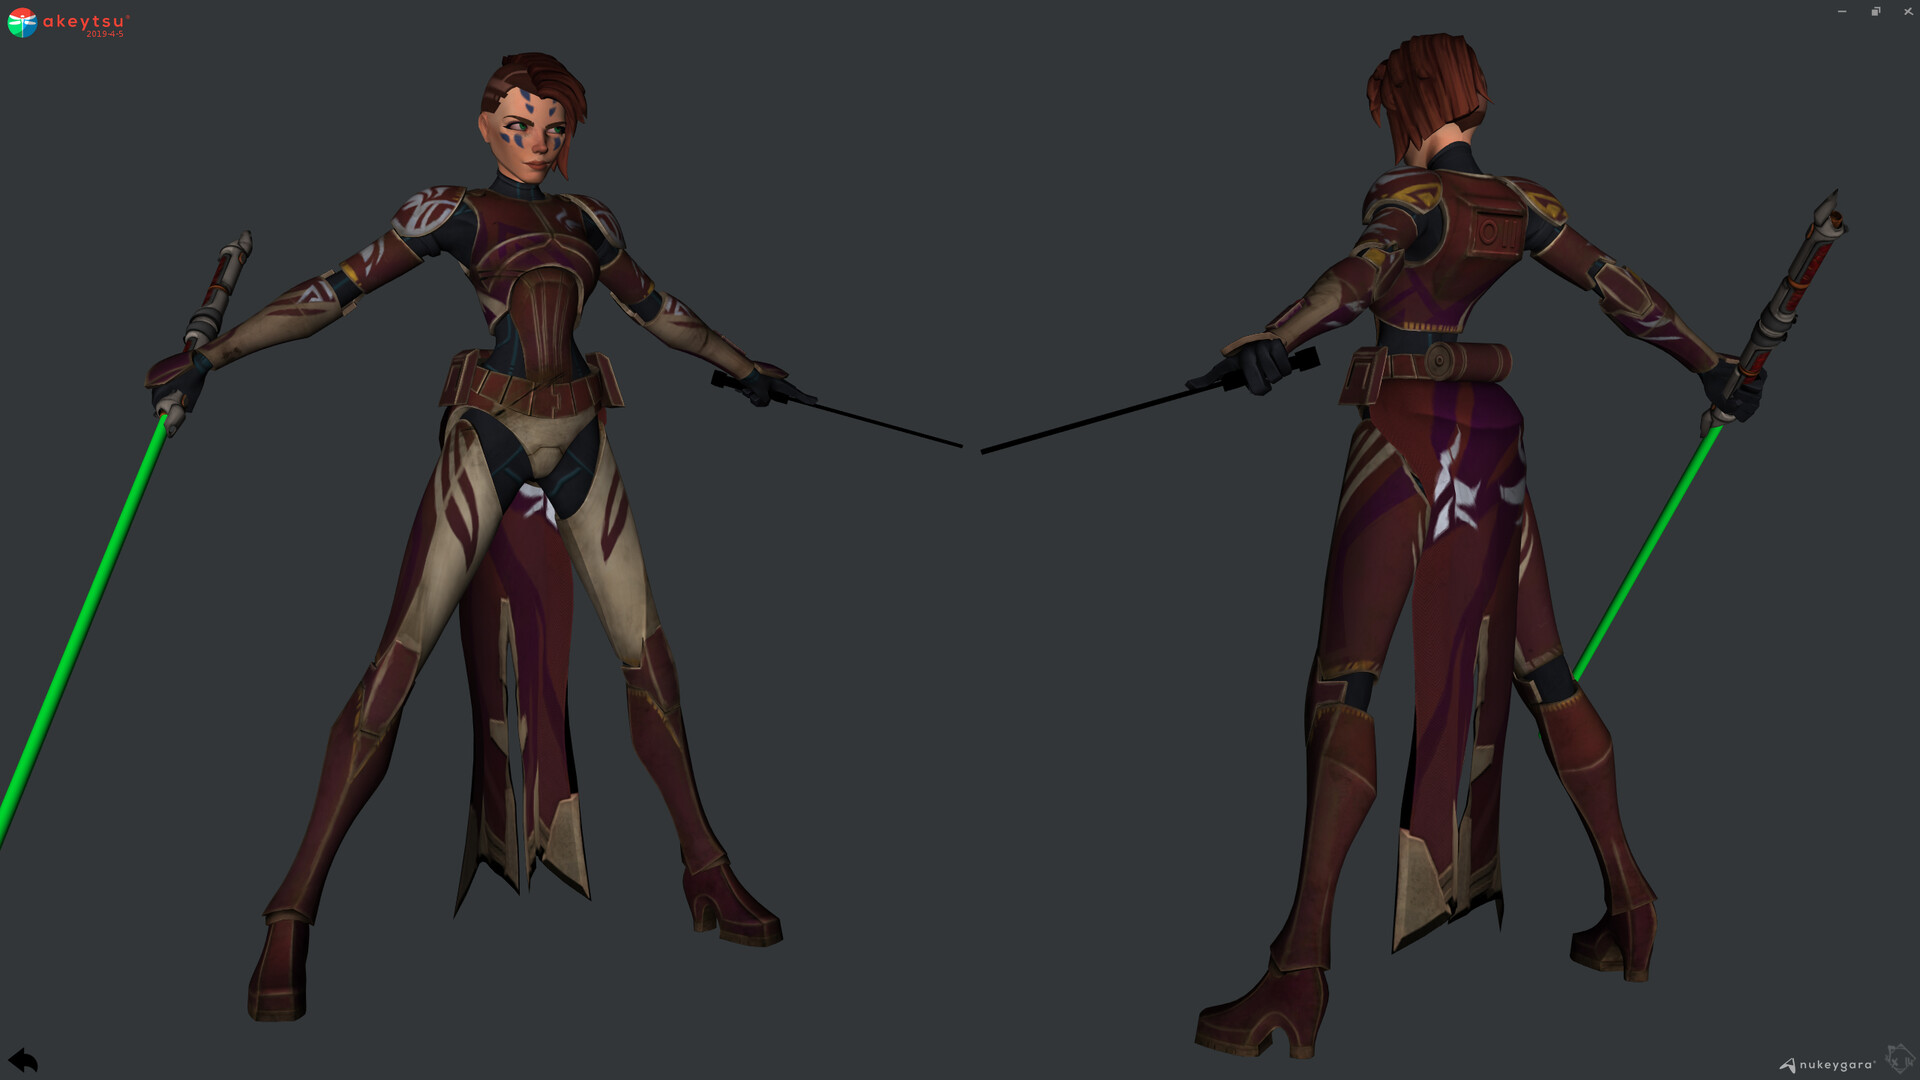
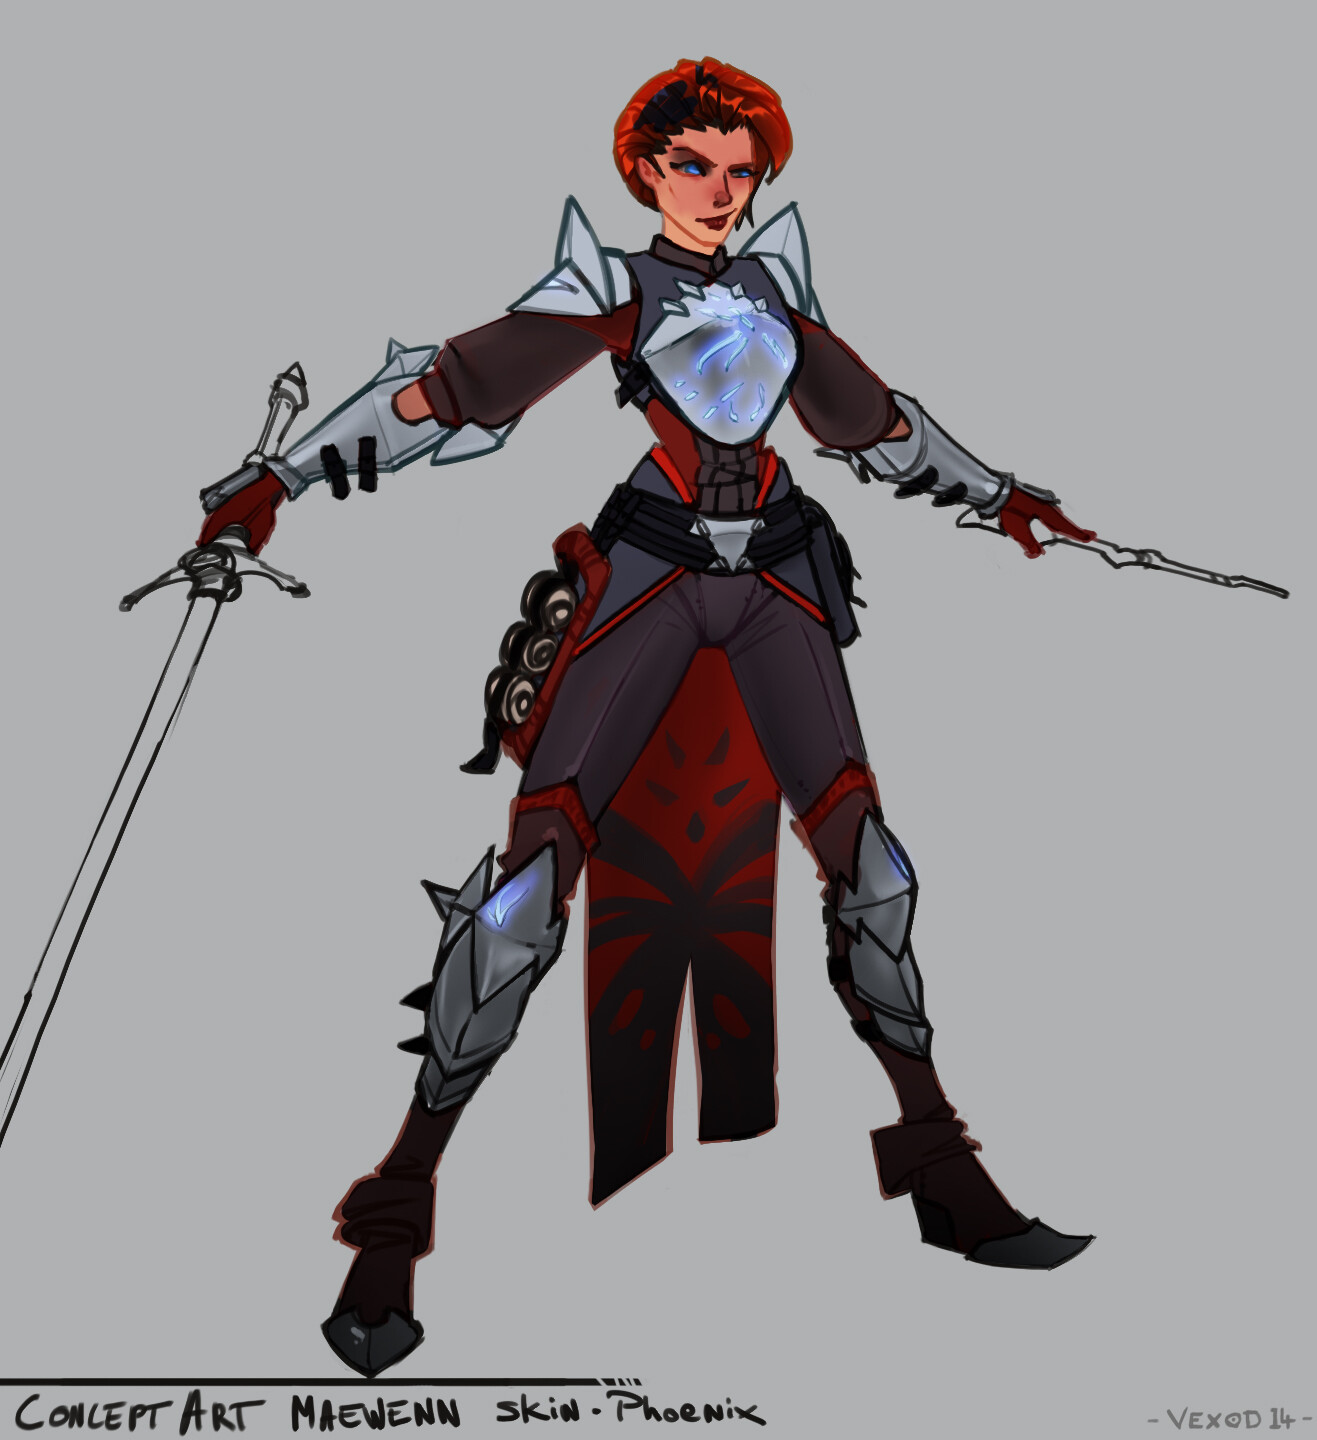
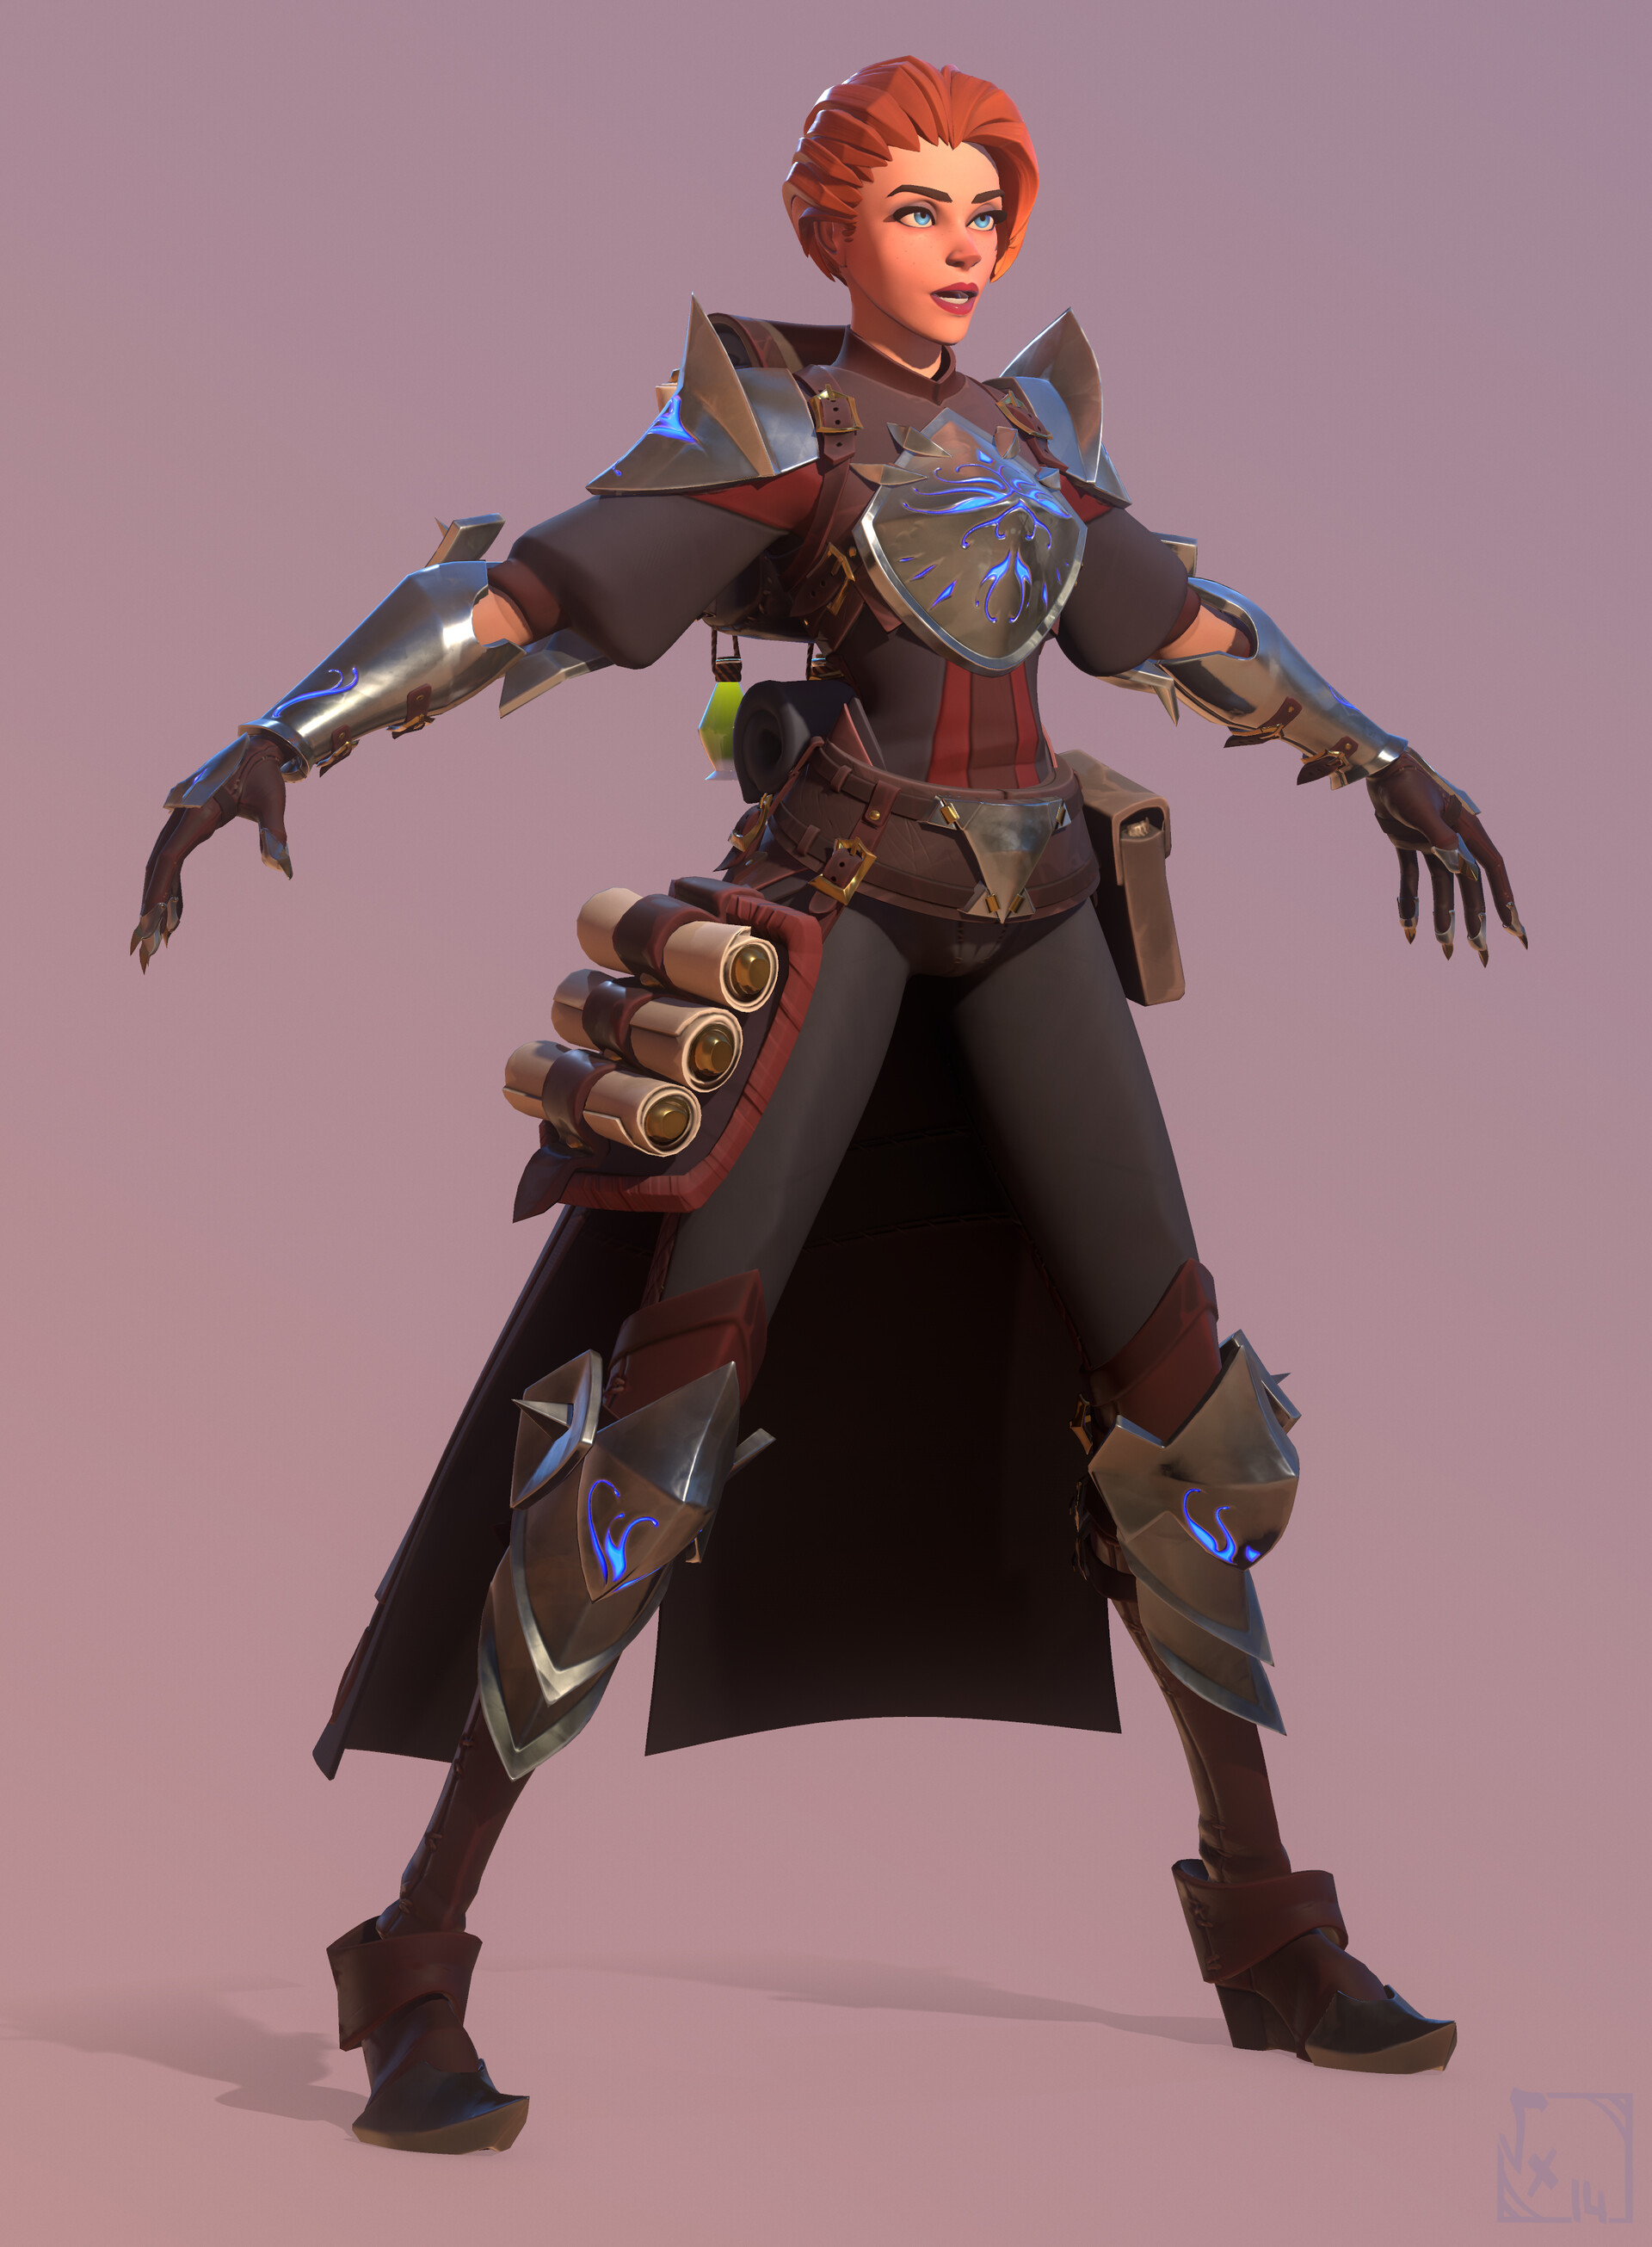
Finished design :
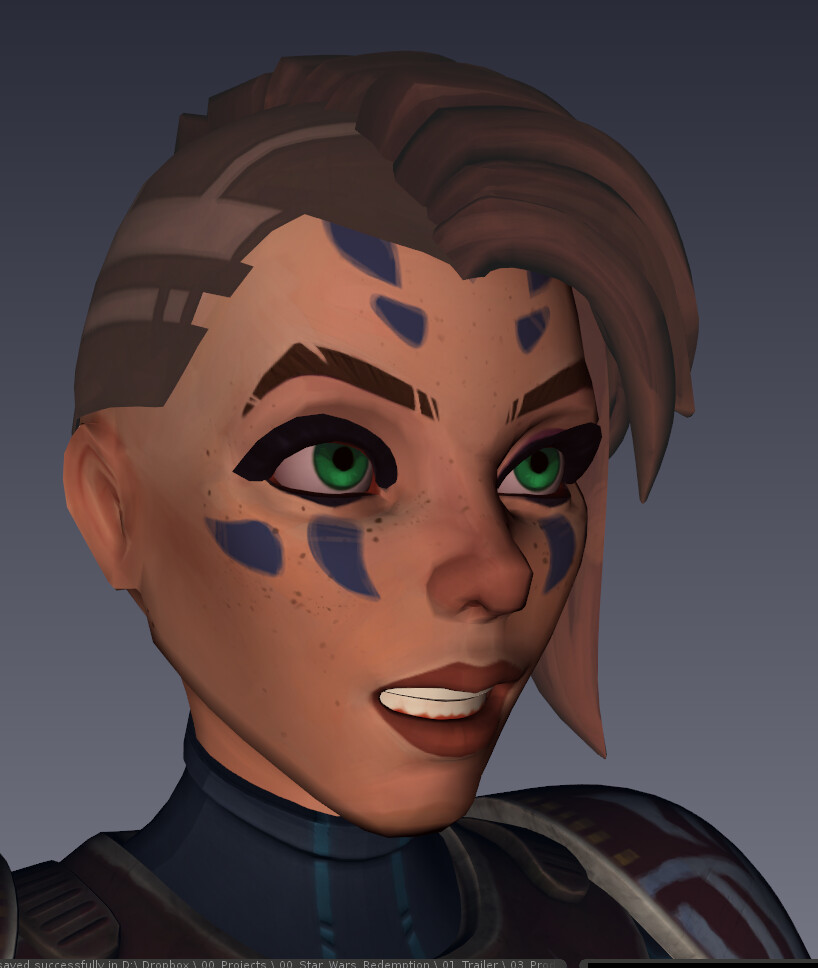
As well as her face :
(this "new" face wasn't exactly what I wanted on some parts, especially about her chin area (if you know the Bogdanov brothers...). So I had to fix it, but the main fix was to adjust her nose, remove lower eyelashes, adjust her texture work on her face (more stylized and assumed details), adapt her warpaints to a more "magical/nature-connected" look as she was born on a forest planet (Lumberia ). Her whole new armor set was about this as well as themed with "Phoenix" creature patterns and colors.
I've also increased the texture quality we had in Akeytsu :
(that's her final face btw )

Some cutted geometry on haircuts, so now materials are simpler in UE4, no more transparency, better perfs
I also tried some R&D to allow twist & roll joints, obviously not fully reverse-controlled automatically as Akeytsu doesn't provide such constrains yet, but it worked pretty well and you could create exactly your bends/arcs as you want, plus it's appart from your IK chain, meaning you could use squash'n strech with a red IK ON ^^
Here is the hierarchy, twist/roll joints are offset from their IK parent joints so you can figure out who controls who :

The only hassle we encountered then was about selecting our base IK joints ; as they were no longer weighted to any vertices we were forced to search them in the picker list, or reorganize them under your IK handles so you could "quickly" access them using up arrow key...just a pain tbh ^^"
I fixed this cool idea by simply avoiding the middle joint (or the first twist) of each chain and using only one MidArm/MidUpperArm joint, and swkinned half of each arm's part to each joints. But there's one little trick which allows for a quick & good control : while you will find logic to skin your "wrist-to-MidLowerArm vertices" to your "LowerArm-RollJoint" and vertices from this middle to the elbow to your LowerArm joint, the upperarm works differently. Skin vertices "near elbow" to your Arm joint (instead of the Arm-Roll ), and vertices from shoulder to mid-arm to your Arm-Roll joint. This will avoid breaking your arc on your elbow, allow for a faster "FK joints" selection which is cool for posing (these Arm+lowerarm joints will be clickable on elbow area =D), and finally allows you to adjust your shoulder shape with ease so you'll have perfect control over it
This improved hierarchy looks like this :
As I reworked the leg & arm rig, I also wanted to improve the facial one. There was some issues on animating the previous iteration, especially on Mevenn's jaw cause I decided to parent every mouth joints to a single mouth controller, which was cool and stupid at the same time ^^" So once improved, I can achieve all these movements with a few clics :
More details about this facial rig :
And here are some beauty shots done in a dedicated level in UE4 (really done just for rendering purpose, nothing else )
And last but not least : I wanted to make an homage to the guys who made this project possible ♥

It is also important to notice that the project "StarWars-Redemption" is obviously not affiliated with Nukeygara in any way, there was just an awesome team making an awesome software at the same time I wanted to simply pose some of my characters, then I animated them, created some environments on unreal, called for friends to help me on dev and on animation and that's it
Akeytsu even gives back Thomas Chaumel the taste of animation (animator on the project and one of my best/oldest friend). It also gives him the will to work definitely in the industry. Now he works for TeamTo Valence (FR) and enjoys his new life as an animator. His ID "Akeyblack" on discord is someway an Easter-egg to this beautiful story
So, many thanks to Aurélien Charrier, Cédric Vidal-Duvernet, Yannick Rousseau, Charles Sultan, Robin Ciron, Thomas Robin, Charles-Arthur Bourget, Annabel Grindatto, and every others who worked on this wonderful software ♥ You truly are the Best !
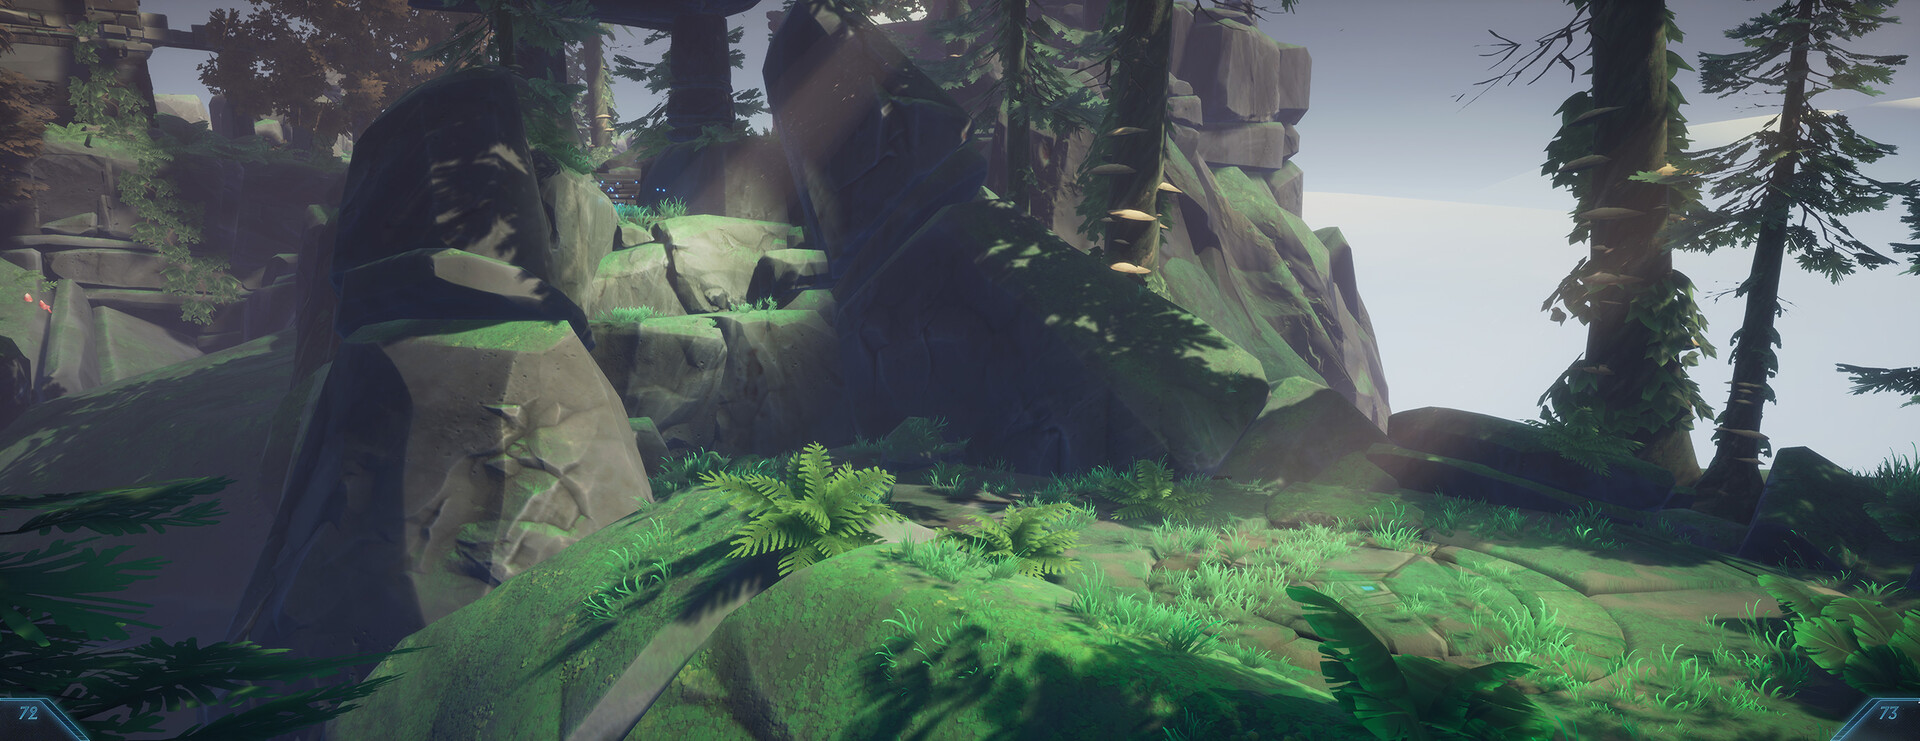
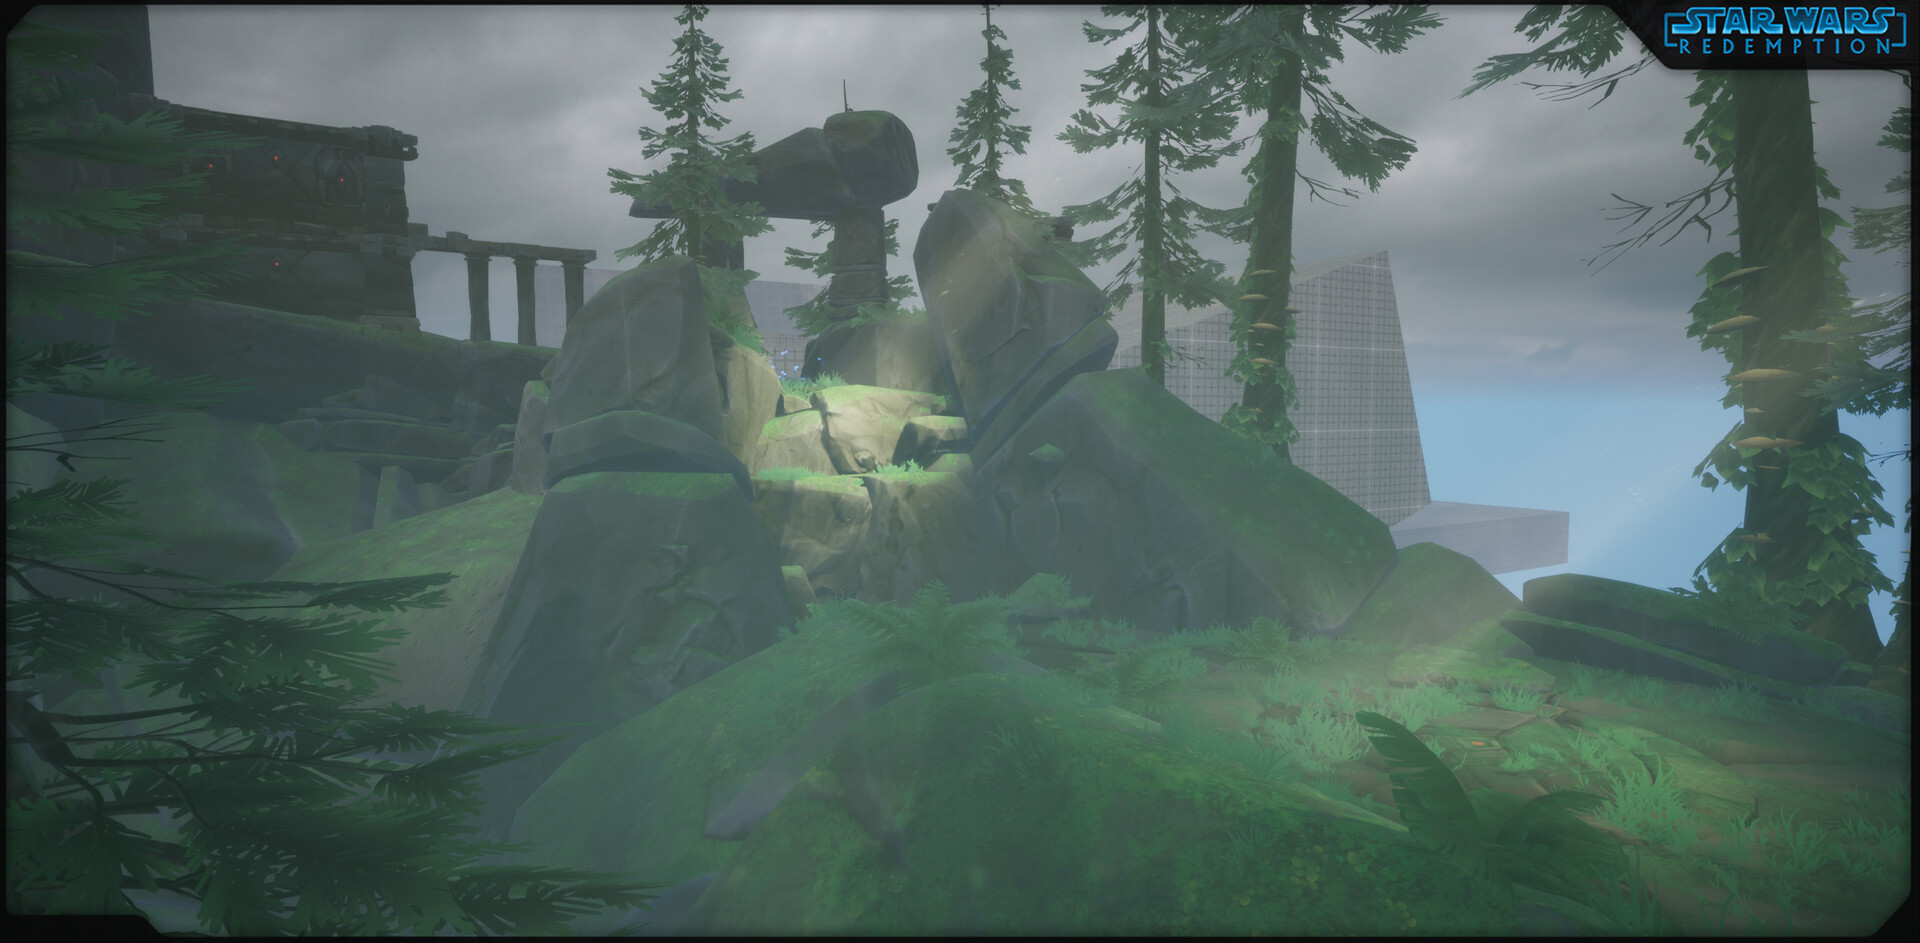
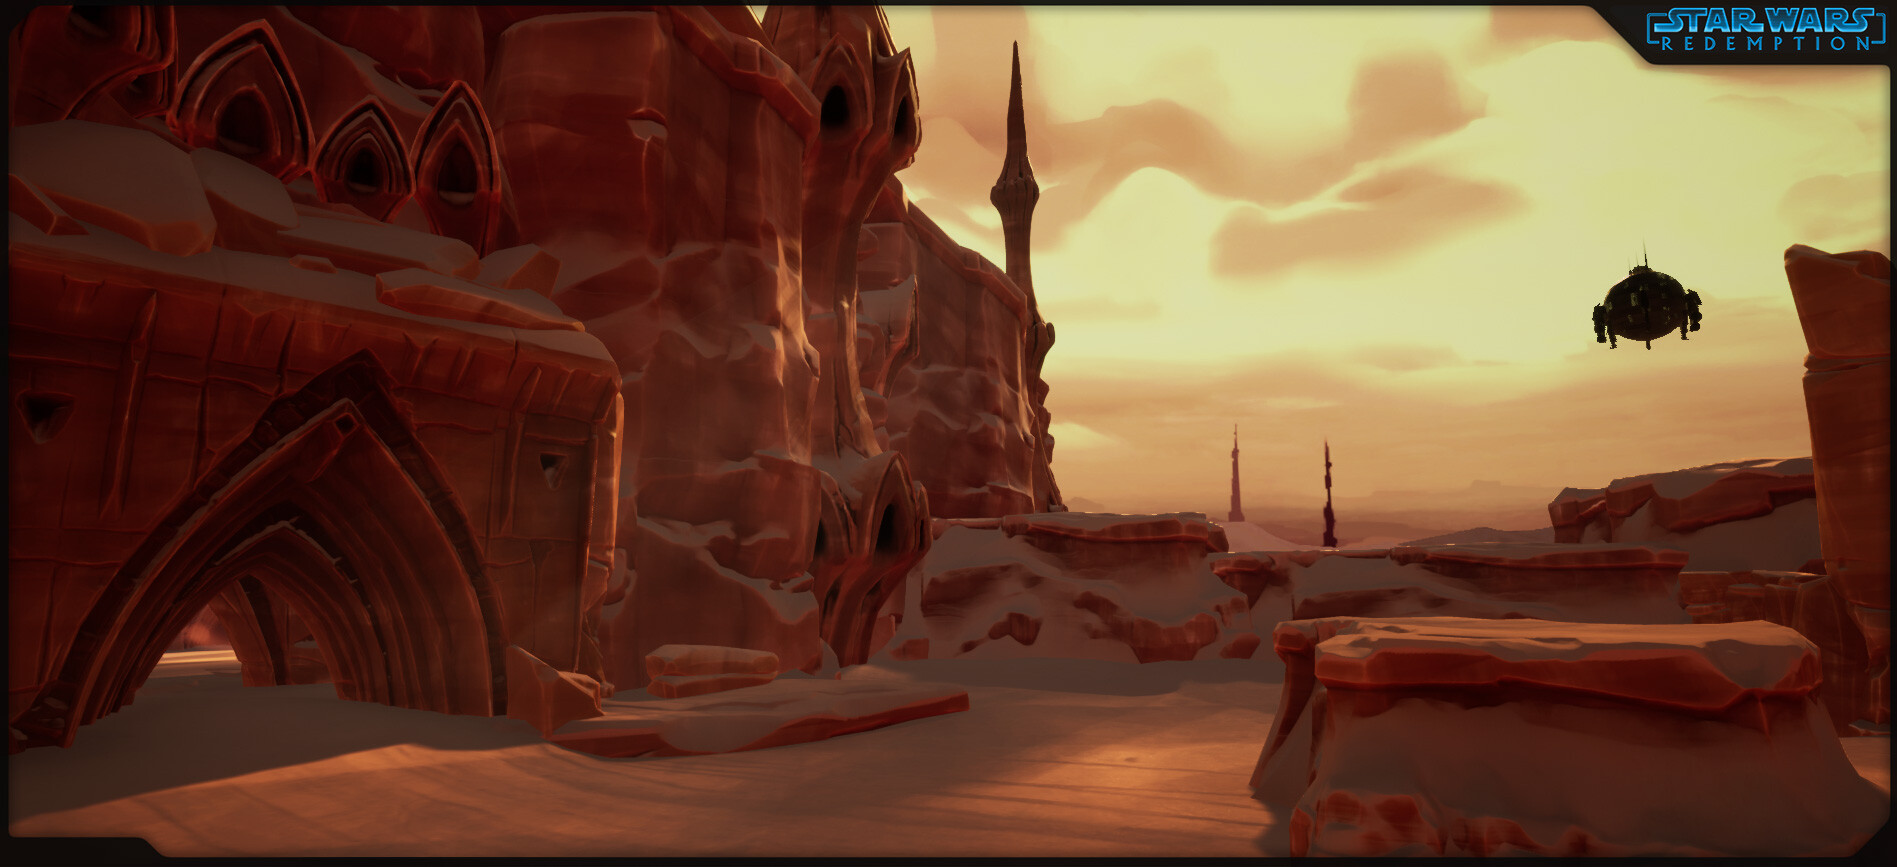
Level art is also in progress. I had difficulties to create these levels only using boxes with absolutely 0 artistic feeling, and a friend of mine, Julie Pain (a great character artist btw, go check her art : https://www.artstation.com/jumy), told me to bypass this first step and create levels directly by using the assets I've made. I know that's not the common way to achieve levels and that usually you have to make blockouts because your art department doesn't have produced as much assets as needed or simply does not exist yet, but here, as I already have all cool blocks under my hand, why would I not use them especially if I have to create level designs ?
That's by far the best advice I had for months, and I recovered the joy and emphasis of creating, simply creating, imagining worlds like I always liked to. Things may need adjustments or reworks, but at least I can feel faster the ambient, the mood...of the place I'll build =)
I've improved many assets and have also nearly finished a big bunch of temple assets which can be seen far away in the following screenshot ;)
I've also wanted to change the way I lighted my scenes to have a more artistic control over it, so here I diminished my sunlight intensity near 0, same for the skylight, in order to bring focus lighting onto points of interest in the environment. I also faked a godray effect using pretty oldschool techniques (a lowpoly mesh, some vertex colors and a panner for the base effect). This helps a lot to drive the eyes through the environment